|
Thread Number: 18616
Kirby 514 trim and parts |
[Down to Last] |  |
| Post# 204631 , Reply# 1 10/24/2012 at 10:46 (4,201 days old) by kirbykid (Horseheads,New York 14845) | ||
|
Buy the tan and paint it. Ill find what you need to do to pain the trim. I've got it somewere in my computer files. And the wheels, well I might have a pair but you can also paint the wheels. Don't know how though | ||
| Post# 204655 , Reply# 2 10/24/2012 at 14:20 (4,201 days old) by eurekastar (Amarillo, Texas) | ||
|
The red trim is no longer made, but you can buy the tan trim from a member of the club. His name is Bill Edstrom and his email address is a007kirbyman@aol.com. He owns a Kirby service center in Wisconsin. He will give you a very fair price and he ships fast. I've dealt with him often. As noted above, you can paint the trim with plastic/vinyl paint. I use SEM products. Here's the procedure I use: 1) wash the trim with soap and water. 2) Wipe it down with methyl ethyl ketone (MEK). 3) spray with SEM Sandless primer. 4) While the primer is wet, spray on the first coat of paint. I think the color I've used in the past is "Portola Red" in SEM's plastic/vinyl paint line. Let it dry for an hour and the spray again. I then let it cure for about 4 days before stretching it onto the machine. You can buy SEM paint online. Hope this helps!
| ||
| Post# 204691 , Reply# 4 10/24/2012 at 20:43 (4,201 days old) by eurekastar (Amarillo, Texas) | ||
|
Wet sanding does a great job, but it's very labor intensive too. If you find yourself doing quite a few, you may want to invest in a bench polisher. If you click on my profile photo, you'll find a Model 560 (from 1960). I painted all the trim on it. The SEM plastic/vinyl paint is very durable. It's often used to spray out plastic trim on cars, so it works well. Please post photos! I love work in progress photos!
| ||
| Post# 204693 , Reply# 5 10/24/2012 at 20:50 (4,201 days old) by kirbykid (Horseheads,New York 14845) | ||
|
yes wet sanding is wonderfull | ||
| Post# 204707 , Reply# 6 10/25/2012 at 00:22 (4,201 days old) by castrojoel () | ||
|
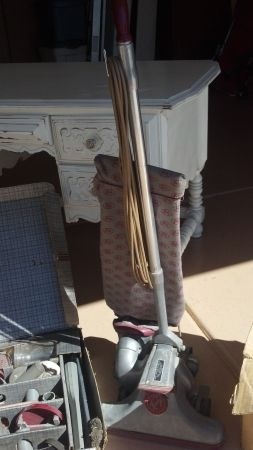
Here it is after 5 hours wet sand 600gt then 1500gt then a light polish 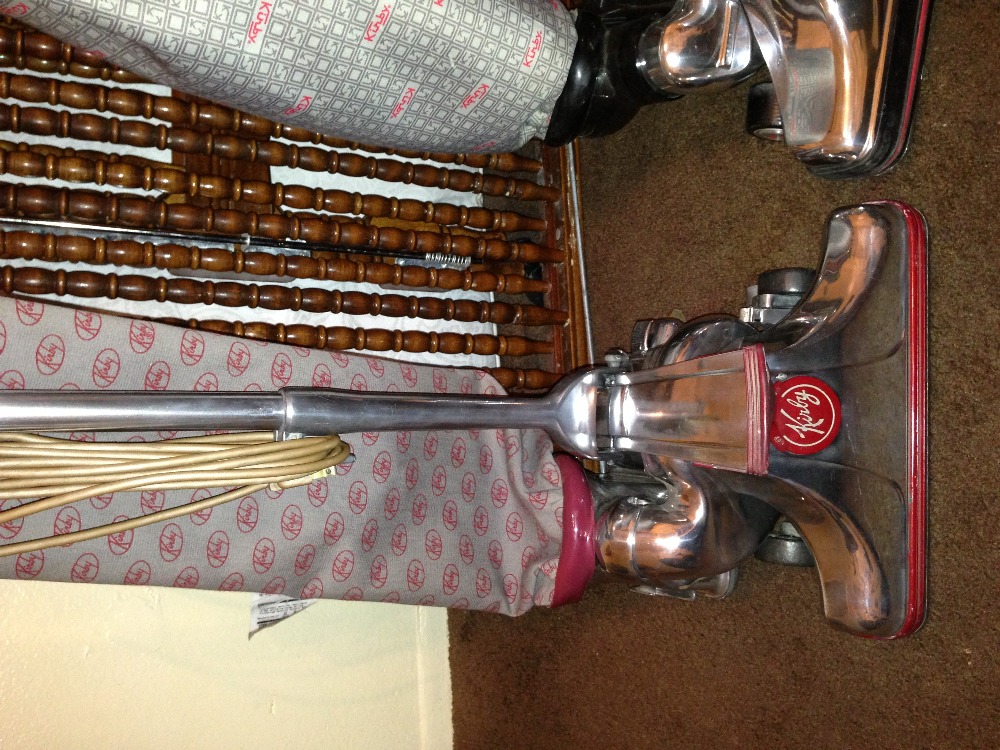
| ||
| Post# 204708 , Reply# 7 10/25/2012 at 00:24 (4,201 days old) by castrojoel () | ||
|
And next to her daughter 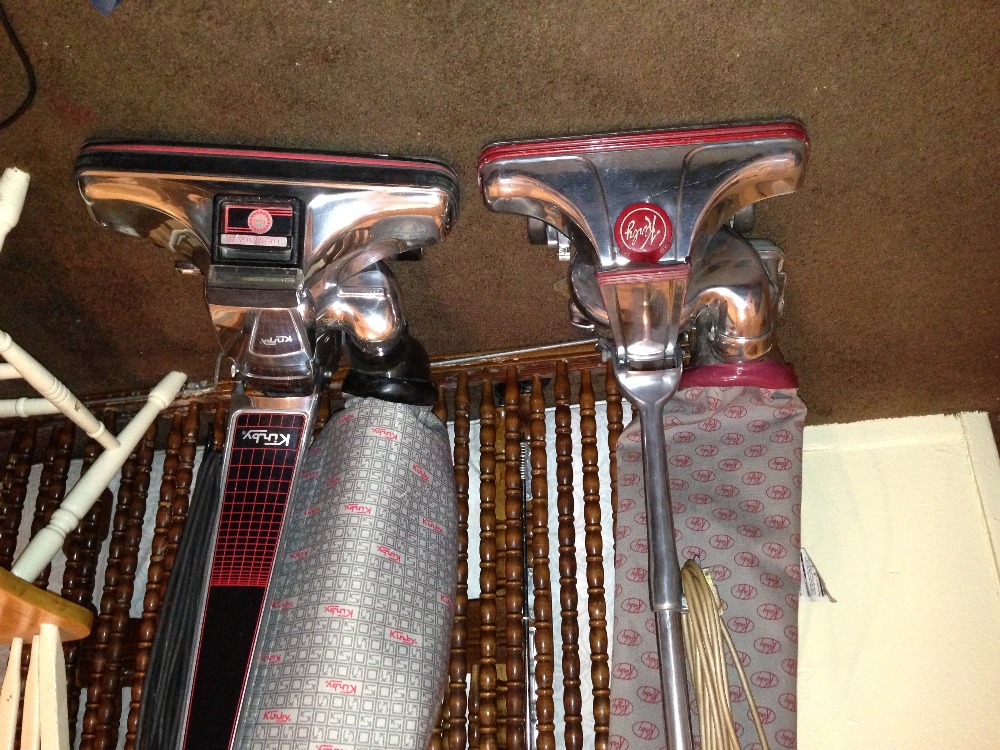
| ||
| Post# 204709 , Reply# 8 10/25/2012 at 00:30 (4,201 days old) by castrojoel () | ||
|
And one more!!!... And I have been using a grinder with buffing wheel to polish.... I don't have patients for polish by hand 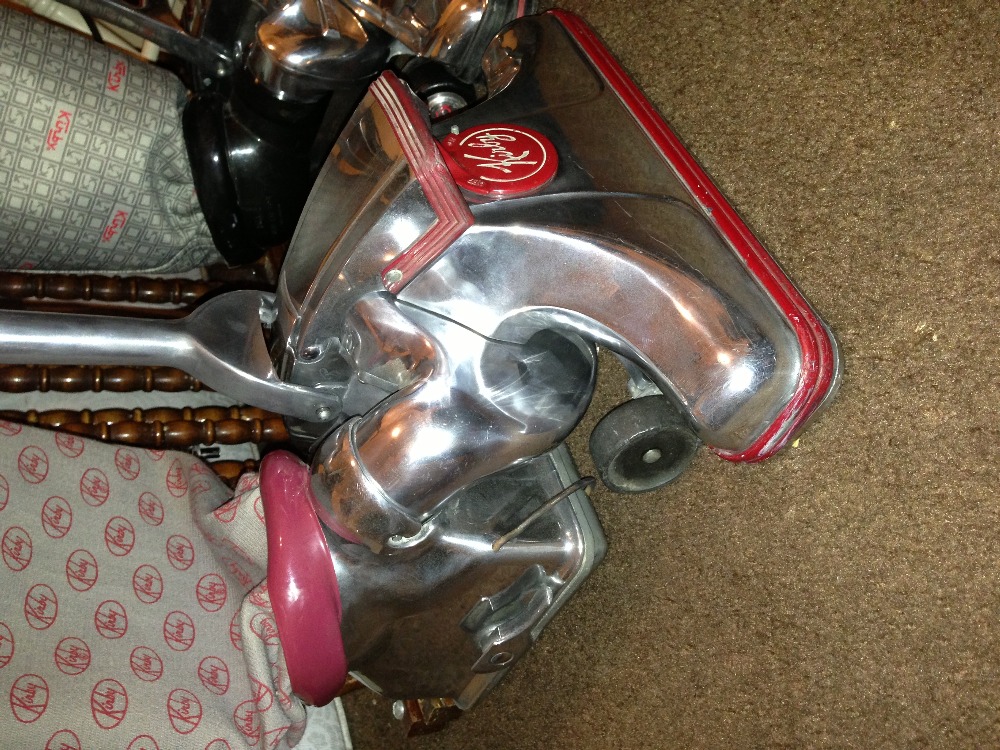
| ||
| Post# 204710 , Reply# 9 10/25/2012 at 00:38 (4,201 days old) by castrojoel () | ||
|
One more thing.... Like I said... I'm a newbie to restoring, but I am going to need a new armature for the 514. Any ideas where I can get a replacement?? I'm 95% shure it is bad.... How to test?? Here is a pic of burnt spot 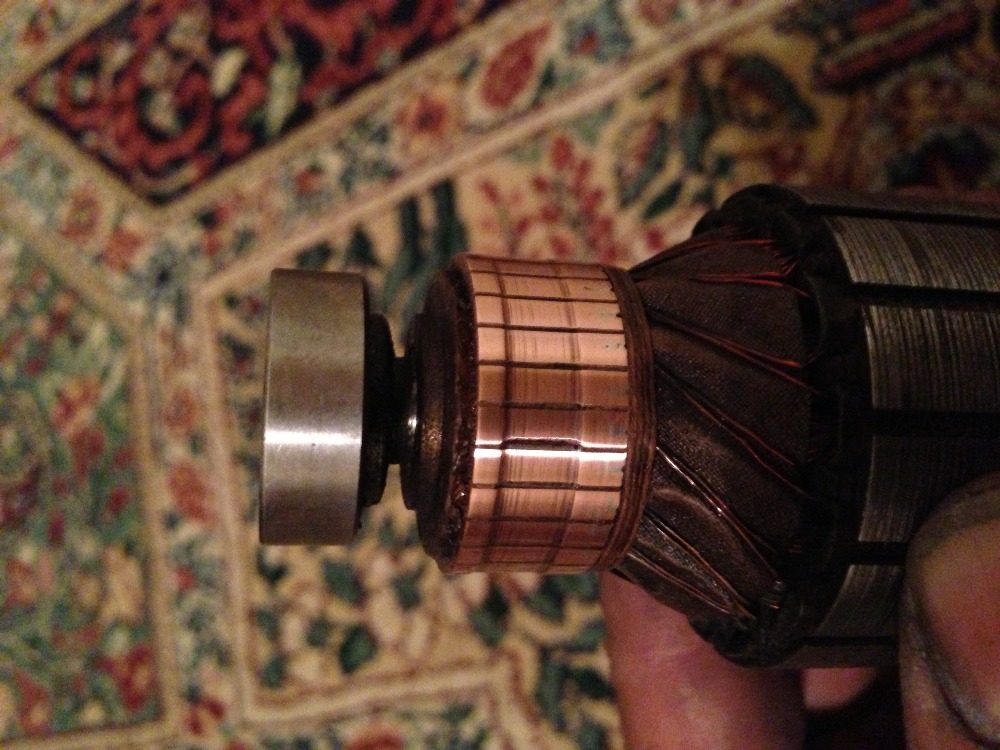
| ||
| Post# 204711 , Reply# 10 10/25/2012 at 00:51 (4,201 days old) by kirbykid (Horseheads,New York 14845) | ||
|
it shouldent be bad. it looks like it might have another 15 years of use that it can take | ||
| Post# 204714 , Reply# 12 10/25/2012 at 01:26 (4,201 days old) by castrojoel () | ||
|
Here is a pic of the field windings 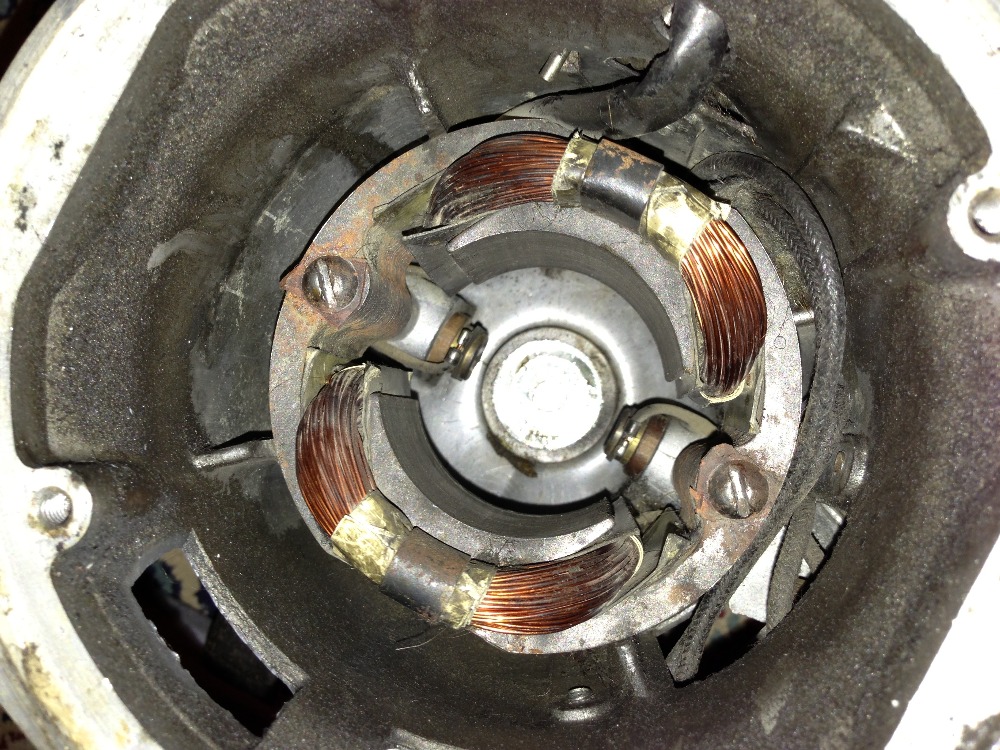
| ||
| Post# 204727 , Reply# 13 10/25/2012 at 09:02 (4,200 days old) by kirbykid (Horseheads,New York 14845) | ||
|
i dont like the look of that hole in the comutator | ||
| Post# 204785 , Reply# 15 10/25/2012 at 18:34 (4,200 days old) by eurekastar (Amarillo, Texas) | ||
|
You can test the armature with an Ohm meter. Just your multimeter to Ω (Ohms) and touch one lead to a segment on the commutator. Touch the other lead to the adjacent segment. The needle should move all the way to the right. Keep repeating that for each segment. If the needle doesn't move or doesn't move all the way to the right, then you have a bad or weak segment. If that's the case, then it's time to toss the armature and probably the whole motor. That one segment with a piece missing with case excess sparking, so the armature is toast anyway. However, despite your motor problems, you did a very nice job of polishing it! | ||
| Post# 204786 , Reply# 16 10/25/2012 at 18:39 (4,200 days old) by kirbykid (Horseheads,New York 14845) | ||
|
i didnt know how to do that. i use a battery and a light | ||
| Forum Index: | 
| Other Forums: |

|

|

|

|

|

 Comes to the Rescue!