Thread Number: 19937
Cleaning a Hoover Windtunnel Self Propelled
[Down to Last]

Vacuumland's exclusive eBay Watch:
scroll >>> for more items --- [As an eBay Partner, eBay may compensate vacuumland.org if you make a purchase using any link to eBay on this page]
Post# 223098   3/11/2013 at 14:12 (4,063 days old) by mieles7 (TX)        

mieles7's profile picture
On Friday, I bought a Hoover Windtunnel S/P from goodwill for about $20. The bag was stuffed, so I assume that was why the former owners threw it away. How do I do a full disassembly and cleanout of one of these machines?

Post# 223136 , Reply# 1   3/11/2013 at 15:36 (4,063 days old) by kloveland (Tulsa)        
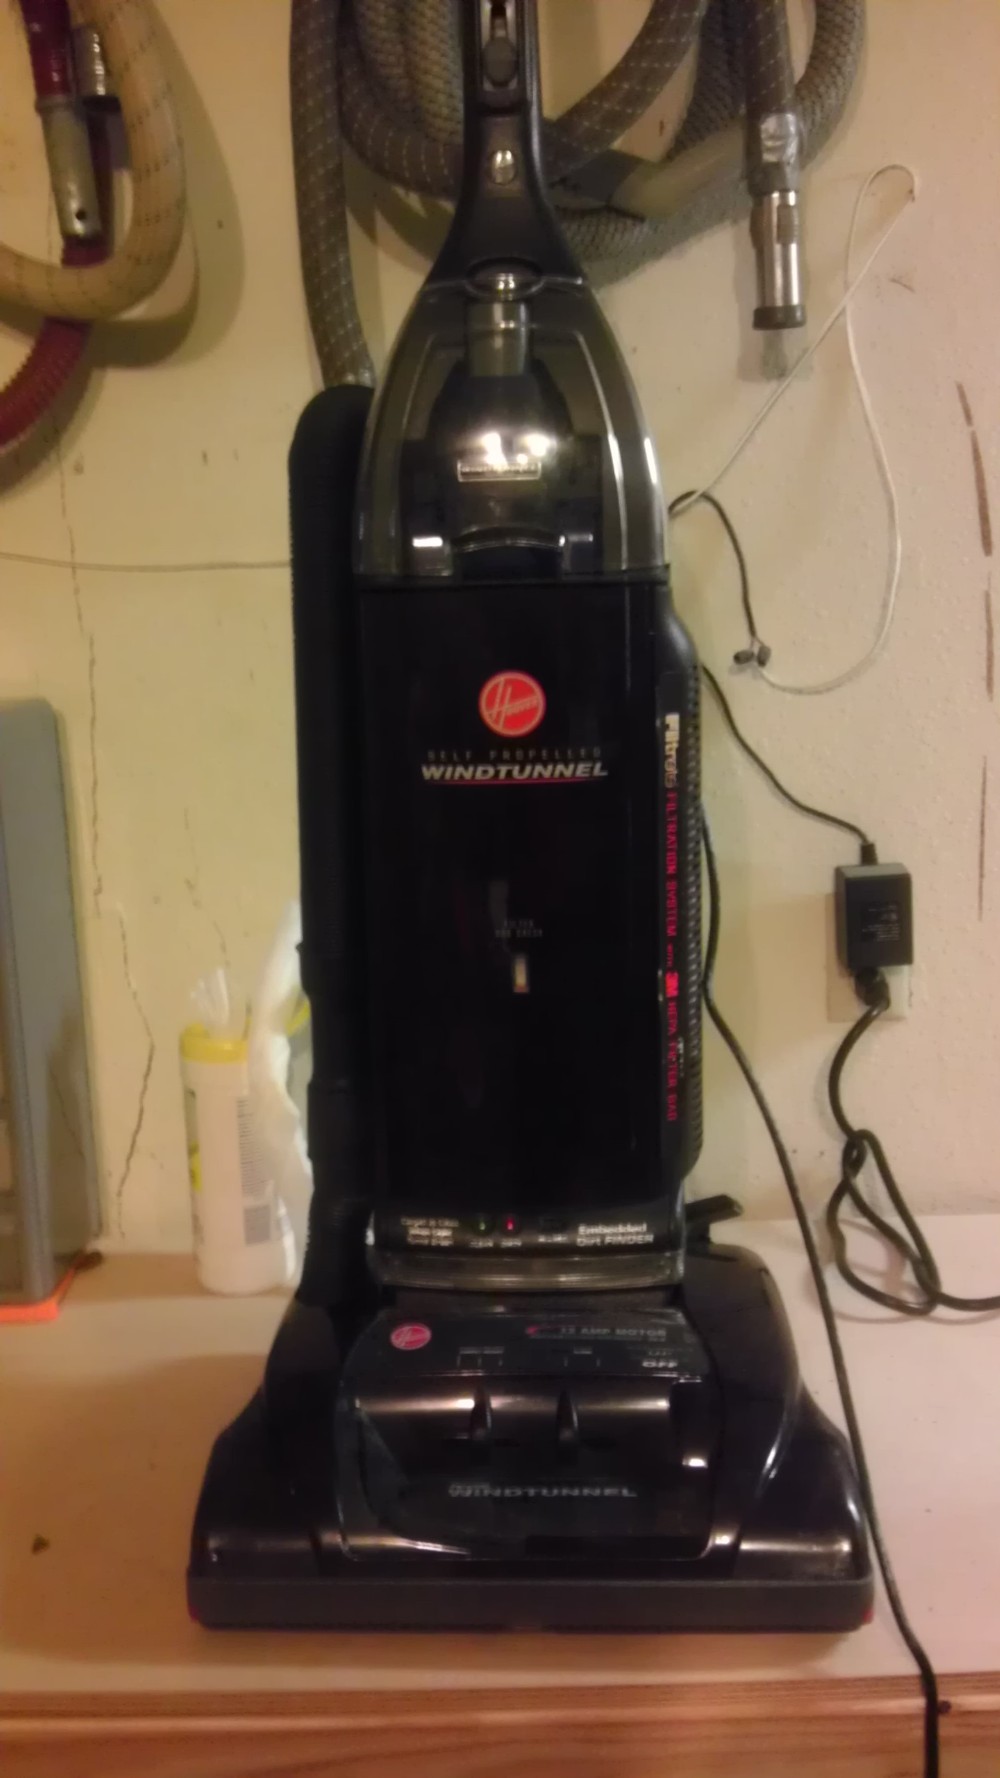
Check for blocked hoses and ducts

kloveland's profile picture
Ian,

The whole vacuum may not need to be totally disassembled and cleaned. If there was a filter installed underneath the bag, the fans and motor are probably fine. Check the hose for blockages. I had co-worker who thought her Windtunnel was dead because it shut off and would not power back on. Turns out, it was a very bad blockage in the hose and the terminal protector caused the motor to shut off to prevent damage. Also, check the Windtunnel ducts in the agitator cavity for blockages.

Hope this helps. I’ve never completely disassembled one of these. Let us know how it works out. Kenny


Post# 223218 , Reply# 2   3/11/2013 at 21:13 (4,063 days old) by mieles7 (TX)        

mieles7's profile picture
I'm pretty sure the vacuum isn't clogged in that area, but I am curious how to remove clogs in the area highlighted just because many of the clean air vac clogs I've faced have been there.

Post# 223223 , Reply# 3   3/11/2013 at 21:40 (4,063 days old) by kloveland (Tulsa)        
Repair video

kloveland's profile picture
Ian,

Here is a youtube video on Windtunnel repair. Just click on the link below.


CLICK HERE TO GO TO kloveland's LINK


Post# 223347 , Reply# 4   3/12/2013 at 21:49 (4,062 days old) by mr_mom (pittsburgh (PA))        

mr_mom's profile picture
it is a real big pain to take the hood off i took mine off to see if i can fix the brush roll selector but its broke and getting to the cord was a pain for me bc i have the bagless model

Post# 223363 , Reply# 5   3/13/2013 at 02:30 (4,062 days old) by gmerkt (Edmonds WA)        

These are pretty easy to work on. Just follow the Phillips head screws (or Torx on a late model so built).

It's pretty simple to check for a blockage in the area you've highlighted. Pull the main hose out of the side socket, and it you've got suction at the hose end, the blockage is in the duct in the floor nozzle. If you lack suction at the hose end, the blockage is in the hose. These bagged machines don't offer many other possibilities for blockage.

The duct/short hose in the floor nozzle comes out easily. Remove the single screw holding the lower wand retainer in position, and unscrew it. These are reverse threads. Then you can unscrew the duct/short hose from the fitting in the floor nozzle. Sometimes, a blockage can occur right in the duct fitting next to the brush roll. Something sticky that then attracts other debris and kind of glues itself in place.

One funny object that likes to get caught in the duct/short hose in the floor nozzle is the pull-ring from a plastic milk jug. These can get caught in the coils of the short hose and passing hair and other debris starts to collect. Before you can say Jack Robinson, it's completely blocked.

The hood comes off the floor nozzle pretty easily. Two of the four bottom plate screws hold it in place, then there are two screws up inside the floor nozzle frame that attach, and two tabs, one along each side, that you have to disengage. Once you have the short hose out of the hood hole, it goes pretty easily.

This is a machine that really isn't all that tricky with regard to repair procedures. Just be sure to look at everything, especially under the hood, to make sure you aren't missing a broken part that will cause you to take it all apart a second time. Like the actuator arm on the drive mechanisim. It helps to have this all clean for a really thorough inspection.

When you are reinstalling the floor nozzle hood, be sure to keep the brush roll control knob pushed all the way over to the carpet position. If the screw holes on the hood don't come right up tight to the polycarbonate forward nozzle frame, you don't have it lined up right. There is a tab on the underside of the hood near the carpet height selector that needs to be lined up with a corresponding tab on the p.c. forward nozzle frame for it to fit right. Even if you discover that this is wrong after the screws are reinstalled, you can push it back into place carefully with a flat screwdriver.

One bit of basic advice, be careful reinstalling screws in plastic holes. They won't take much torque and don't need it. If you're unsure, don't use a cordless, do it by hand.

I do this model all the time and it goes very quickly. If they are dirty/dusty beyond what compressed air will blow out, I completely disassemble and wash them out with high pressure water. I have ways of doing it that usually don't require the wiring nor the power switch to be removed. The parts air dry or dry before a wood stove, depending upon weather. I can completely disassemble, inspect, and reassemble one in about 25 minutes. Not counting time to hunt up this or that part. Cleaning/washing time can add 10 to 15 minutes, depending upon how nasty the brushroll is. The motor and drive mech. get blown out/off with comp. air. I clean and repack the b/r bearings which I've got down to a few minutes. Sometimes the cord is bad; that adds a few minutes to replace. I can knock one of these out in under an hour unless I encounter something unusual. Not counting drying time, which makes the process non-continuous. You go do something else while that process is occurring. Like watch a re-run of Gunsmoke or similar.


Post# 223760 , Reply# 6   3/15/2013 at 21:09 (4,059 days old) by mieles7 (TX)        

mieles7's profile picture
I gave the vacuum a test run for the first time, and the self propel isn't working. The windtunnel's handle feels very loose as it moves up and down, in contrast to my Power Drive, which offers some resistance when I push it. Any idea as to what the problem is?

Post# 223765 , Reply# 7   3/15/2013 at 21:38 (4,059 days old) by mr_mom (pittsburgh (PA))        

mr_mom's profile picture
the wire might need to be tighten down at the arm or the arm might need to be replaced mine needs replaced it doesnt go fwd but goes back fine

Post# 223767 , Reply# 8   3/15/2013 at 21:50 (4,059 days old) by suckolux (Yuba City, CA)        

suckolux's profile picture
end came off the wire at the motor end, have seen that 3 times

Post# 223776 , Reply# 9   3/16/2013 at 00:07 (4,059 days old) by mieles7 (TX)        

mieles7's profile picture
So do I need a new actuator arm?

Post# 223777 , Reply# 10   3/16/2013 at 00:43 (4,059 days old) by suckolux (Yuba City, CA)        

suckolux's profile picture
it was the cable on all of mine

Post# 223819 , Reply# 11   3/16/2013 at 12:19 (4,059 days old) by mieles7 (TX)        

mieles7's profile picture
What is the process to repair the cable? The vacuum works very well other than the self propel.

Post# 223820 , Reply# 12   3/16/2013 at 12:38 (4,058 days old) by suckolux (Yuba City, CA)        

suckolux's profile picture
Sorry to say, my short term memory is not there, I had to have help watching me take it apart to advise on re assemble. I don't remember it at all.It was involved I know. Are your belts tight?

Post# 223823 , Reply# 13   3/16/2013 at 13:05 (4,058 days old) by mieles7 (TX)        

mieles7's profile picture
The belts do feel a bit loose. Could that be the source of the problem?

Post# 223833 , Reply# 14   3/16/2013 at 13:52 (4,058 days old) by suckolux (Yuba City, CA)        

suckolux's profile picture
a slipping belt will stop the powerdrive for sure.Though if you tilt it off the drive tractor where they wheels are up in the air and engage, they should roll then.

Post# 223846 , Reply# 15   3/16/2013 at 14:36 (4,058 days old) by mieles7 (TX)        

mieles7's profile picture
I've ordered both belts for the cleaner. Hopefully that will solve the problem.

Post# 223856 , Reply# 16   3/16/2013 at 15:12 (4,058 days old) by suckolux (Yuba City, CA)        

suckolux's profile picture
It sure can't hurt!

Post# 223857 , Reply# 17   3/16/2013 at 15:25 (4,058 days old) by dialanap (Woodstock, IL)        
Video for actuator arm repair and other repairs

dialanap's profile picture
Here is a video that shows how to replace the actuator arm from a website I found. There is also a video on foot pedal replacement as well as belt replacement. Hope these help you.
Aaron


CLICK HERE TO GO TO dialanap's LINK


Post# 223859 , Reply# 18   3/16/2013 at 15:28 (4,058 days old) by dialanap (Woodstock, IL)        

dialanap's profile picture
I found one more video on Windtunnel actuator arm replacement on YouTube. Here is the link.
Aaron


CLICK HERE TO GO TO dialanap's LINK


Forum Index:       Other Forums:                      


Comes to the Rescue!

Woops, Time to Check the Bag!!!
Either you need to change your vacuum bag or you forgot to LOG-IN?

Discuss-O-MAT Log-In


New Members
Click Here To Sign Up.


automaticwasher.org home
Discuss-o-Mat Forums
Vintage Brochures, Service and Owners Manuals
Fun Vintage Washer Ephemera
See It Wash!
Video Downloads
Audio Downloads
Picture of the Day
Patent of the Day
Photos of our Collections
The Old Aberdeen Farm
Vintage Service Manuals
Vintage washer/dryer/dishwasher to sell?
Technical/service questions?
Looking for Parts?
Website related questions?
Digital Millennium Copyright Act Policy
Our Privacy Policy