|
Thread Number: 6231
Is this Electrolux too far gone to Save? |
[Down to Last] |  |
| Post# 69593 5/17/2009 at 18:55 (5,455 days old) by shag (Ontario, Canada) | ||
 | ||
| Post# 69594 , Reply# 1 5/17/2009 at 18:56 (5,455 days old) by shag (Ontario, Canada) | ||
|
Too far gone? | ||
| Post# 69595 , Reply# 2 5/17/2009 at 18:58 (5,455 days old) by shag (Ontario, Canada) | ||
|
Too far gone? | ||
| Post# 69596 , Reply# 3 5/17/2009 at 18:58 (5,455 days old) by shag (Ontario, Canada) | ||
|
To far gone? | ||
| Post# 69597 , Reply# 4 5/17/2009 at 18:59 (5,455 days old) by shag (Ontario, Canada) | ||
|
Too far gone? | ||
| Post# 69598 , Reply# 5 5/17/2009 at 19:01 (5,455 days old) by shag (Ontario, Canada) | ||
|
Too far gone? | ||
| Post# 69616 , Reply# 7 5/17/2009 at 20:33 (5,455 days old) by aeoliandave (Stratford Ontario Canada) | ||
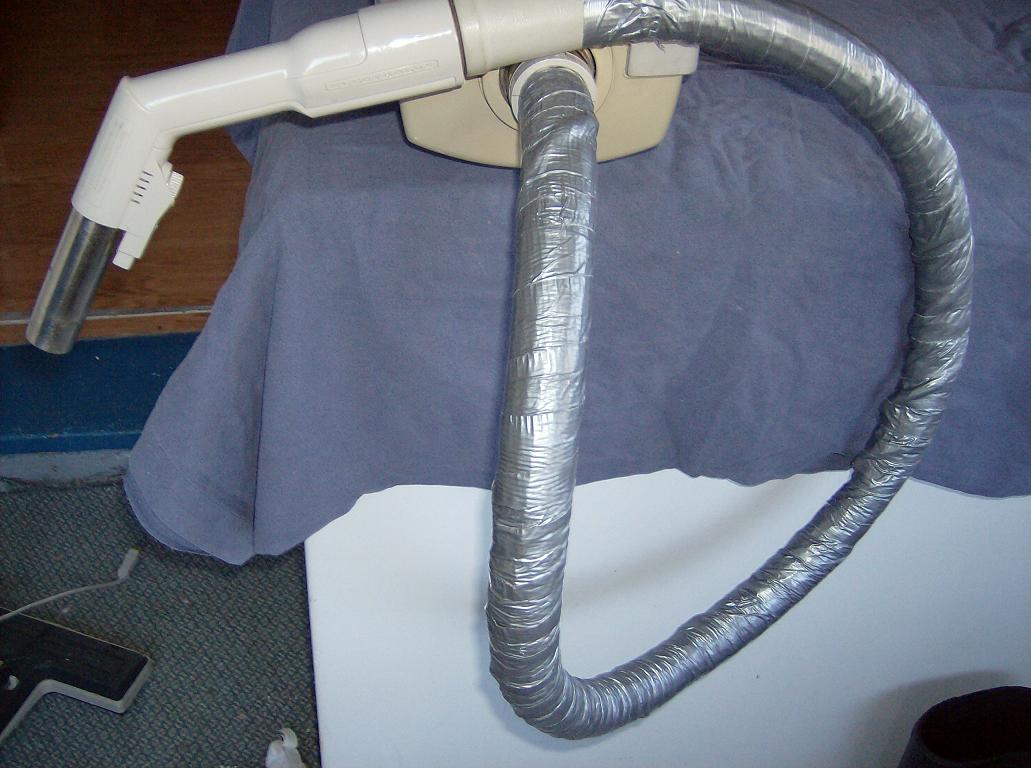
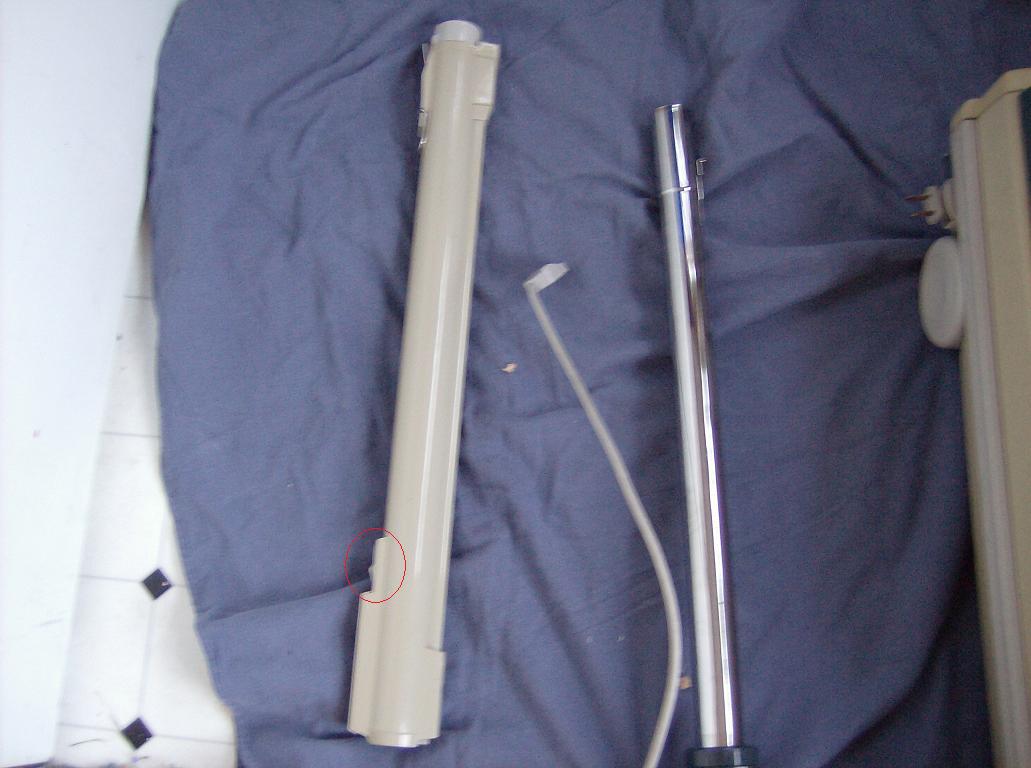
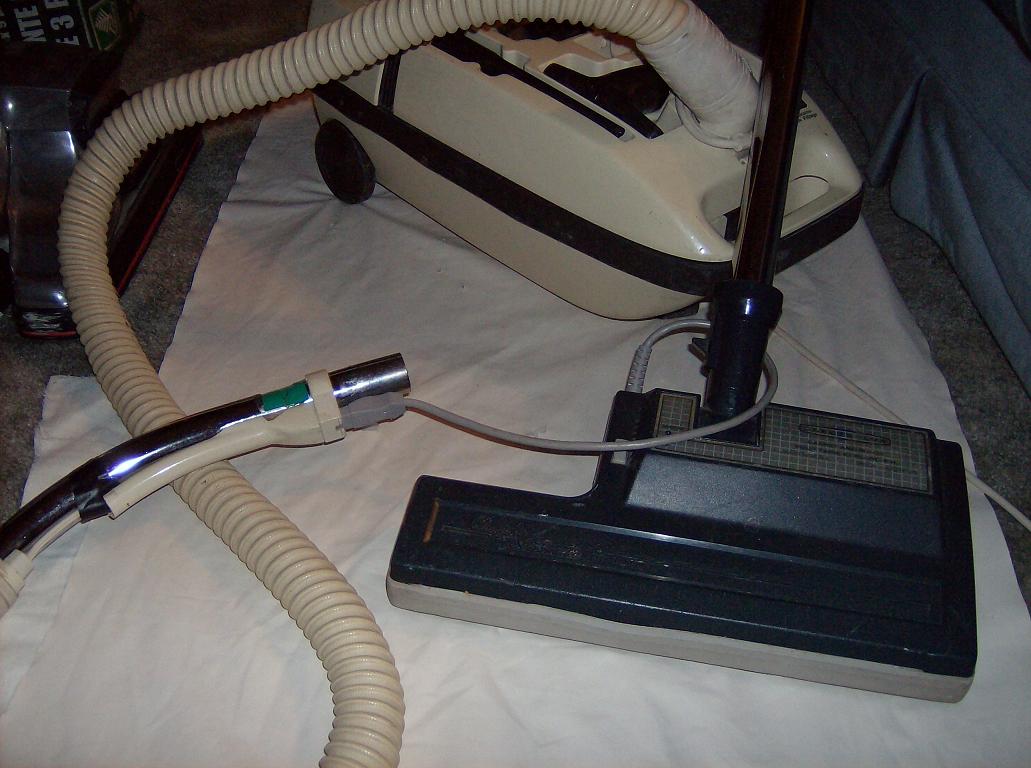
SAVE ME! This will need a top to bottom overhaul, of course
I wouldn't scrap it until thoroughly investigated and diagnosed. The outside carcass looks to be in nice clean shape other than the crack damage. And look! it has an unbroken clip tab for the on-board transforming upholstery nozzle/dusting brush, too! Wands - slide or force the sliding plastic button on the plastic sheath back as far as it will go. Then, after cleaning the metal wand inside with steel wool, slide in onto the metal wand inside the sheath. It should lock to the other wand with a click. The sheath's slider is used to lift the button spring and is sometimes deformed or deforms the spring. These wands were intended to be assembled once and left. If you are having trouble connecting them then the thing to do is remove the metal wand from inside the sheath and adjust and assemble before placing the sheath back on. Probably a good idea anyway to remove the inner wand from the sheath first to clean up it's mating end and make corrections to the locking button spring. The cracked shell casing by the front caster does not seem to have affected the bag door hinge so that's fine for now. The cracks across the motor cover could benefit from being removed and skillfully crazyglued and reinforced to close them up for a smoother appearance. Not like yer gonna spend much time looking at the rear end or underneath between the front skids. LOL It's just a cap covering the cordwinder reel and supports nothing. The blower/hose port is on the top anyway. The hose - well, no different tha the 88 hose my dad wrapped in red plastic bags & clear packing tape. These braided hoses are notorious for leaking and for having their weave strips loop out. But they are perfect for the latex treatment. You should be able to unwrap all that gummy duct tape - keep the lighter fluid close by to clean off adhesive as you go - and may find a hose that doesn't leak as badly as that allover wrap indicates. Likely the husband was forestalling further developing leakage by doing the whole damn thing. If you're lucky you'll probably find the original blue & gray matching hose under there - a final detailing cleanup of adhesive with lighter fluid will bring it back cosmetically before latexing. :-). Does it carry electricity from end to end as it should? Do you have another AP or later Lux to test that with? or short pin cords to connect to some other vacuum? The hose handle contacts are easy to access and clean or re-align as necessary. If the hose turns out to be toast after all that, it is a fairly common hose in different colours and I may have one around here. Does the PN motor run connected to some other vacuum pin cord? Other than the two bad cracks, which don't affect performance, I'd say it well worth a few hours of Spa Treatment. As for the vacuum not turning on, that will be a simple electrical connection fix somewhere along the current path. The cordwinder contacts, maybe? or a stuck motor brush, or any number of simple things to remedy. It's all worth investigating and as soon as you hear that motor purr you'll want to do a complete makeover. I like cosmetic perfection as well but in the face of a few minor blemishes I'd apply the best cosmetic repair I can and count myself lucky. I have the System 90 version of this with a cut off cord and a few other problems that I'm keeping until it can make it to the workbench. I don't have this blue & cream Ambassador model Canadian Lux so if you decide it's all too much bother please toss it in the direction of my trash, please...:-) Dave | ||
| Post# 69637 , Reply# 8 5/17/2009 at 21:08 (5,455 days old) by shag (Ontario, Canada) | ||
|
| ||
| Post# 69639 , Reply# 9 5/17/2009 at 21:12 (5,455 days old) by shag (Ontario, Canada) | ||
|
One more shot. | ||
| Post# 69673 , Reply# 11 5/17/2009 at 22:59 (5,455 days old) by aeoliandave (Stratford Ontario Canada) | ||
|
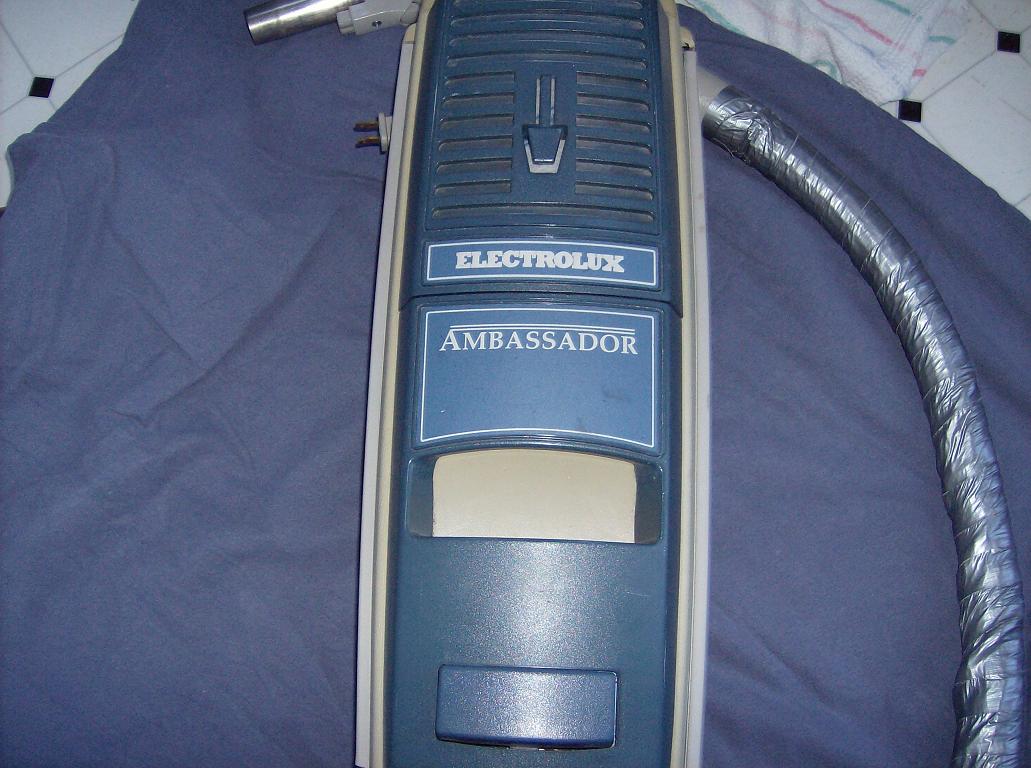
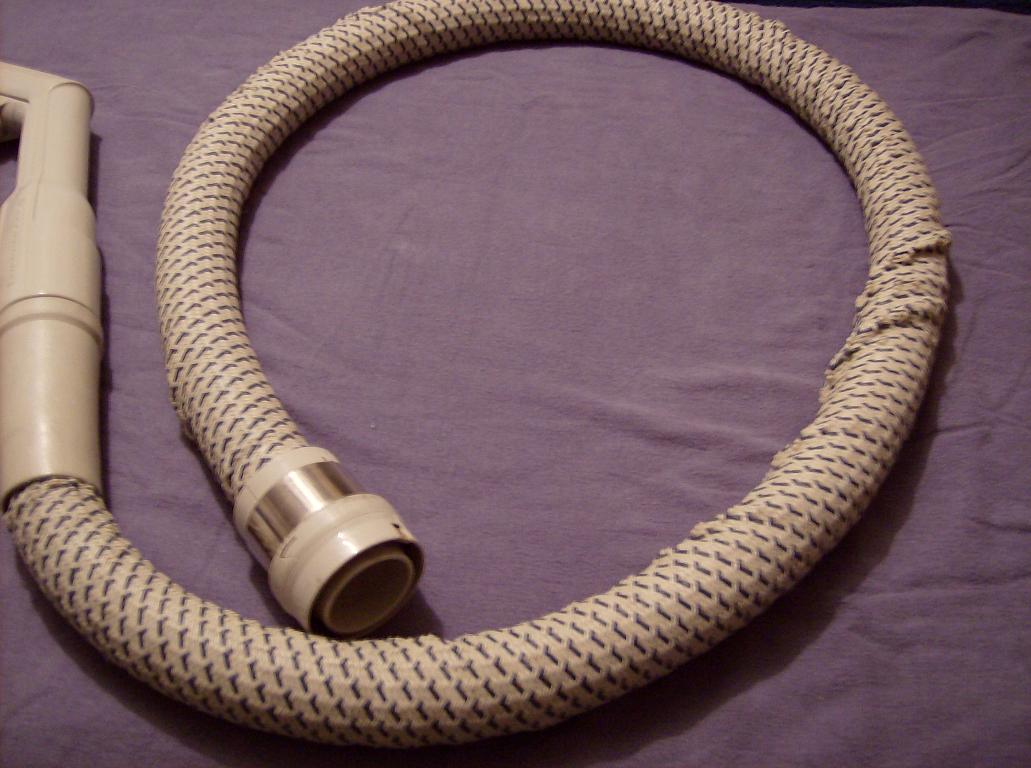
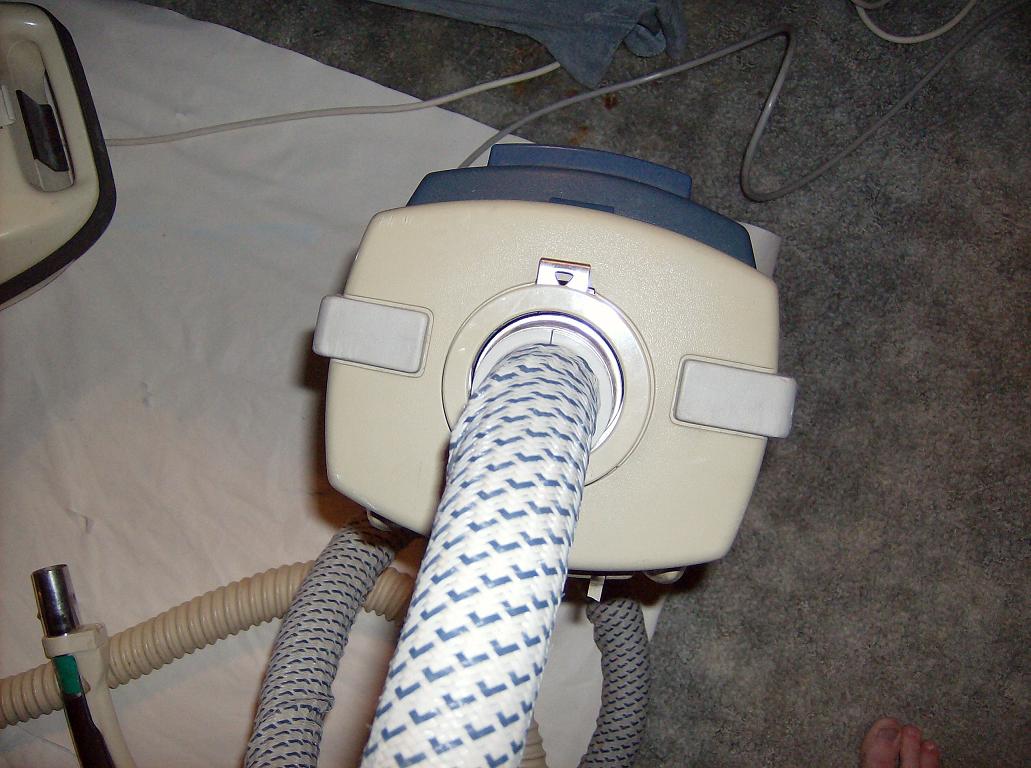
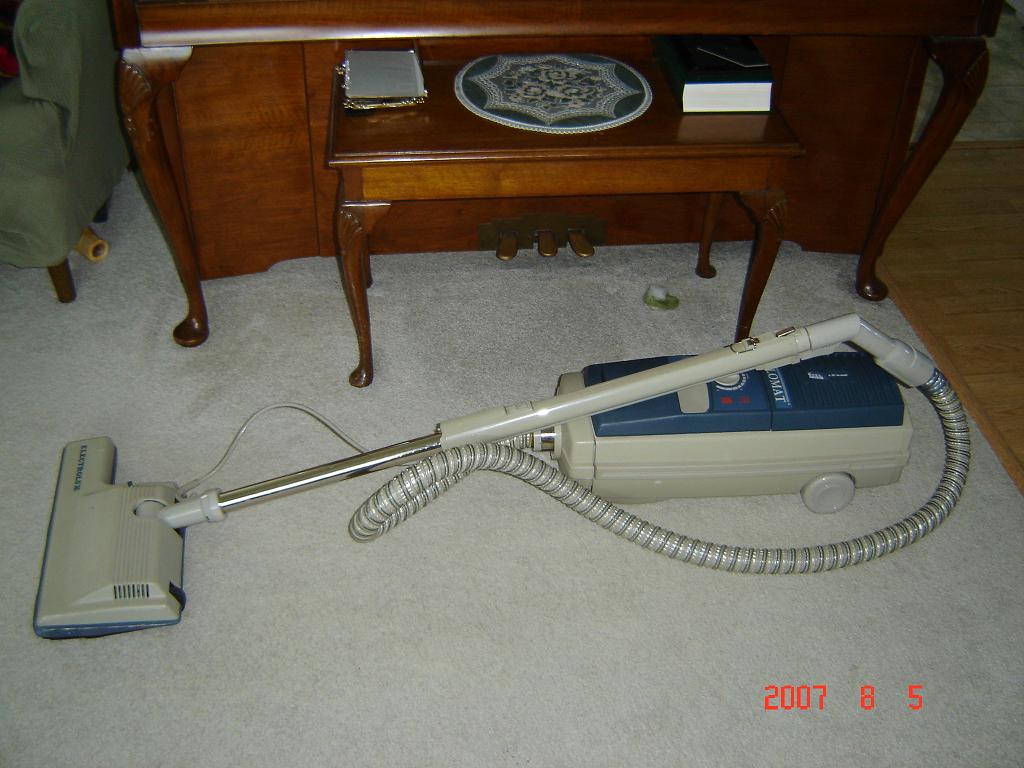
Off to a great start, Brian. That hose is clearly in exploding condition with unsightly varicose veins and probably does leak like cheescloth. It looks like it's brown on tan? Was cleaning up and organizing the Lux Towers Room and found I have 3 AP100s with good looking but kinda leaky hoses that could be latexed. If ya don't mind the white/pinkish tan color you're welcome to one once power is restored to your Ambassador. Awaiting word on what comes to light, works or doesn't, electrically as you bring the blue bomber back to life. CanLuxs don't roar...they murmur zephyrously...one of these you could run on the bedside table and drift off to dreamland. :-) Dave 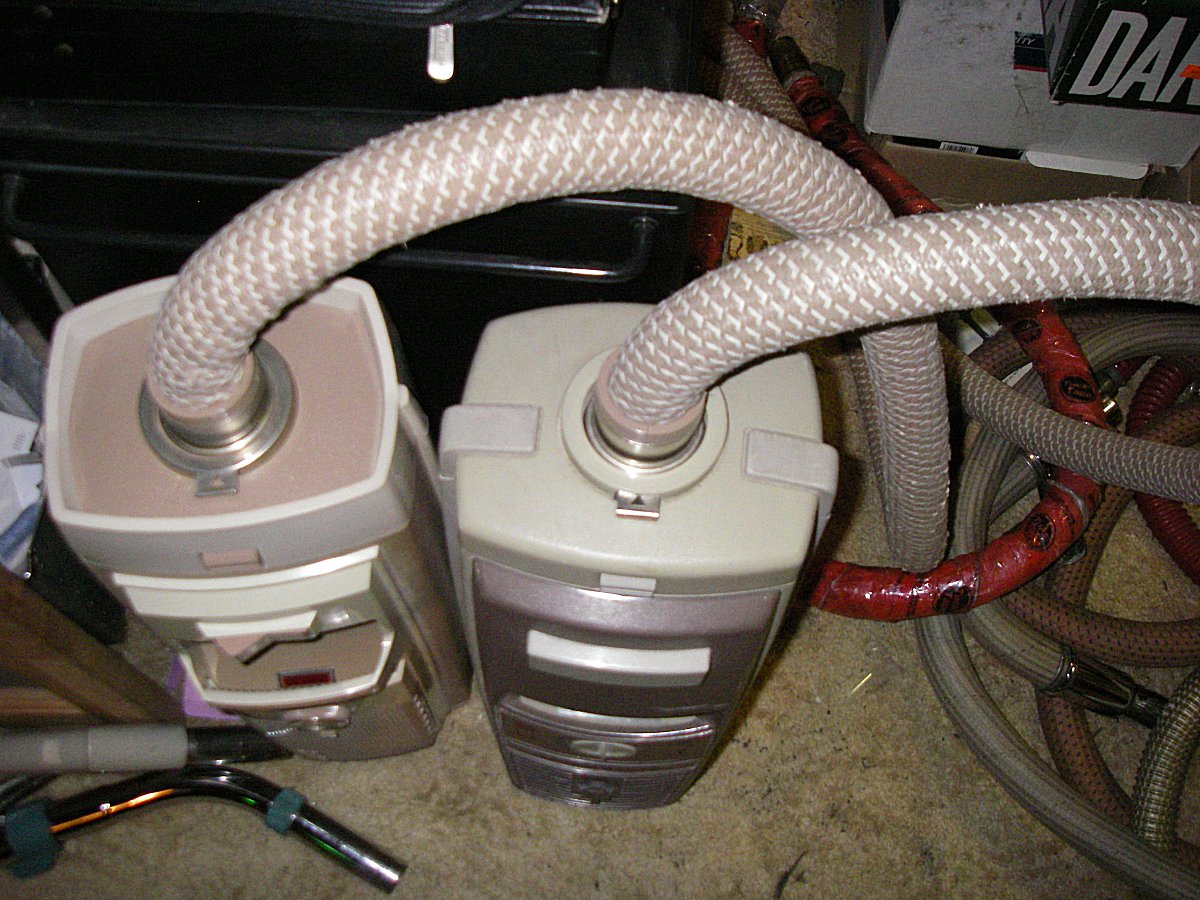
| ||
| Post# 69722 , Reply# 13 5/18/2009 at 05:43 (5,455 days old) by kenmore81 (Warwick, RI) | ||
Saavee Hiiimm...lol | ||
| Post# 69727 , Reply# 14 5/18/2009 at 09:08 (5,455 days old) by shag (Ontario, Canada) | ||
|
Too far gone? | ||
| Post# 69728 , Reply# 15 5/18/2009 at 09:12 (5,455 days old) by shag (Ontario, Canada) | ||
|
Too far gone? | ||
| Post# 69730 , Reply# 16 5/18/2009 at 09:16 (5,455 days old) by shag (Ontario, Canada) | ||
|
To far gone?
Is this the piece that is not contacting? Can it be fixed or replaced or just have to live with duct tape on it? There is still one problem, no suction at all from the hose. It could be blocked. Any ideas how to clean out a hose? If it was a straight hose I would put a butter knife down it, with the angle of the handle, not sure what to put down it? 
| ||
| Post# 69733 , Reply# 17 5/18/2009 at 10:16 (5,455 days old) by electroluxxxx (��) | ||
|
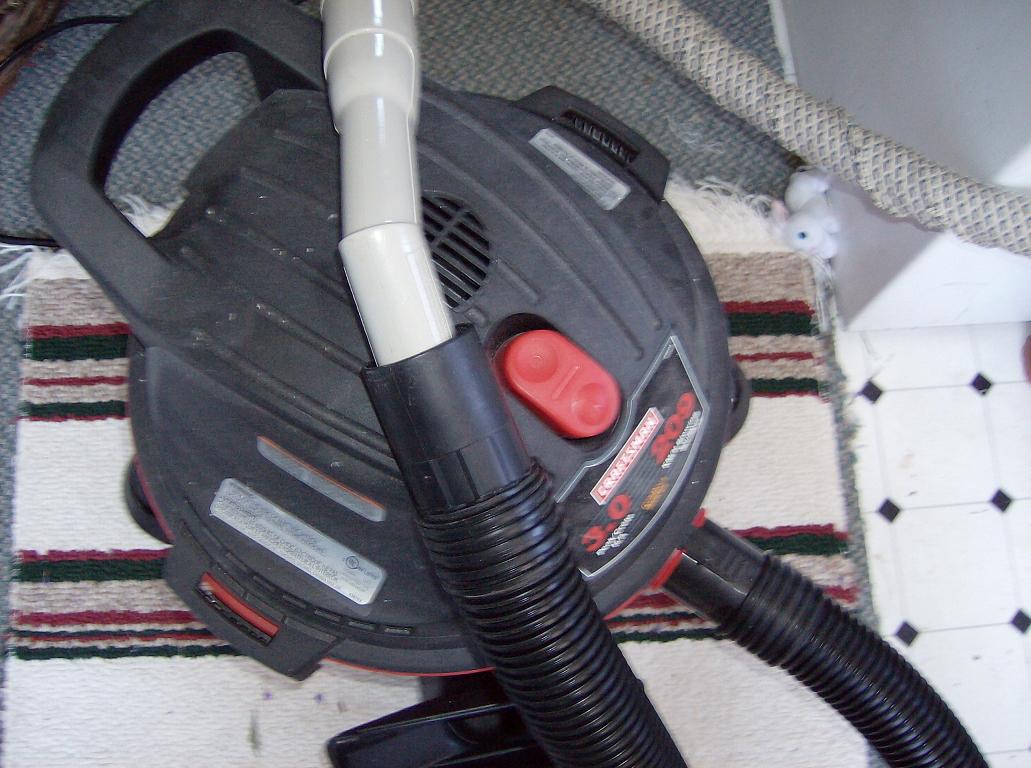
I would see if there is any suction from the machine itself. if there is none from the hose it is a possible clog or a bad hose. usually when I unclog hoses I use a shop vac. mose of the time it works like a charm. | ||
| Post# 69740 , Reply# 19 5/18/2009 at 13:25 (5,454 days old) by shag (Ontario, Canada) | ||
|
Too far gone? | ||
| Post# 69741 , Reply# 20 5/18/2009 at 13:26 (5,454 days old) by shag (Ontario, Canada) | ||
|
Too far gone? | ||
| Post# 69742 , Reply# 21 5/18/2009 at 13:31 (5,454 days old) by shag (Ontario, Canada) | ||
|
Too far gone? | ||
| Post# 69767 , Reply# 23 5/18/2009 at 18:12 (5,454 days old) by aeoliandave (Stratford Ontario Canada) | ||
|
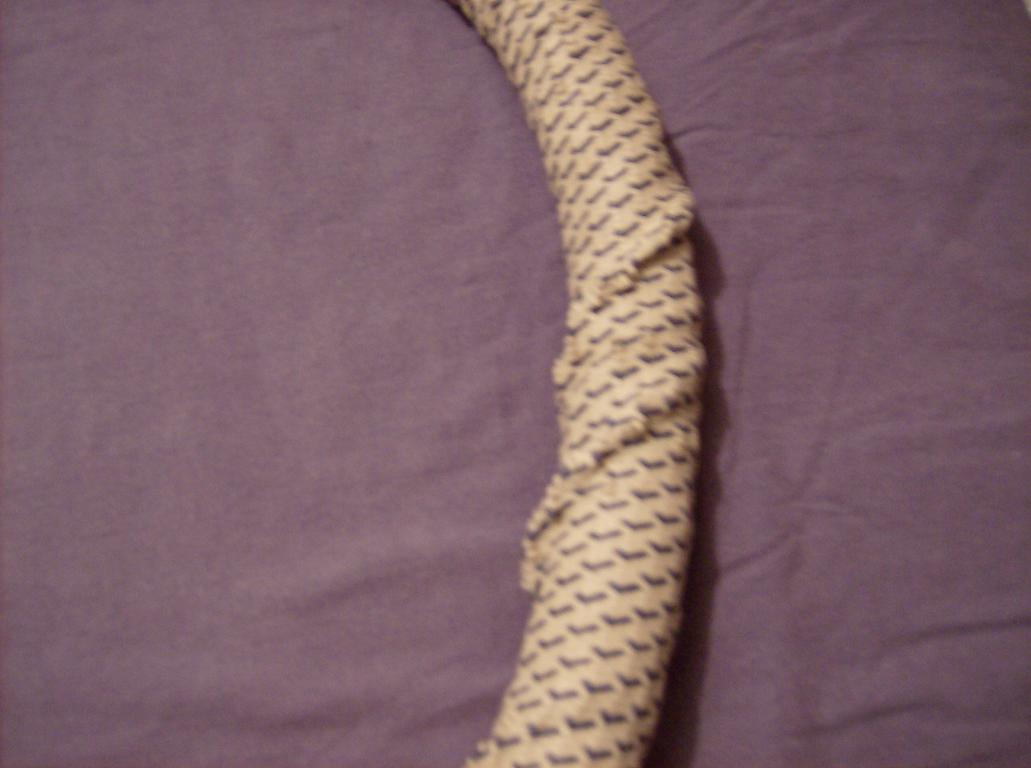
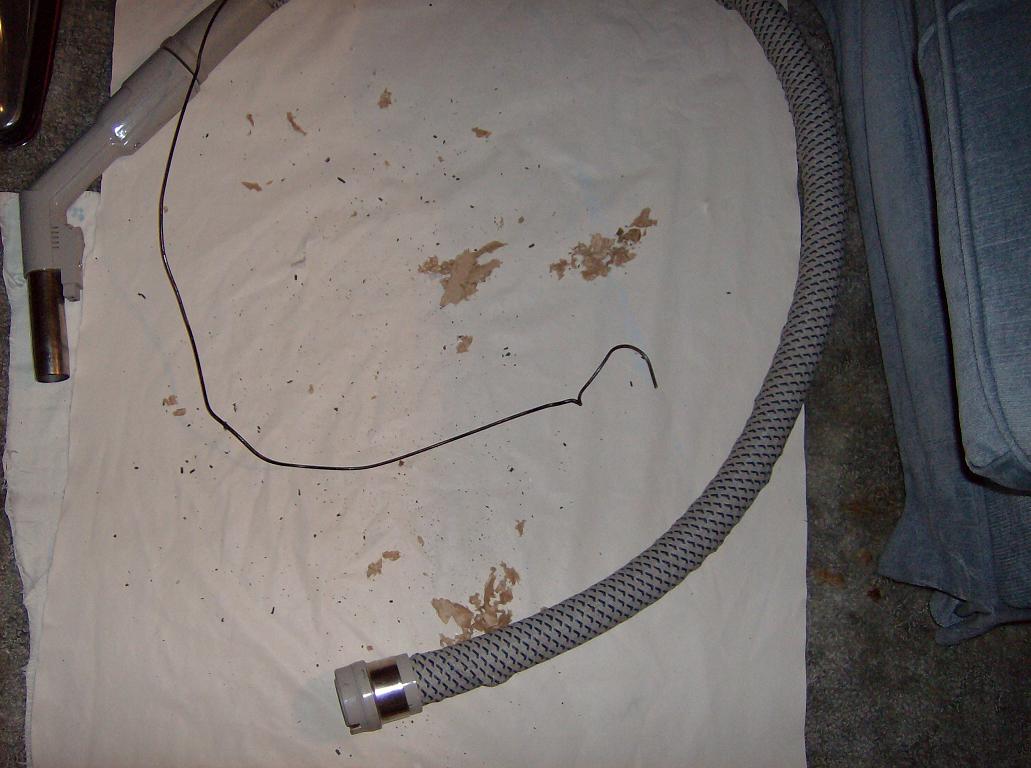
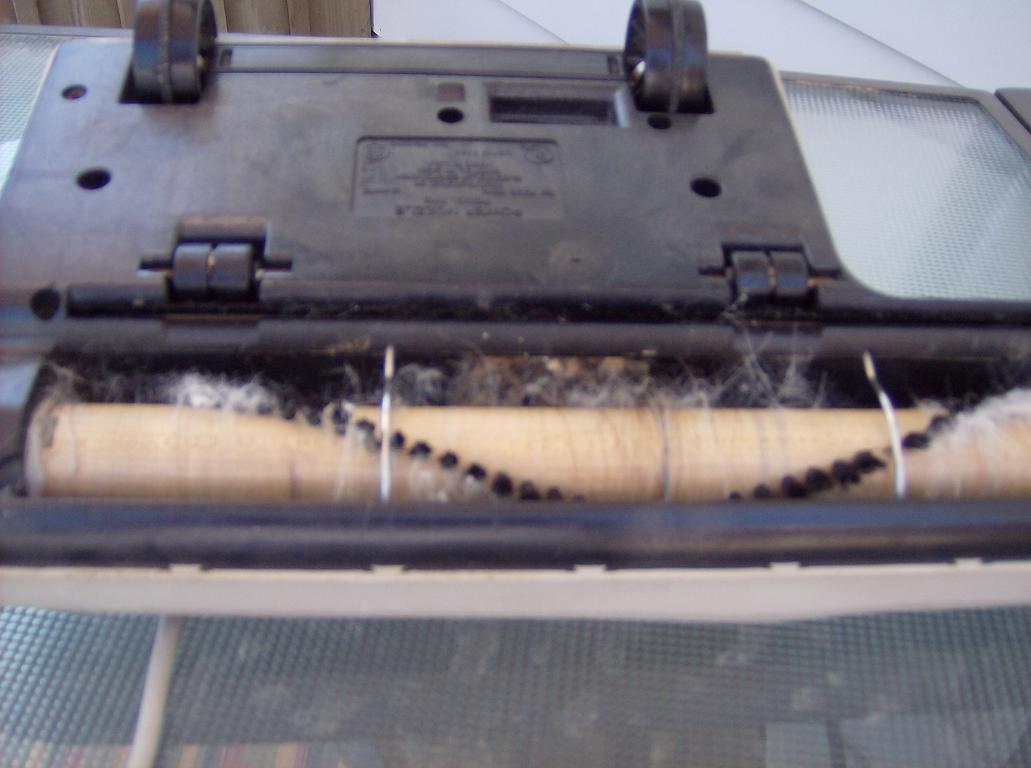
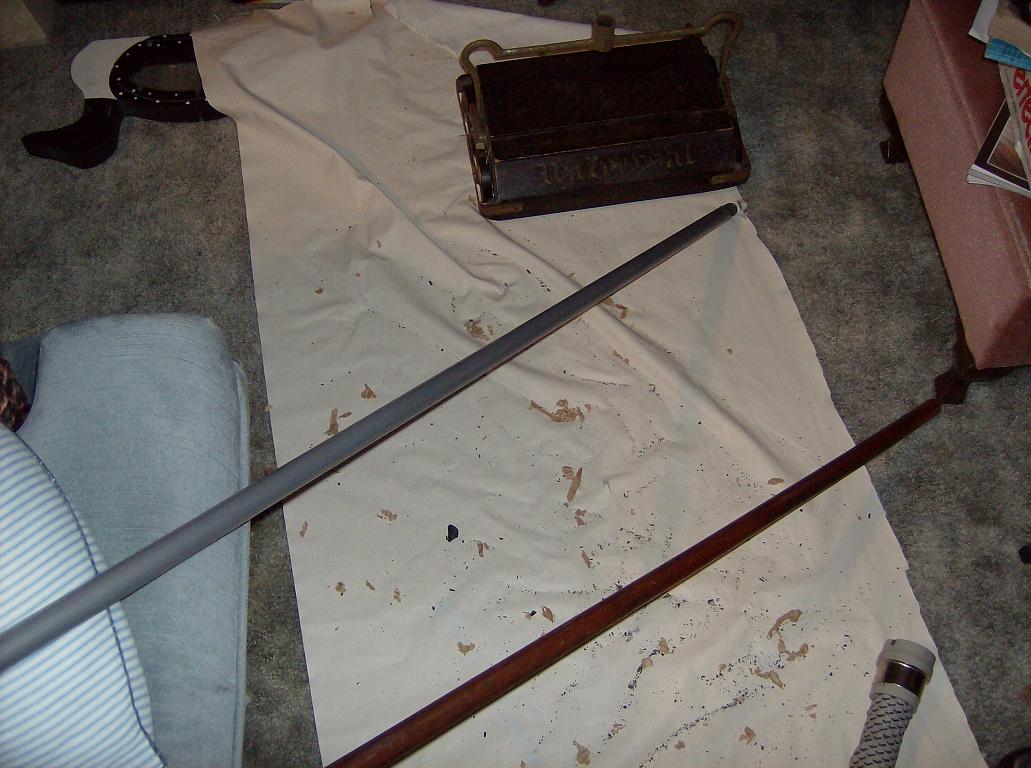
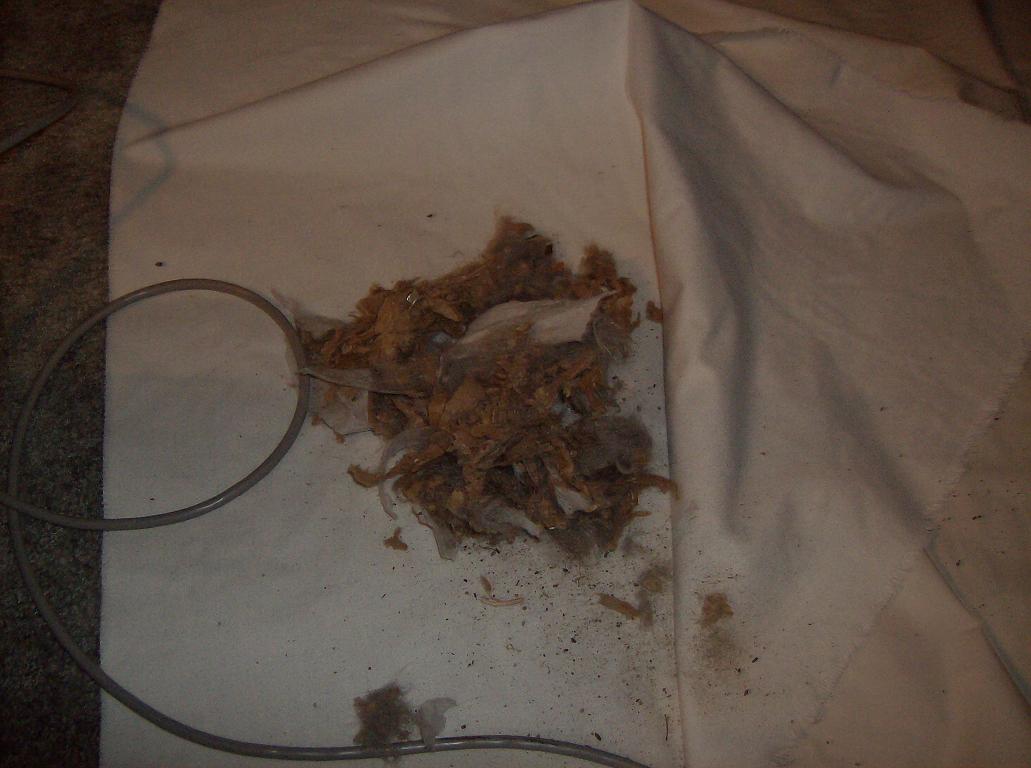
Hose: you could try easing a long broom handle or length of quarter round down the hose, while spinning it to dislodge any more chips - a coat hanger is more likely to dislodge more of the rubber liner. From the condition of the hose weave 'veins' It wouldn't surprise me that the hose was stepped on and this caused a coil or two to bend down into the airstream, trapping things. These hoses are notorious for drying out, cracking inside and shedding the black rubber liner - these is the 'ashphalt' fragments that are falling out. Remove the handle and lay the hose out straight (weight it down with books & boards between two 2x4s if it refuses the lay straight) on a table with a lightbulb shining through one end - you should be able to sight down the hose interior to locate where the clog- causing deformation is. It may not be latex-able because of this but it's worth a try if we ever manage a time to meet up sometime this summer. (hint). Nice to see the hose is the Blue one! Bag Door hinge gap: From your pictures the gap when the door is latched closed is too far apart. Should be no greater than 1/8". Possibly the hinges are deformed or one side is broken off or...only you can see this in detail. It may be as simple as the screws holding the two door halves together have loosened. The will be a fix for this or you can replace the inner door panel with the hinge from a donor vac. It may be the hinge mount points on the frame inside. Next picture I will discuss the lock-out switch... 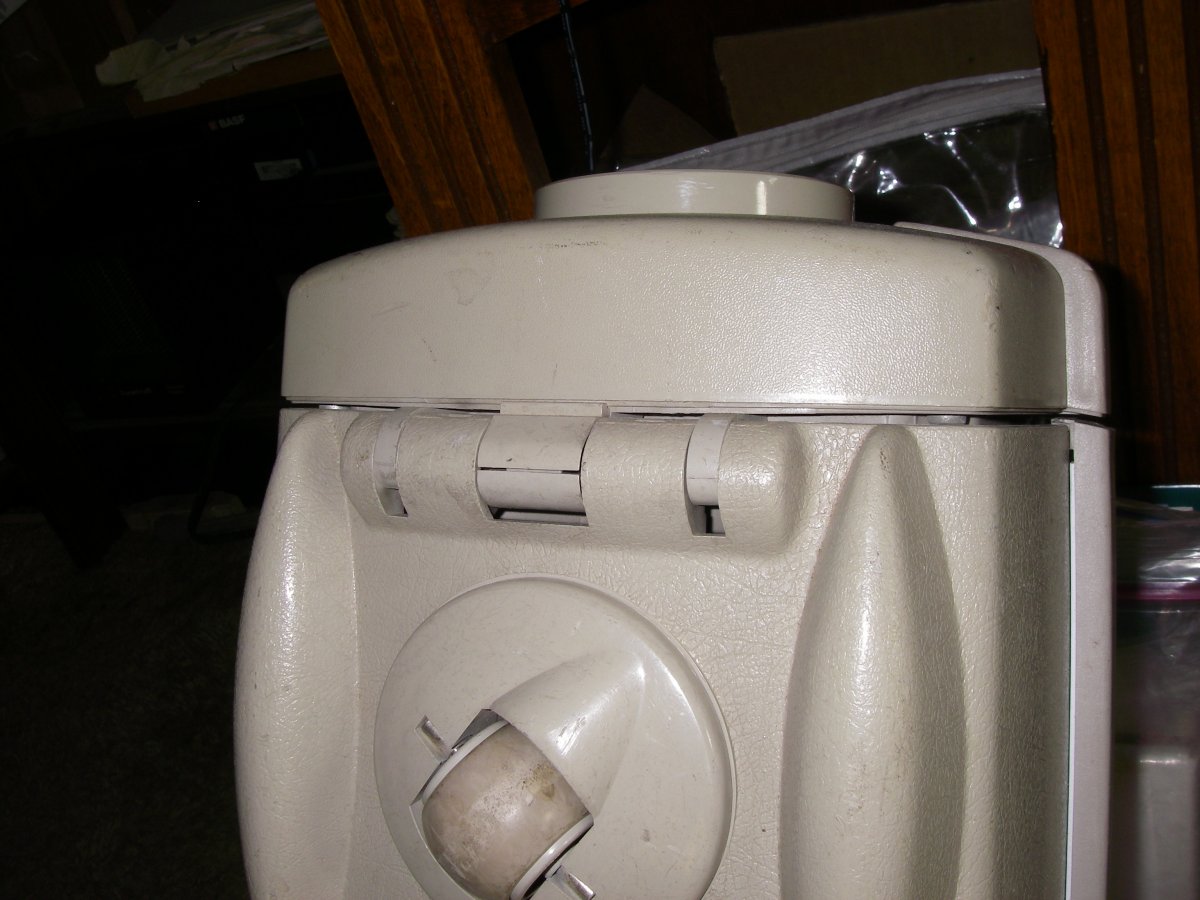
| ||
| Post# 69768 , Reply# 24 5/18/2009 at 18:26 (5,454 days old) by aeoliandave (Stratford Ontario Canada) | ||
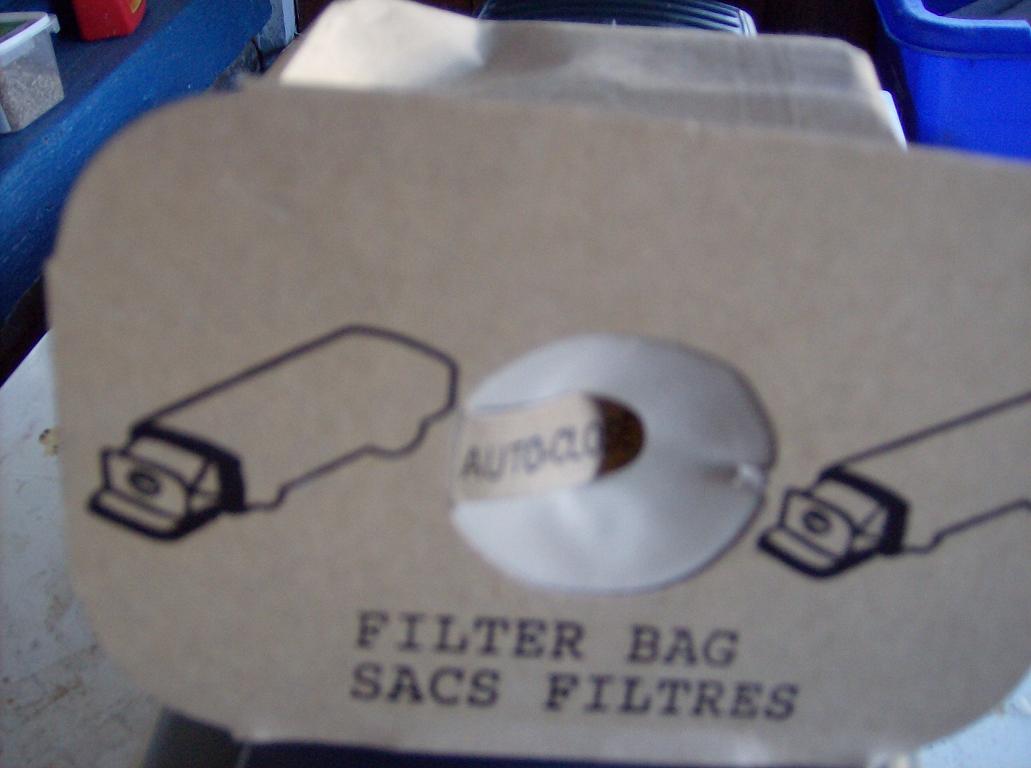
|
Hooray on the PN !!! One more puzzlement solved.
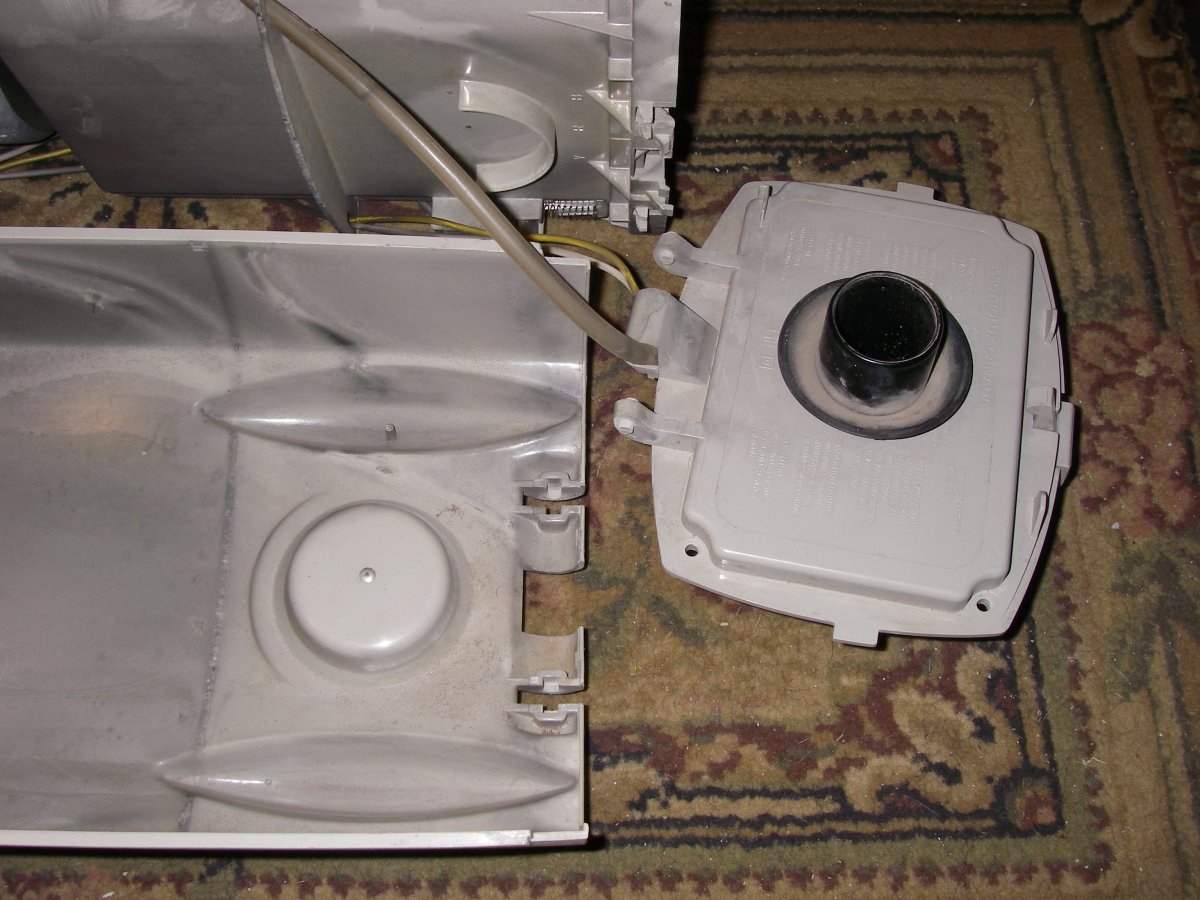
Lock-out switch. is tucked into one corner surrounded by the rubber sealing gasket. It has a strong spring that will lift the cardboard corner off the gasket. There is a corresponding 1/4" raised 'L' shaped tab on the bag door that presses the cardboard corner to the switch head. You could build up this tab with a Felt-tac button or somesuch to engage this switch positively but it would be best to correct the bag door clearance gap first. Running suction will seat the bag cardboard tight against the gasket, of course but that large gap could allow the bag to rotate out of 'square' when closing the door and then you'd get leakage around the edges of all 4 sides. There's got to be a way to get that hinge or mount adjusted to pull the door closer to the bag compartment opening...and I know you'll find it, Brian. Gonna take my System 90 door off tonight and have a look-see. You've gotten me curious and I need to put a new cord on the cordwinder anyway to get mine running. Dave 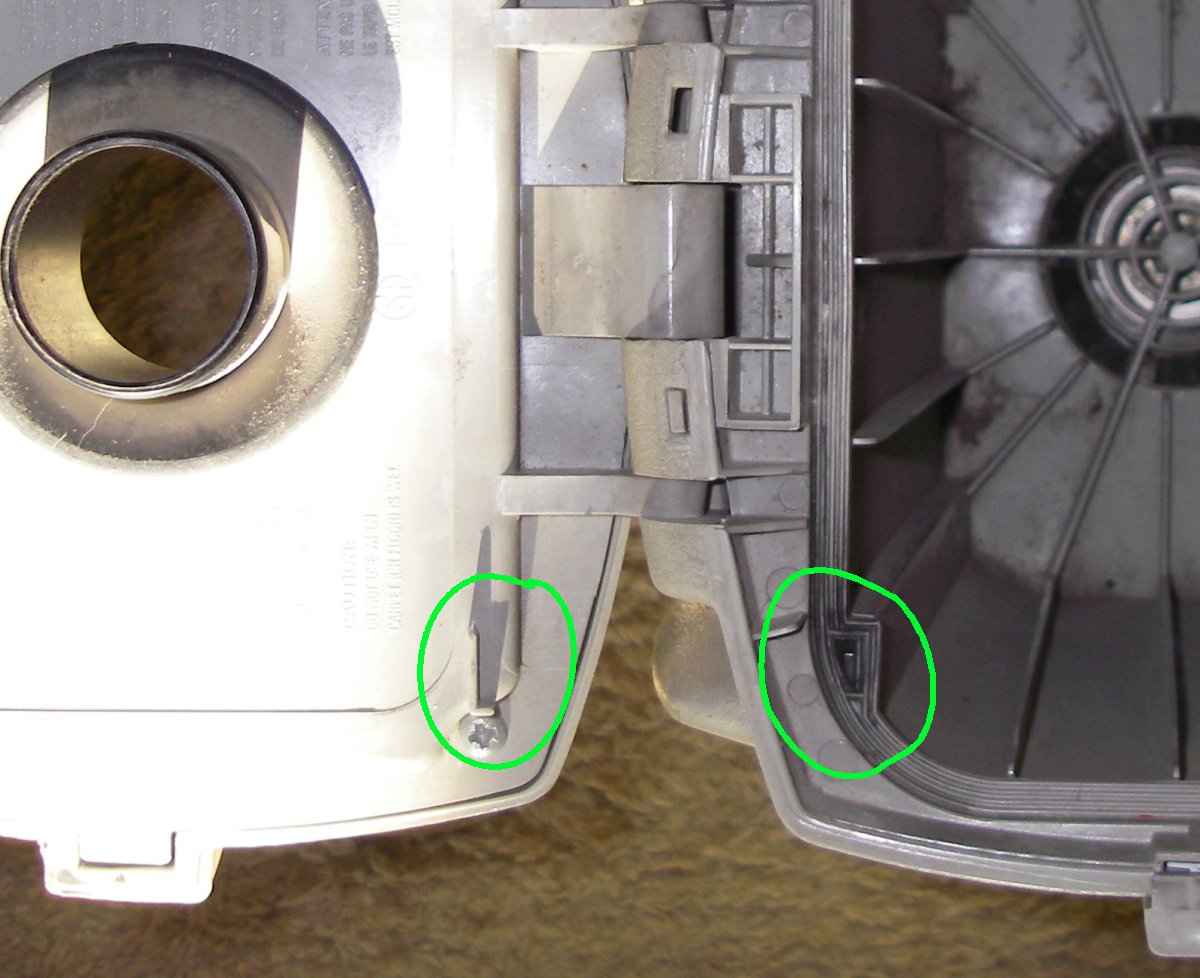
| ||
| Post# 69771 , Reply# 25 5/18/2009 at 19:06 (5,454 days old) by vacman117 (Chicago, IL) | ||
clogs | ||
| Post# 69773 , Reply# 26 5/18/2009 at 19:13 (5,454 days old) by aeoliandave (Stratford Ontario Canada) | ||
|
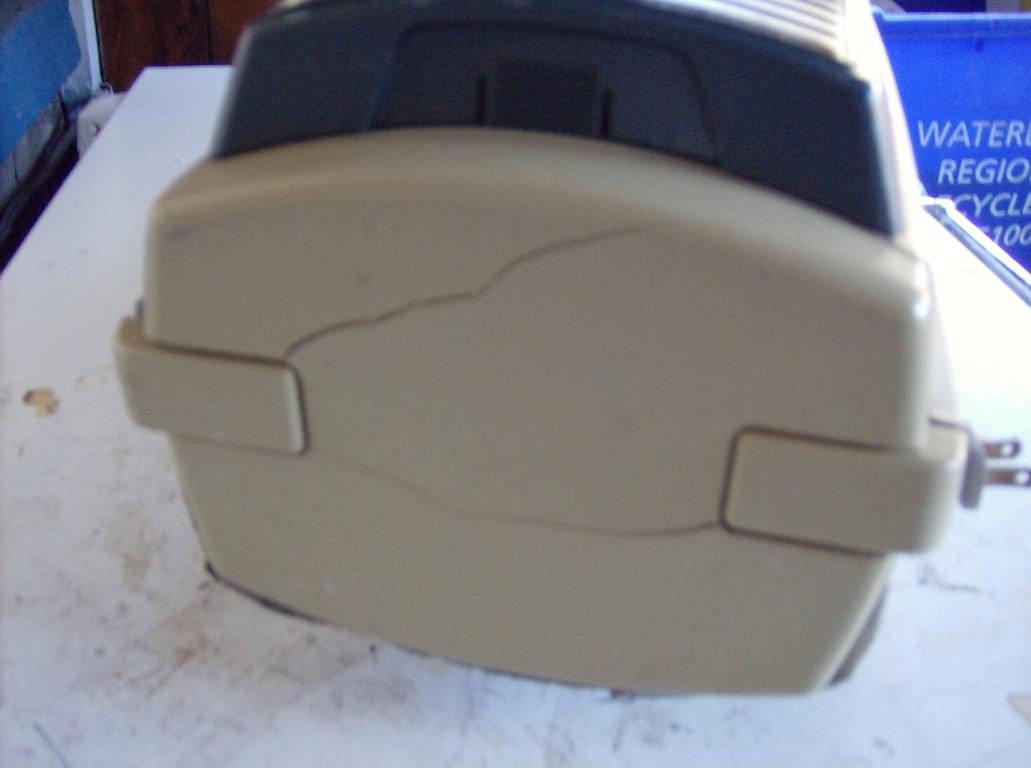
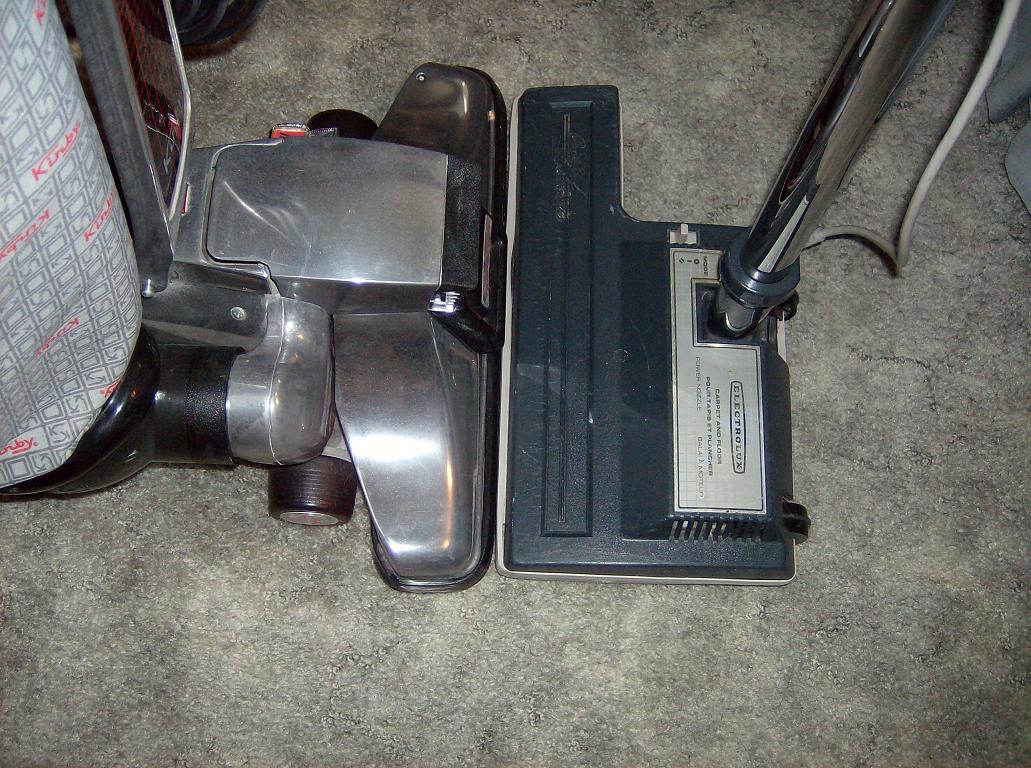
Taking the Ambassador/System 90 apart
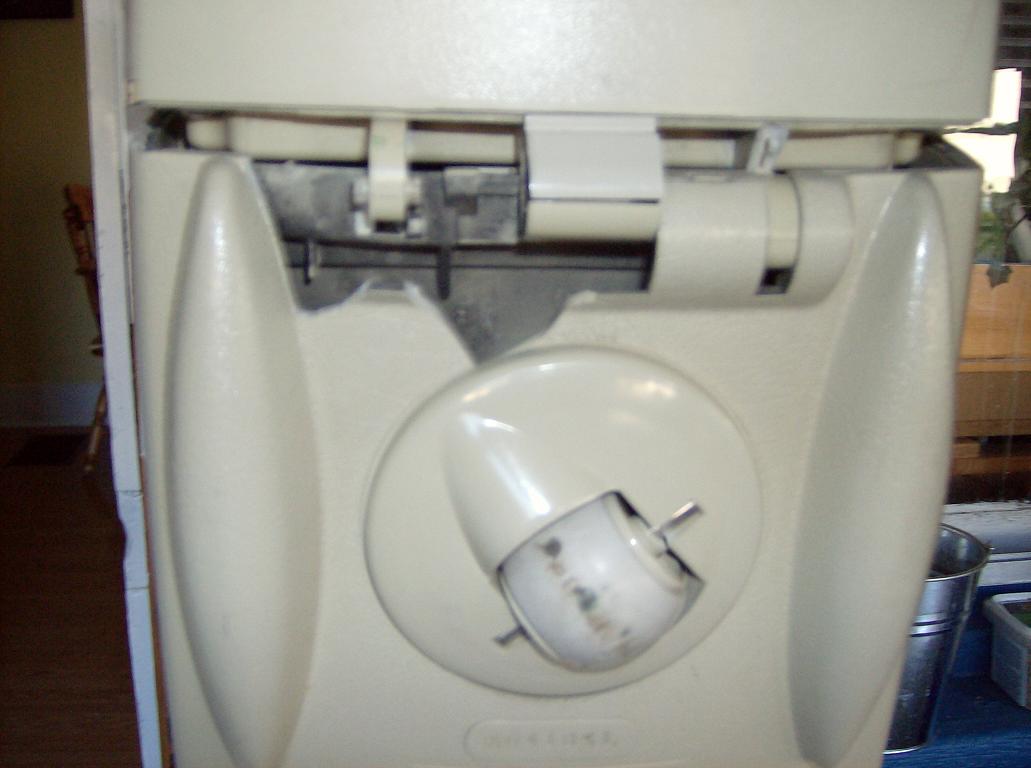
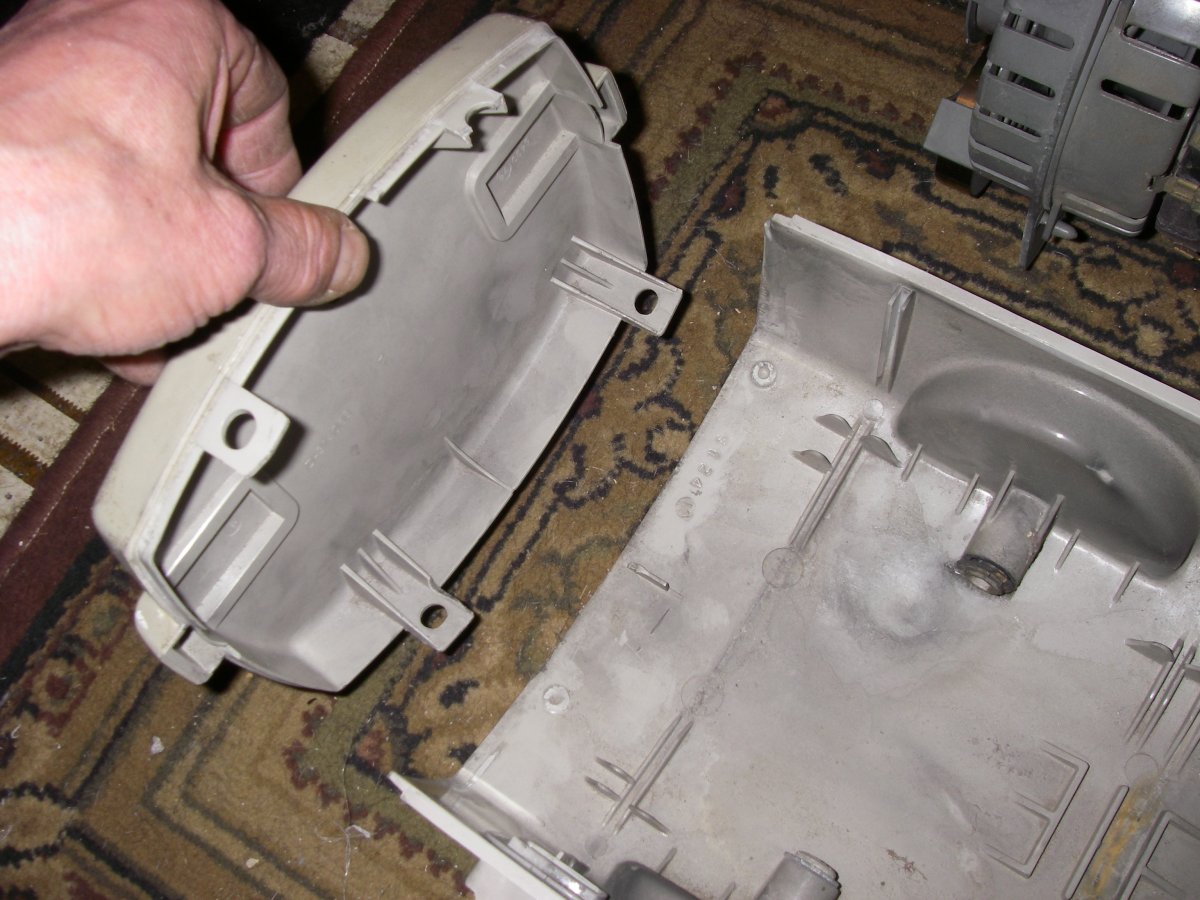
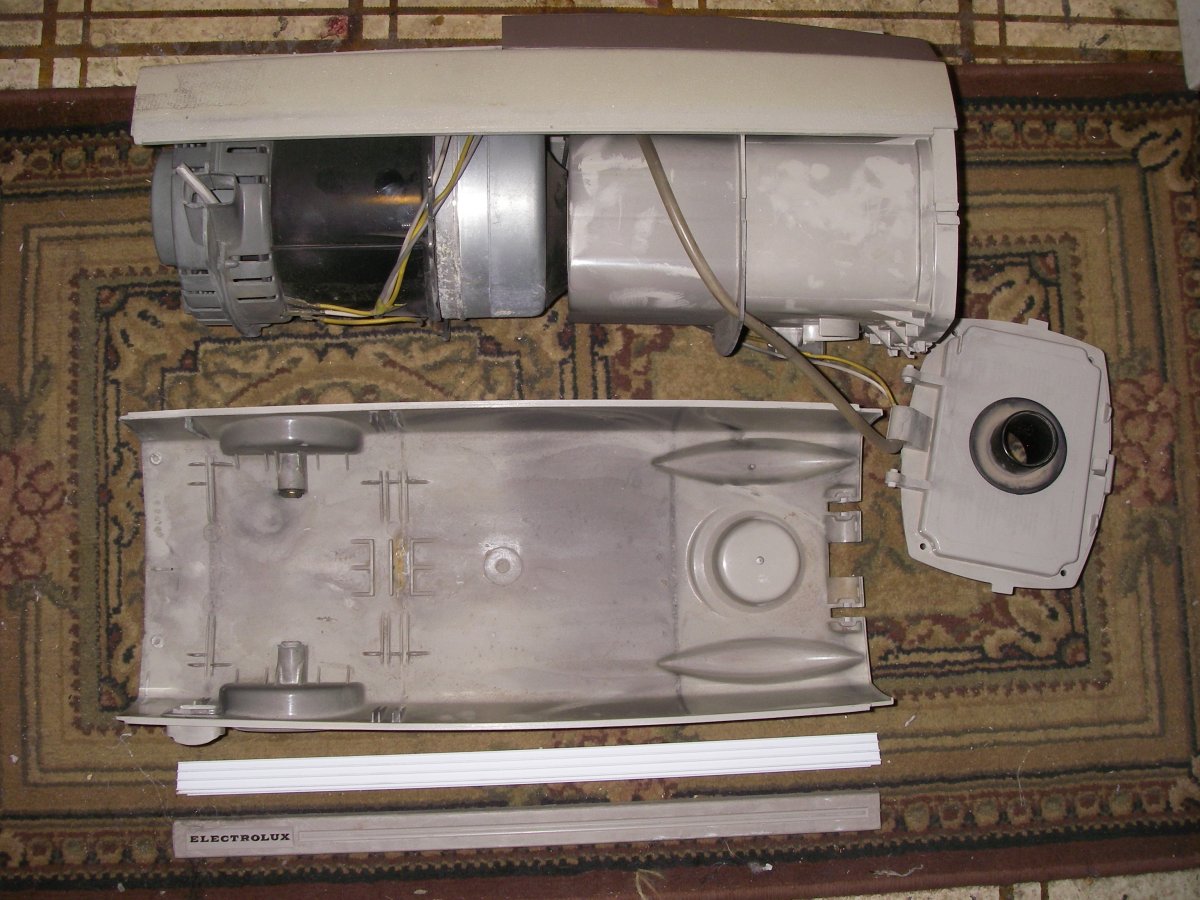
Do not try to pry off the Motor Cap first! It is held in place with 4 internal posts and must be remove cleanly after the two body halves are separated. Quite often 'service' guys break the posts trying to remove it first. Like mine are! :-( You can see in one of the following pictures how easy it will be to close up those cracks but they do not affect the vacuums operation or performance at all - just another exhaust vent. LOL Now, how to get inside the Vacuum shell... Remove the 4 screws holding the bag door together and set aside the outer half. Lift up the end of the rubber side strips and they will peel off on the white plastic side locking strips. With a bit of jiggling the white side strips will slide forward and off. Now use a flat blade screwdriver and your fingers to separate the bottom shell half from the cordwinder/motor/bag cage still 'attached to the upper shell. Note that there are two shallow tabs at the bottom of the cage that fit visible slots in the bottom shell rim between the main hinges. The center fat hinge merely carries two wires to the intake for the hose and a vinyl tube to trigger the Bag Full circuit mechanism. From another one of the following pictures you can see that the broken off section of your bottom shell has location spots to capture the hinge. One of yours is missing now creating that door gap but that's not a total disaster. :-) Now you can remove the cordwinder and replace the cord...Oh Wait... Ok, so if your door closes and the vacuum runs there may be no need to take the whole consarned thing apart until we find a donor shell. The gray/white parts color is probably standard and your blue parts are in perfect shape. I have every confidence another of this style Electrolux will turn up soon...remember, Stratford's Free Treasure Hunt Junk day is May 28th weekend and I'll keep my eyes open... 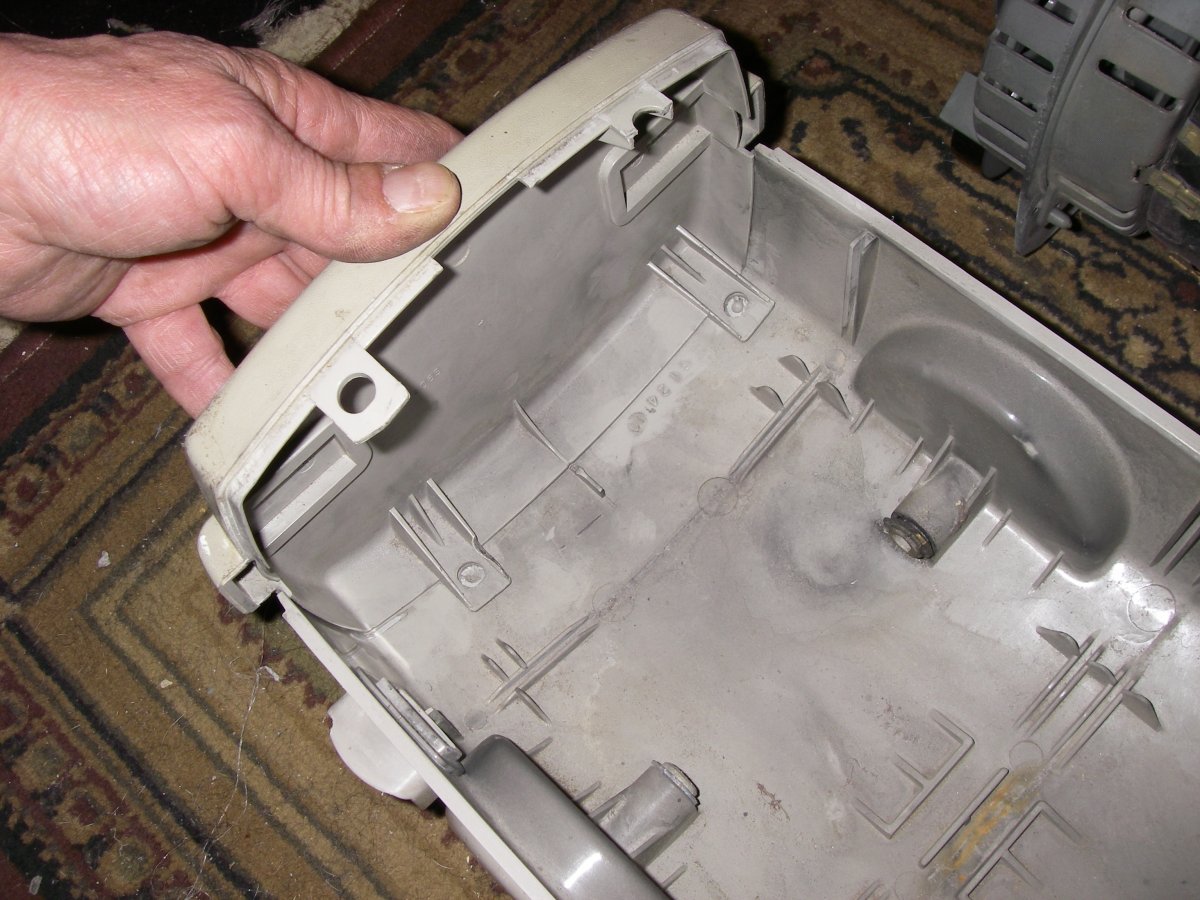
| ||
| Post# 69775 , Reply# 27 5/18/2009 at 19:16 (5,454 days old) by aeoliandave (Stratford Ontario Canada) | ||
|
| ||
| Post# 69776 , Reply# 28 5/18/2009 at 19:17 (5,454 days old) by aeoliandave (Stratford Ontario Canada) | ||
|
| ||
| Post# 69777 , Reply# 29 5/18/2009 at 19:18 (5,454 days old) by aeoliandave (Stratford Ontario Canada) | ||
|
| ||
| Post# 69785 , Reply# 31 5/18/2009 at 20:20 (5,454 days old) by aeoliandave (Stratford Ontario Canada) | ||
|
| ||
| Post# 69798 , Reply# 33 5/18/2009 at 21:24 (5,454 days old) by aeoliandave (Stratford Ontario Canada) | ||
|
| ||
| Post# 69802 , Reply# 34 5/18/2009 at 21:49 (5,454 days old) by shag (Ontario, Canada) | ||
|
Too far gone? | ||
| Post# 69803 , Reply# 35 5/18/2009 at 21:51 (5,454 days old) by shag (Ontario, Canada) | ||
|
Too far gone? | ||
| Post# 69804 , Reply# 36 5/18/2009 at 21:56 (5,454 days old) by shag (Ontario, Canada) | ||
|
I will put it all back together tomorrow. I think the vacuum just needs a hinge and it will be fine, but the hose is toast. I noticed all day it kept get more bulges in it and there are some weak spots. I think that black stuff coming out is the inside of the hose. I probably didn't help things any with all the digging I did to it. Dave, if you have an extra hose you would like to sell,I'm interested. Thanks for everyone's help. | ||
| Post# 69863 , Reply# 37 5/19/2009 at 21:11 (5,453 days old) by shag (Ontario, Canada) | ||
|
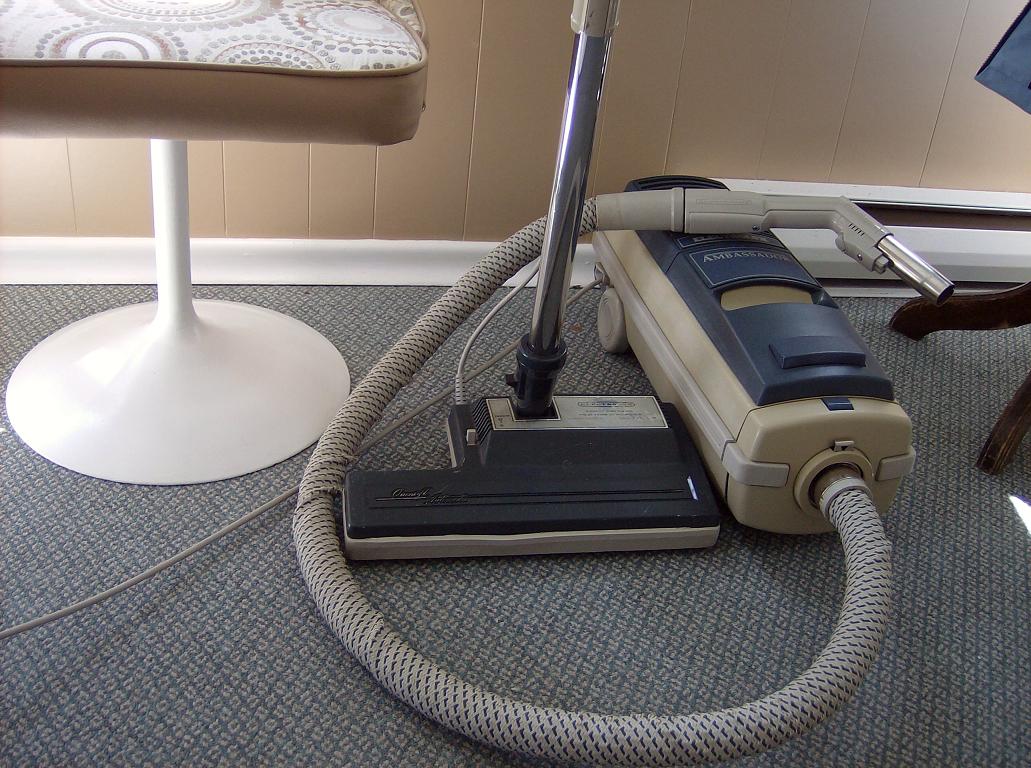
The Ambassador. | ||
| Post# 69864 , Reply# 38 5/19/2009 at 21:13 (5,453 days old) by shag (Ontario, Canada) | ||
|
The Ambassador. | ||
| Post# 69865 , Reply# 39 5/19/2009 at 21:17 (5,453 days old) by shag (Ontario, Canada) | ||
|
The Ambassador. | ||
| Post# 69868 , Reply# 41 5/19/2009 at 22:03 (5,453 days old) by aeoliandave (Stratford Ontario Canada) | ||
|
| ||
| Post# 69873 , Reply# 42 5/20/2009 at 03:26 (5,453 days old) by kenmore81 (Warwick, RI) | ||
|
Nice Job | ||
| Forum Index: | 
| Other Forums: |

|

|

|

|

|

 Comes to the Rescue!