|
Thread Number: 41296
/ Tag: Pre-1950 Vacuum Cleaners
Another Kirby 505 motor to start work on part 2 |
[Down to Last] |  |
Post# 437950 1/29/2021 at 13:20 (1,174 days old) by VacMadMan  (Pueblo Co.) (Pueblo Co.) |
||

Well this 505 motor has been thoroughly cleaned and polished and is ready for reassembly. Unfortunately the light cap was cracked on both sides so I decided to remove the light cap trim that is in good condition. I do have a 505 light cap that I can replace it with that needs the trim....there's a first time for everything, but I love the challenge.
| ||
|
Post# 437951 , Reply# 1 1/29/2021 at 13:36 (1,174 days old) by KirbyClassicIII (Milwaukie, Oregon) |
||
VacMadMan | ||
|
Post# 437987 , Reply# 2 1/30/2021 at 13:20 (1,173 days old) by VacMadMan (Pueblo Co.) |
||
|
505 or Kirby 2C?
I got this old 505 back together, and just for fun I put on a Kirby 2C nozzle with the belt cap, and just like that I have a pre-belt lifter 505....LOL!!
| ||
|
Post# 437995 , Reply# 4 1/30/2021 at 16:39 (1,173 days old) by VacMadMan (Pueblo Co.) |
||
|
| ||
| Post# 438040 , Reply# 5 1/31/2021 at 20:33 (1,172 days old) by kirbyklekter (Concord,Ca.) | ||
|
Nag nag nag... Jim, When you have a minute can you tell me about that safety switch and how it works? I don't even know how long this design was used. I'm guessing that when the nozzle is clamped on, contact is made with the switch (?) and the circuit is complete, but what do I know? Thanks, Bill | ||
| Post# 438044 , Reply# 6 1/31/2021 at 21:58 (1,171 days old) by Lesinutah (Utah) | ||
Safety switch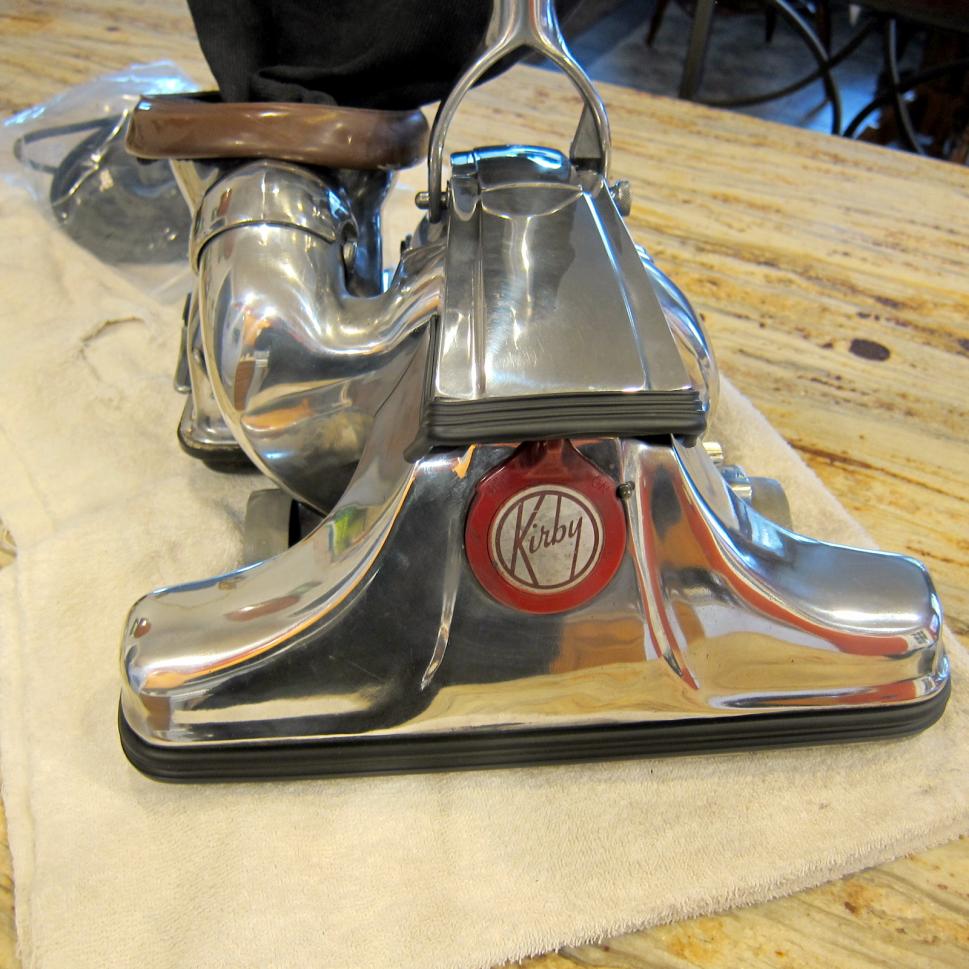
The model 1c had a safety switch. It's been around atleast since model c.
The switch makes it so the vacuum won't turn on unless nozzle or hose is in place. The 500 series 2 wires +,- from light, 2 +, - coil, ground power from carbon brushes. The all connect to the switch. The wiring is ran on the outside of the vacuum from the switch underneath to the safety switch. If you went to the switch and didn't hook up safety switch wires it would turn on when you power on the vacuum. | ||
| Post# 438066 , Reply# 7 2/1/2021 at 18:08 (1,171 days old) by kirbyklekter (Concord,Ca.) | ||
|
Thanks Les, it just looks so different than the other Kirby's that came later. | ||
| Post# 438069 , Reply# 8 2/1/2021 at 18:50 (1,171 days old) by quebecois (Waterloo, Canada) | ||
|
Fantastic look ! DId you do all this polishing by hand or did you use a felt wheel or a cotton wheel and a buffer? | ||
| Post# 438071 , Reply# 9 2/1/2021 at 19:05 (1,171 days old) by Lesinutah (Utah) | ||
|
Yes | ||
|
Post# 438076 , Reply# 10 2/1/2021 at 21:01 (1,171 days old) by KirbyClassicIII (Milwaukie, Oregon) |
||
|
VacMadMan
Jim,
Here is an in-person view of the wiring diagram for models 505-515, and I believe the same applied to models 3C and 4C. ~Ben
View Full Size
| ||
|
Post# 438092 , Reply# 11 2/2/2021 at 09:22 (1,170 days old) by VacMadMan (Pueblo Co.) |
||
|
Fran�ois
I use a Chicago electric variable speed close quarter hand drill. I start by wet sanding with 1500 or 2000 grit sandpaper, depending on the level of oxidation, or damage to the aluminum. I then work my way up to 3000 grit before I start polishing with a cotton polishing wheel. There are a number of different sizes and types you can use. I polish using Mother's mag polish, then I'll finish by hand polishing with Flitz corrosion protection polish. This will protect the finish for up to 6 months. If you need to remove bad or deep scratches you may want to start with 600 grit then work your way up to 3000 grit 600, 1000, 1500, 2000, 2500, 3000,...polish. Jim
View Full Size
| ||
|
Post# 439676 , Reply# 12 3/12/2021 at 03:18 (1,132 days old) by KirbyClassicIII (Milwaukie, Oregon) |
||
|
LesinUtah | ||
| Forum Index: | 
| Other Forums: |

|

|

|

|

|

 Comes to the Rescue!


;)
;)
;)
;)