Thread Number: 38008  /  Tag: 50s/60s/70s Vacuum Cleaners
Removing plastic casing!! HOOVER 1334E
[Down to Last]

Vacuumland's exclusive eBay Watch:
scroll >>> for more items --- [As an eBay Partner, eBay may compensate vacuumland.org if you make a purchase using any link to eBay on this page]
Post# 405016   2/3/2019 at 15:32 (1,900 days old) by Webs32 (Cornwall,UK)        

Hi Folks, new to this forum.
I have dismantled the above hoover model because I want to get into the motor.
I cannot remove the plastic casing to get at the screws for the motor.
Anybody got any ideas?? Would the casing be glued?
Attached are a couple of pics from underneath, if they are any help


  Photos...       <              >      Photo 1 of 2         View Full Size
Post# 405033 , Reply# 1   2/3/2019 at 22:45 (1,900 days old) by MadMan (Chicago, IL, USA)        

madman's profile picture
Welcome!

I see two screws holding the whole plastic motor housing to the metal body, right there. Look like phillips heads. I'd imagine there's at least two more you can probably get from the top. Not familiar with this model, just going by what I see.


Post# 405062 , Reply# 2   2/4/2019 at 12:01 (1,899 days old) by Webs32 (Cornwall,UK)        

Thanks Madman,
The motor is screwed to an aluminium piece, not the casing.
But as you said there are also two screws at the back that I can't get at that's why I was wondering if the plastic casing is easily removed :D


Post# 405082 , Reply# 3   2/4/2019 at 23:07 (1,899 days old) by MadMan (Chicago, IL, USA)        

madman's profile picture
The aluminum piece you're talking about is like the whole body of the vacuum, yes? Those screws 'in the back,' do you mean the top? Why not give us a pic of the top?

Well, besides that, for lack of ability to describe it any better, just keep taking stuff off until you get it.


Post# 405115 , Reply# 4   2/5/2019 at 14:31 (1,898 days old) by sensotronic (Englandshire)        

You need to purchase a Philips head screwdriver with an extra long shaft to reach the other two screws. This set on Amazon should suit your needs.

CLICK HERE TO GO TO sensotronic's LINK


Post# 405139 , Reply# 5   2/6/2019 at 13:47 (1,897 days old) by Webs32 (Cornwall,UK)        

Hi Sensotronic,
I may have a screw driver that reaches but I would never get the screws back in, taking the plastic casing off is the only sensible way of getting at the screws


Post# 405151 , Reply# 6   2/6/2019 at 17:56 (1,897 days old) by sensotronic (Englandshire)        

The only way of removing the motor from the plastic casing is to undo the four screws. Believe me, I have done it myself and this is how you do it according to the Hoover service manual. The motor is fixed to the metal casting using four screws. The two screws at the bottom can be undone using a screwdriver with a long shaft.

Post# 405763 , Reply# 7   2/21/2019 at 15:36 (1,882 days old) by ricky5050 (Durham UK)        
As Sensotronic says ..

Hi Webs32 I’ve been dismantling Hoover juniors since the early 80s! I struggled to work out how to remove the motor for a few years and used to cut the 3 rd hidden screw you haven’t found its in front of the fan housing. But once I learned how to use the very long screwdriver it was easy. There’s even a cut out on the base edge of the white casing that the screw driver fits in. I’ve attached some pictures of a dirt searcher I did up. Sadly didn’t have one of the underneath with the motor out to show how the metal bit stays in but you can see it through the belt cover home with the motor removed. When you put it back pop the bottom two screws in the motor holes I sometimes wedge them with a bit of blu tack to stop them going straight through so I can line them up with the holes in the metal bit.

I hope that makes sense?

Richard


  Photos...       <              >      Photo 1 of 5         View Full Size
Post# 405764 , Reply# 8   2/21/2019 at 15:53 (1,882 days old) by gottahaveahoove (Pittston, Pennsylvania, 18640)        
BEAUTIFUL!

gottahaveahoove's profile picture
I'm dying to obtain one of those models.
Someday................................


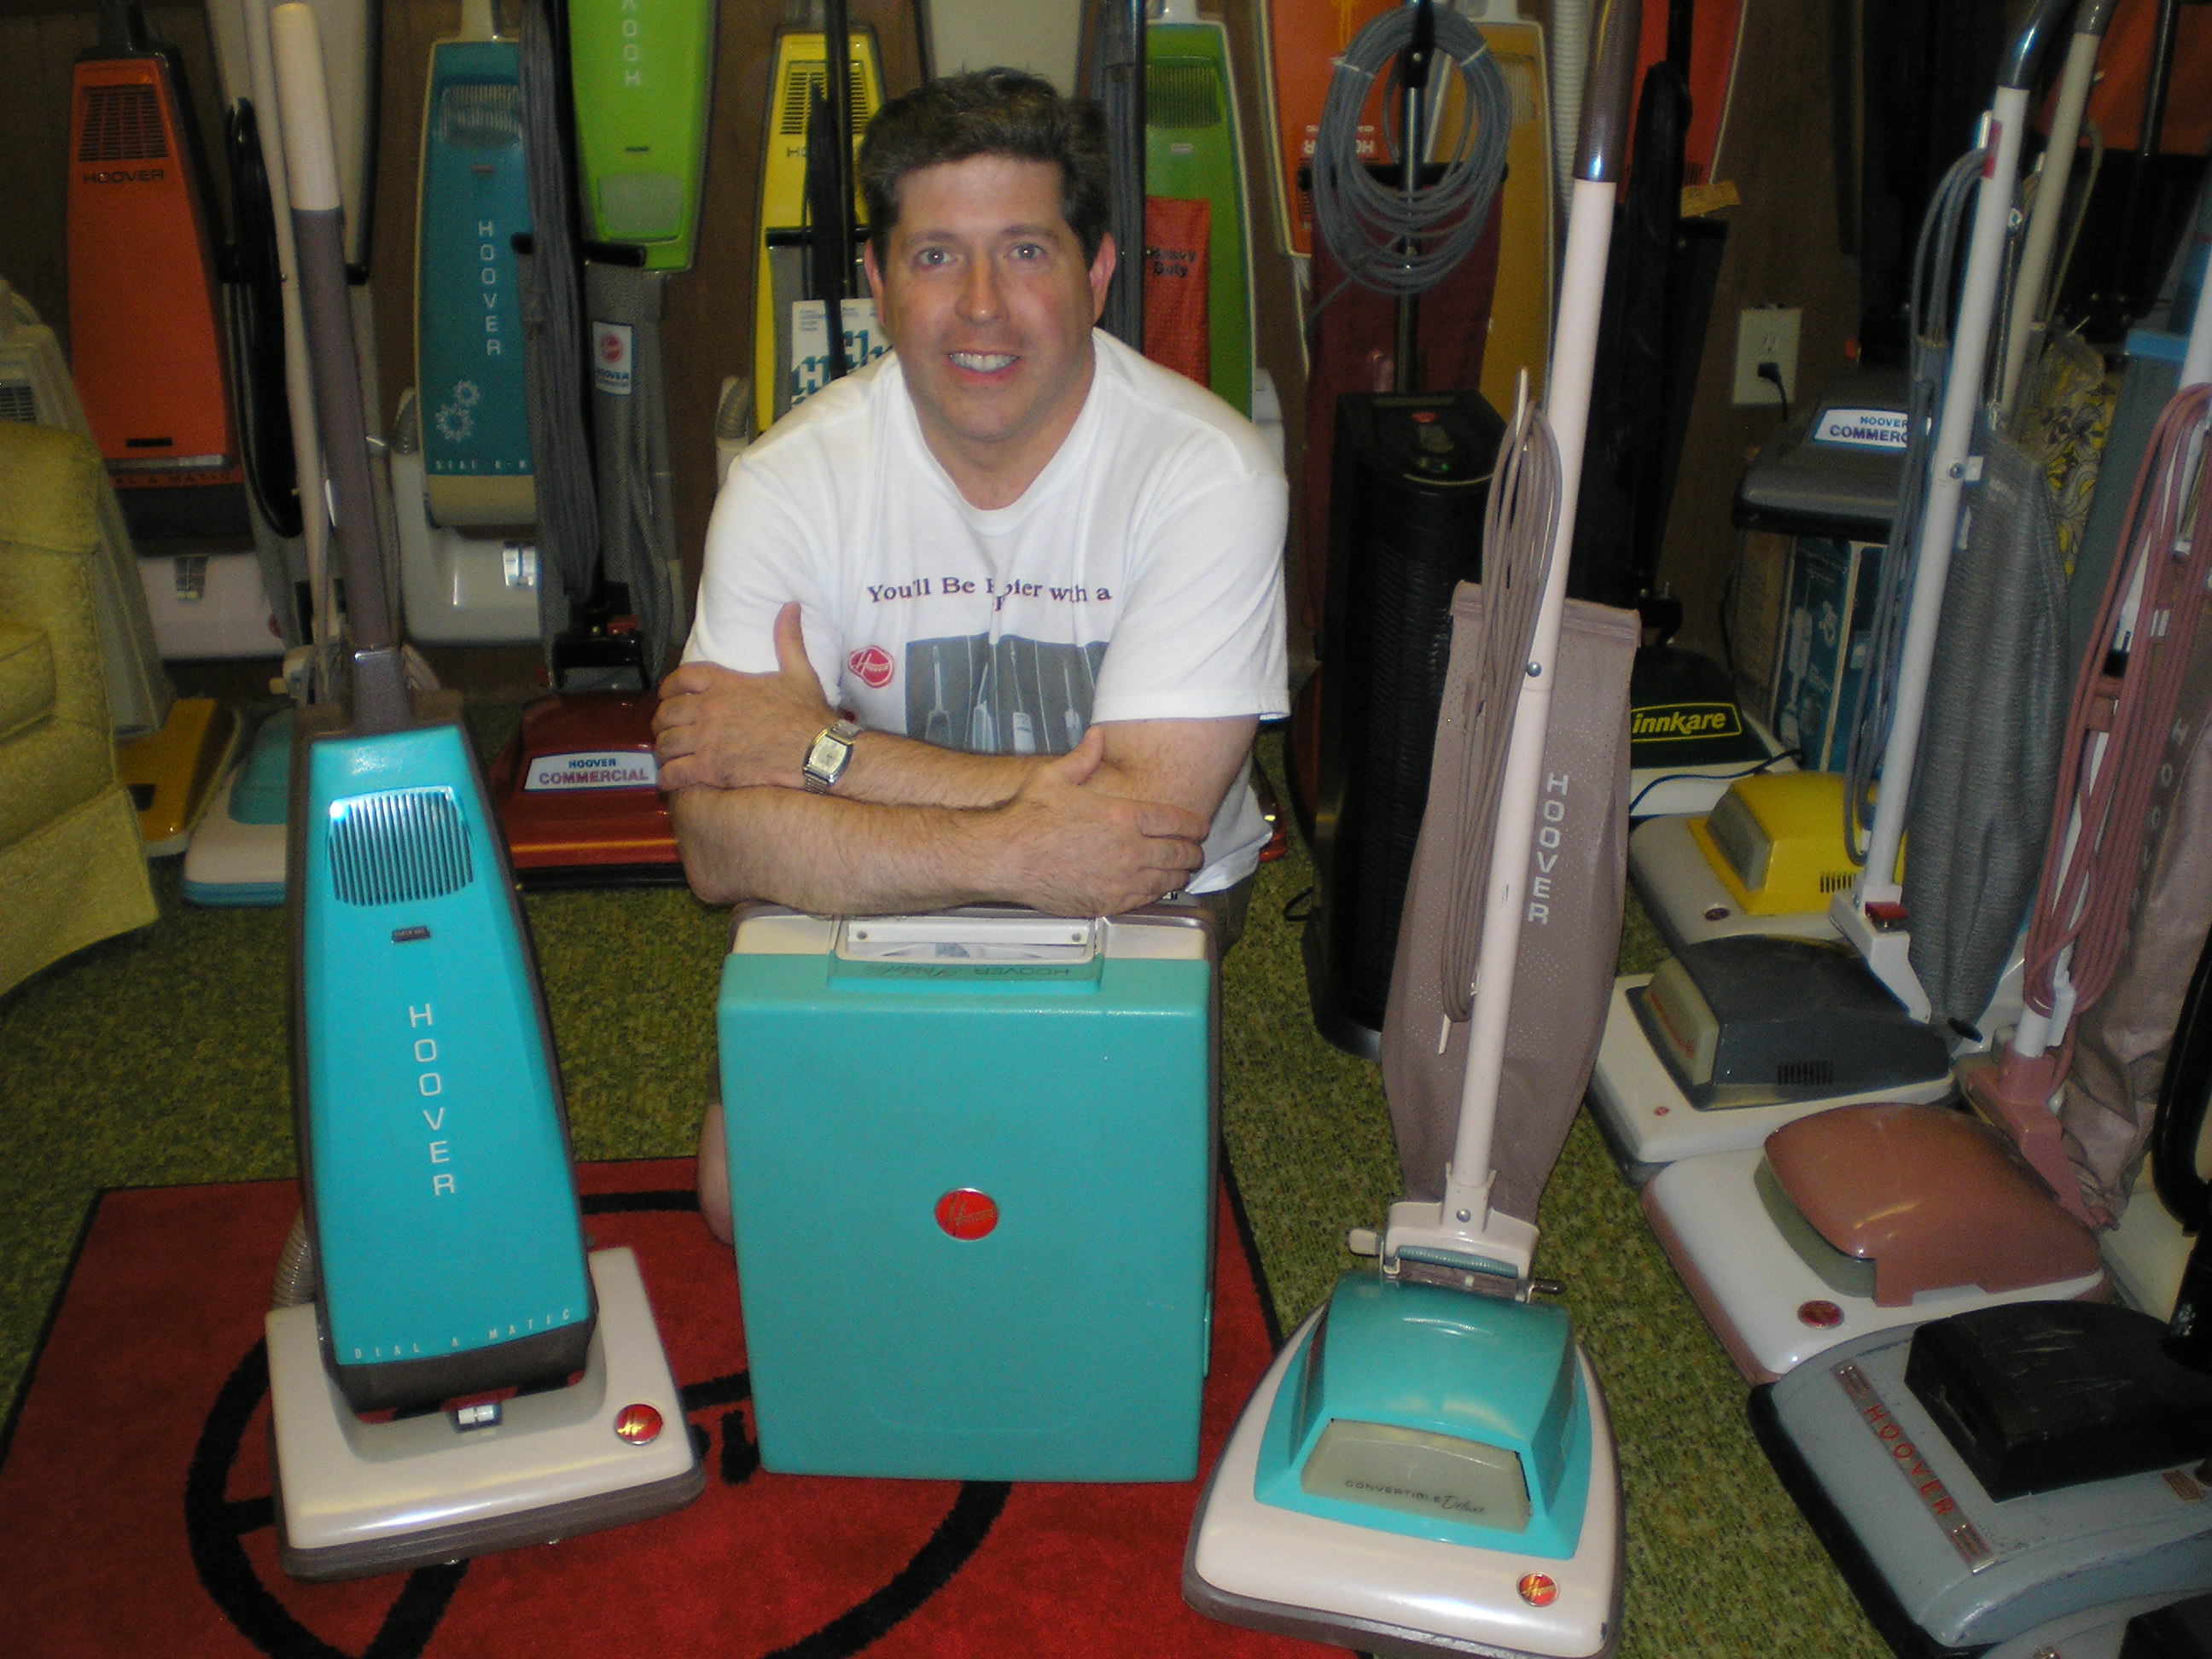
Post# 405765 , Reply# 9   2/21/2019 at 16:06 (1,882 days old) by ricky5050 (Durham UK)        
Found this on you tube. This will help

Hi here is chap stripping down a similar machine

Hope this helps

Richard


CLICK HERE TO GO TO ricky5050's LINK


  Photos...       <              >      Photo 1 of 3         View Full Size
Post# 405766 , Reply# 10   2/21/2019 at 17:30 (1,882 days old) by watsonw (Newport, Shropshire, UK)        
disassembling, assembling .

1300 range.....fiddly blighters at the best of times!

Like Richard I have done many 1300 range juniors circa 1985-2015!!!

In comparison the goblin counterpart upright model 102 (late 60s) was a dream to work on; a rare beast now!!!

Regards, Walter.


Forum Index:       Other Forums:                      


Comes to the Rescue!

Woops, Time to Check the Bag!!!
Either you need to change your vacuum bag or you forgot to LOG-IN?

Discuss-O-MAT Log-In


New Members
Click Here To Sign Up.


automaticwasher.org home
Discuss-o-Mat Forums
Vintage Brochures, Service and Owners Manuals
Fun Vintage Washer Ephemera
See It Wash!
Video Downloads
Audio Downloads
Picture of the Day
Patent of the Day
Photos of our Collections
The Old Aberdeen Farm
Vintage Service Manuals
Vintage washer/dryer/dishwasher to sell?
Technical/service questions?
Looking for Parts?
Website related questions?
Digital Millennium Copyright Act Policy
Our Privacy Policy