|
Thread Number: 37610
/ Tag: 80s/90s Vacuum Cleaners
Just got this Kirby |
[Down to Last] |  |
| Post# 401008 11/17/2018 at 11:18 (1,984 days old) by scudo (uk) | ||
|
I took a chance and bought this for �19. Not quite sure yet what all the accessories are but quite pleased with it. It will take a bit of work cleaning it up but should look nice when done. | ||
| Post# 401009 , Reply# 1 11/17/2018 at 11:28 (1,984 days old) by human (Pines of Carolina) | ||
 | ||
Post# 401012 , Reply# 2 11/17/2018 at 11:36 (1,984 days old) by KirbyClassicIII  (Milwaukie, Oregon) (Milwaukie, Oregon) |
||
scudo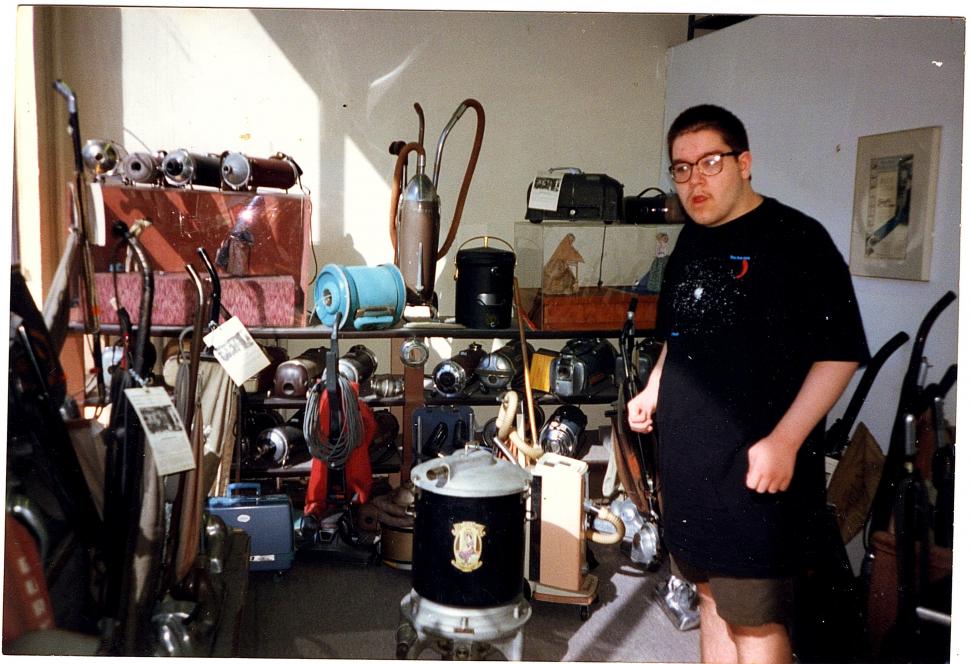
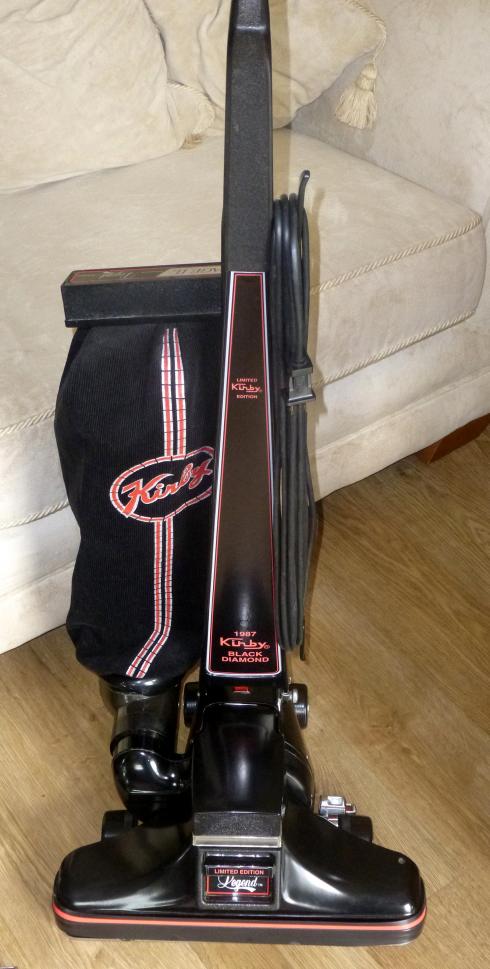
Awesome - you just scored one of the earliest Traditions out there with the locking headlight cap and the speed switch inside of it (if it's not been replaced already like most of them had over the years)! I know this would also have the metal fan instead of the plastic one.
Here is my 1979 Tradition... unfortunately, this one is missing the lock button (I have a never-used one, but still boxed) and I've also yet to find the original speed switch that goes inside the cap. ~Ben
View Full Size
This post was last edited 11/17/2018 at 14:55 | ||
| Post# 401015 , Reply# 3 11/17/2018 at 12:46 (1,984 days old) by scudo (uk) | ||
|
Yes nice machines. I see this one also has the jigsaw and can be used as a drill, not that I will use them but nice to have. I just checked and it does indeed have the metal fan. What are those comb looking things for? Any idea. | ||
|
Post# 401018 , Reply# 4 11/17/2018 at 13:37 (1,984 days old) by Rivstg1 (colorado springs) |
||
Scudo
That comb is the Shag Rug accessory to be put on the front of the power nozzle, intended to 'comb' long fiber carpet ( aka 'Shag' carpeting that was quite invouge in the 1970's/80's). Shag King is the name Kirby gave it.
Nice score you got there, especially for the money! Seemingly all the options for the Kirby! | ||
| Post# 401024 , Reply# 5 11/17/2018 at 14:37 (1,984 days old) by kirbyklekter (Concord,Ca.) | ||
|
In the second photo can you tell me what is attached to the exhaust blower? I've never seen that before. Did the owners manual come with this. You really scored on this, can't wait to see it all shined up, congrats! | ||
|
Post# 401025 , Reply# 6 11/17/2018 at 14:52 (1,984 days old) by KirbyClassicIII (Milwaukie, Oregon) |
||
|
scudo
In the 2nd picture, I see a dirt meter (the tool that Kirby salesmen use when demonstrating the machine) attached to where the bag would go, and I also see some spare belts on it.
The Tradition was the first Kirby with a disposable bag system, and it was indeed not perfect at all the first time around: the size of the fill tube was so-so. ~Ben | ||
| Post# 401026 , Reply# 7 11/17/2018 at 14:53 (1,984 days old) by scudo (uk) | ||
|
It looks like some kind of filter, it is hinged, it reminds of the type of filter Kirby put on when they are demonstrating to potential buyer to show the `muck` that comes out of the carpet. It has a perspex top and a paper towel on the bottom. | ||
|
Post# 401027 , Reply# 8 11/17/2018 at 15:00 (1,984 days old) by KirbyClassicIII (Milwaukie, Oregon) |
||
|
scudo
Here's the original speed switch inside the headlight cap (picture 1). I think yours had it replaced with the speed switch mounted on the fan case (pictures 2-3). If it had been indeed, then, initially it also would have had a blue plastic cover placed over it (see pictures 4-5), which had been removed by many owners.
Both of these speed switch types (the headlight mounted speed switch, and later the plastic cover over the fan case speed switch) were to keep it from getting dirt and moisture inside of it (especially when the Rug Renovator was being used). ~Ben | ||
| Post# 401031 , Reply# 9 11/17/2018 at 16:09 (1,984 days old) by scudo (uk) | ||
|
This is the front anf under the light cap. | ||
|
Post# 401033 , Reply# 10 11/17/2018 at 17:06 (1,984 days old) by KirbyClassicIII (Milwaukie, Oregon) |
||
|
scudo
So not only was the original speed switch (on the light cap) replaced, but so too had the metal fan! I can see those 11 blades for sure. I wonder just how still good that gray plastic fan is (because I've read that, being the first such kind, it did not stand up to hard abuse as well as the current cream Amodel plastic fan)?
~Ben | ||
| Post# 401035 , Reply# 12 11/17/2018 at 18:22 (1,984 days old) by vacuumdevil (Vacuum Hell ) | ||
|
| ||
| Post# 401056 , Reply# 15 11/18/2018 at 06:13 (1,983 days old) by scudo (uk) | ||
|
Does the `hinge pin` for the light cover come off? tapped out? | ||
|
Post# 401070 , Reply# 16 11/18/2018 at 11:18 (1,983 days old) by KirbyClassicIII (Milwaukie, Oregon) |
||
|
scudo
I would think so, regarding the hinge pin.
Rob (texaskirbyguy) has another thread about disassembling his Tradition: www.vacuumland.org/cgi-bi... (going to picture 8 in the 1st reply to this thread, you'll see how he got the hinge pin removed from his Tradition's light cap) ~Ben | ||
| Post# 401132 , Reply# 17 11/19/2018 at 00:39 (1,983 days old) by Rowdy141 (United Kingdom) | ||
 | ||
| Post# 401188 , Reply# 19 11/20/2018 at 12:00 (1,981 days old) by Rowdy141 (United Kingdom) | ||
|
| ||
| Post# 401198 , Reply# 21 11/20/2018 at 15:59 (1,981 days old) by Craig_1982 (Newcastle Under Lyme (England)) | ||
Scudo, Excellent purchase and it's looking fantastic so far on the restoration work, As for the Handle Spring Yoke you're probably going have to purchase a new yoke, I've had plenty of these break in the past and I've tried to bodge them up myself but they always fail soon after with it being such a under loaded part, Also I would advise getting the spring winding tool because without that tool this job is very awkward and hard to do because you have to wind the spring bushing up and whilst under tension at the same time try to lock the yoke clip (bit thats broke off on yours) into the corresponding middle slot on the bushing to lock it, If you are pretty savvy you could fabricate your own tool,
Regards Craig.
View Full Size
| ||
| Post# 401203 , Reply# 23 11/20/2018 at 17:01 (1,981 days old) by scudo (uk) | ||
|
Video of how to load the tension spring, go to 4.50: | ||
| Post# 401207 , Reply# 24 11/20/2018 at 17:30 (1,981 days old) by Craig_1982 (Newcastle Under Lyme (England)) | ||
|
Yeah that's pretty much the same way I used to do it before I purchased the tool, he does though make it look very easy in that video by only adding a small amount of tension on it, Also I've found by anchoring the motor shell helps too so it's not moving about whilst you do this, I usually just screw it down to me worktop using the bottom screw hole. Your'e idea seems good even if you don't add the full tension on the spring it might just stop the handle flying back at you.
| ||
|
Post# 401231 , Reply# 25 11/20/2018 at 22:42 (1,981 days old) by Rivstg1 (colorado springs) |
||
|
Absolutely | ||
| Post# 401233 , Reply# 26 11/20/2018 at 23:18 (1,981 days old) by Rowdy141 (United Kingdom) | ||
|
That's the sort of help I'm offering. That's why I was asking.
I can send you that part. Message me, and I'll remove it from my 'parts' Kirby. Welding, gluing, fabrication, may work in the short-term, but it will take quite a strain in use. I'm in the UK, offering to post it to you for free. You could buy another machine, locally via Gumtree (that's how I acquired 5), but why do that? I have the part, jiffy-bag, and stamps. 😇 | ||
| Post# 401256 , Reply# 27 11/21/2018 at 16:14 (1,980 days old) by scudo (uk) | ||
|
......."That's the sort of help I'm offering. That's why I was asking. I can send you that part. Message me, and I'll remove it from my 'parts' Kirby.".... I sent you an email Rowdy141 | ||
| Post# 401278 , Reply# 28 11/21/2018 at 23:15 (1,980 days old) by Rowdy141 (United Kingdom) | ||
|
A tip that I'd like to share is for renovating the Blue Trim on the Tradition Brushroll Head.
You don't need to remove the trim, but most people tend to when polishing the Head. Use a hot cloth or hairdryer to soften the trim before easing it over the rivets. Warm soapy water, as usual, to remove dirt. Scratch-Away, Mirror Glaze, or similar car-trim polish to remove years of tiny scratches where it was bashed into table legs. Kiwi/Punch Blue liquid scuff polish. Scuff polishes have a higher proportion of pigment than regular waxes. www.amazon.co.uk/Punch-Sh... (Kiwi discontinued the Blue liquid a couple of years ago). This gives the Trim a renewed, even colour, and shine. | ||
| Post# 401329 , Reply# 30 11/23/2018 at 00:09 (1,979 days old) by Lesinutah (Utah) | ||
Hey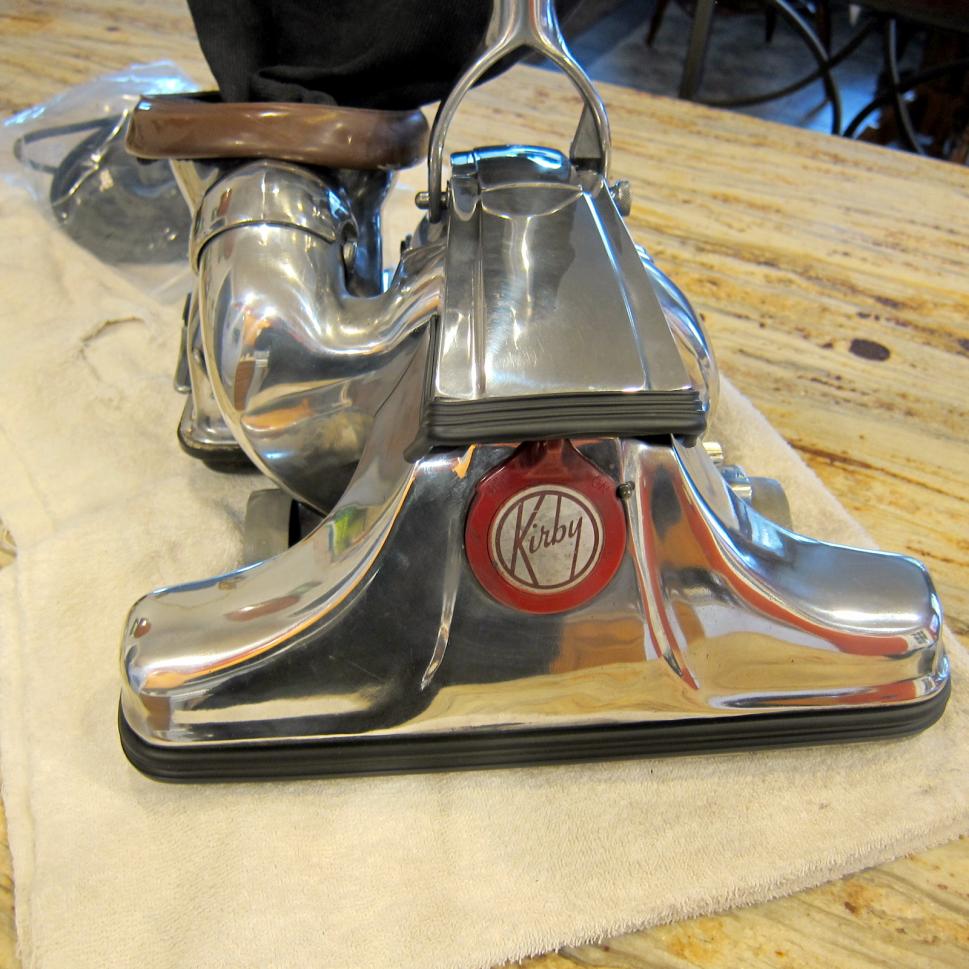
If you don't want to remove the trim pull the trim off the front side of the nozzle pulling all trim off inside out sort of on back of the nozzle where two big rivets hold the trim on. If you do this you can pretty much do all polish and other work easier.
The reason I mention this is I've heard putting trim back on is a pain. The handi Butler is farly descent tool. I'd recommend looking at the heritage turbo sander. You put sander on the end of your hose and it sucks up all the dust. If you go to Amazon you can get sandpaper from 60 grit to 2000 grit for $7.50. it's enough to do a few vacuums. When your done sanding you hook your hose to exhaust of the vacuum and it blows off any leftover dust. The handi Butler buffing pads can be used. Either use compound that came with handi Butler or harbor freight,Wal-mart or Amazon has white green red and perhaps blue. You only need small amounts. They will cost the least $2.50 most $8.00. That will give your vacuum a beautiful sign. I use the turbo sander myself and it works really well. If you don't have a hose or want to buy the turbo sander you can get a good sander for $12 or cheaper. Just don't get orbital palm sander the holes on sander get caught on grooves ruining sandpaper quickly. There are quite a few options. The tradition wide nozzle is one of the easiest Kirby's to sand. If all else fails you can sand by hand or get a drywall sanding block or even a 2x4 to wrap sand paper around. I prefer the block because it sands evenly and fairly quick. I hope this helps some. Les | ||
| Forum Index: | 
| Other Forums: |

|

|

|

|

|

 Comes to the Rescue!


;)
;)
;)
;)
;)
;)
;)
;)
;)
;)