|
Thread Number: 37345
/ Tag: 50s/60s/70s Vacuum Cleaners
Compact c9 detailling |
[Down to Last] |  |
| Post# 398468 9/19/2018 at 22:35 (2,042 days old) by compactc9guy (Bathurst NB) | ||
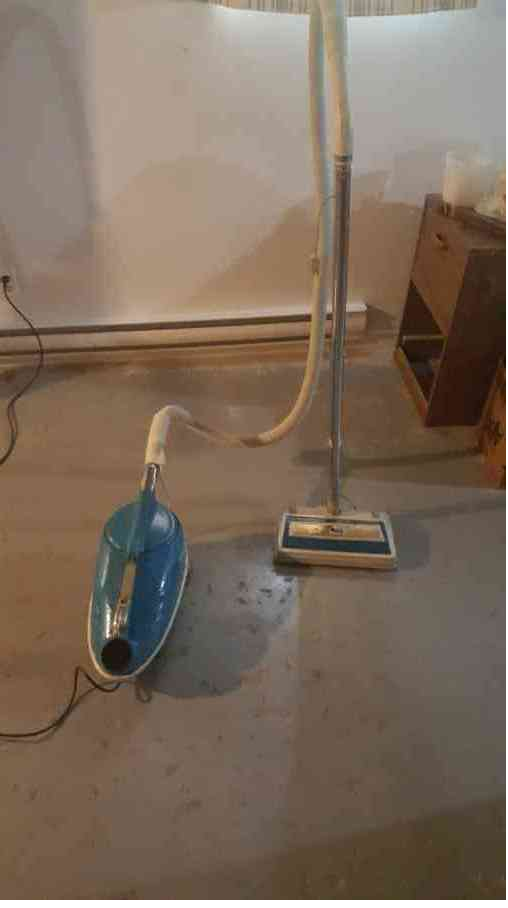
So after repainting my Compact C9 over spray went on the emblem casters and handle so clean all that up here is the results not show room but much better .
It is one of my daily driven machine so i had it 4 years give or take new hose filter bag cloth bag power head rebuilt its a true cleaning ensemble love it . I never manage to have the one my grand ma had so i bought me own . And yes i keep my vacuum collection in the basement dont you worry i have an air exchange and dehumidifier so temperature is control and limited humidity . | ||
| Post# 398503 , Reply# 1 9/20/2018 at 16:30 (2,041 days old) by dysonman1 (the county) | ||
 | ||
| Post# 398506 , Reply# 2 9/20/2018 at 16:42 (2,041 days old) by compactc9guy (Bathurst NB) | ||
|
This post has been removed by the member who posted it. | ||
| Post# 398510 , Reply# 3 9/20/2018 at 17:07 (2,041 days old) by compactc9guy (Bathurst NB) | ||
|
Took her appart cleaning her up shea back tigether and working good yayyyy BUT i wont mess whit that something something bumper... oh the fight it put up il clean the bumper another day for now the motor and cord are solid in there gasket works like a champ again .
This post was last edited 09/20/2018 at 18:22 | ||
| Post# 398542 , Reply# 4 9/21/2018 at 11:57 (2,040 days old) by dysonman1 (the county) | ||
|
There's an easy way to put bumper back on. Start the three screws into the body first. Tighten them about 1/3 of the way. Start pressing in the bumper starting with the rear (motor) section. Use a rubber mallet if you need it. Push the bumper in all the way around, then finish tightening the screws.
| ||
| Post# 398548 , Reply# 5 9/21/2018 at 14:48 (2,040 days old) by compactc9guy (Bathurst NB) | ||
|
| ||
| Post# 398552 , Reply# 6 9/21/2018 at 18:52 (2,040 days old) by compactc9guy (Bathurst NB) | ||
|
| ||
| Post# 398553 , Reply# 7 9/21/2018 at 19:32 (2,040 days old) by compactc9guy (Bathurst NB) | ||
|
| ||
| Post# 398571 , Reply# 8 9/22/2018 at 08:44 (2,040 days old) by dysonman1 (the county) | ||
|
| ||
| Post# 398603 , Reply# 9 9/22/2018 at 15:00 (2,039 days old) by compactc9guy (Bathurst NB) | ||
|
Reallly wellll il be dam its ok for now but all the product i saw said not use on vinyl and no use on rubber soooo i wont do it ..i check at Canadian tire lacquer thinner said not use on vinyl or rubber none i shaw said to use on that .
This post was last edited 09/22/2018 at 16:57 | ||
| Post# 398656 , Reply# 10 9/23/2018 at 18:16 (2,038 days old) by compactc9guy (Bathurst NB) | ||
|
| ||
| Post# 398664 , Reply# 11 9/23/2018 at 22:12 (2,038 days old) by dartman (Portland OR) | ||
|
I think the catch is that you don't leave the cleaner on the rubber a long time it should be fine. You could always test it out in the back side of the bumper and see how it reacts. | ||
| Post# 398667 , Reply# 12 9/23/2018 at 22:34 (2,038 days old) by compactc9guy (Bathurst NB) | ||
|
| ||
| Post# 398680 , Reply# 13 9/24/2018 at 05:35 (2,038 days old) by fantomfan57 (Central Texas) | ||
|
Bumper fitting... I wonder guys, do you think it would be easier to install the bumper when it is heated up, say after laying in the sun or in a bucket of hot water? May make it more pliable and install easier. Let me know what you guys think. | ||
| Post# 398767 , Reply# 15 9/25/2018 at 18:49 (2,036 days old) by compactc9guy (Bathurst NB) | ||
|
| ||
| Forum Index: | 
| Other Forums: |

|

|

|

|

|

 Comes to the Rescue!


;)
;)
;)
;)