|
Thread Number: 4987
Vintage Electrolux Hose Repair |
[Down to Last] |  |
| Post# 55619 , Reply# 1 12/2/2008 at 22:04 (5,615 days old) by aeoliandave (Stratford Ontario Canada) | ||
How to renew a leaky old hose with liquid latex - it is SO w
Edited from Thread Number 2157, Oct/29/2007 and other latex postings, with revisons: I latexed my first thread weave hose off an Air-Way 55. Did it just as I described earlier. Removed both hose couplings, used film cans - sized out snug with duct tape - as plugs, filled the hose with thinned latex, hung the hose vertical and removed the plugs draining it back into the pail. Had the hose from the Lux E up in the basement rafters, attached the hose to it and blew warm air through it to assist draining any latex slow to exit. At the same time I placed my palm lightly over the end several times to force latex through the weave. Once you note that the latex is setting up nicely continue to run the warm airstream about 30 minutes to set the latex. Hanging it vertical will prevent slow setting latex from pooling inside. Then lay the hose straight out on the floor and continue the blow for another 2 hours. Had a test puddle of latex on the floor to monitor the latex cure rate. There was naturally some liquid latex leakage through the hose core cracks to the weave on first fill. After draining I soaked it up with paper towels. Since latex drys clear it didn't really change the color of the weave threads. Slightly sticky thread weave is a small price to pay for an airtight hose. If it's a vinyl woven hose it will easily rub off afterwards with a brisk toweling. This seeping of latex through the weave is a good thing. It drys as a multitude of key way roots locking the latex layer to the interior. I have yet to have a new liner detach. Once I determined that the latex was dry and cold cured (24 hours) I poured in a cup of Baby Talcum Powder, shook it all throughout the hose, saved what fell out and blew the remainder out onto the street. This adheres to the latex's sticky fresh surface for the first run of the resurrected hose. From then on the usual dust passing through the hose will not coat the interior walls. There will be a thin layer of latex inside the metal couplings at each end - you want to peel this layer OUT as it WILL detach in time causing a plug. I start peeling then wrap the peel around a stick and rotate it around inside where it collects the peel. But the latex will not peel from the hose itself...because the surface is rougher and remember those latex key way roots. :-) You will be astounded that your hose is now airtight again and still flexible - you will get the same suction reading from the hose end as at the vacuum's intake. Whee! ------------------------------------------------------------ *One important preparatory step I left out*, if your hose is particularly grungy. You'll want to be sure the hose is clear of all loose debris from end to end. On those really stiff crunchy hoses where the inner rubber cloth layer has hardened, frequently there are strips of the cloth that have de-laminated and stand away from the hose walls & wire coil. I have two bottle brushes, one is stiff bristles and the other is brass wire bristles (I use them in several sizes to clean out organ pipes). The nylon brush is fine for most hose fluff but if the hose is de-laminating the wire brush really reams it clean of clog potential. The goal is to remove loose bits and accumulated dirt & dust, not strip it down to the wire coil. :-) Got an 8 foot 3/8" steel rod from home depot and attached a drill chuck to one end. This holds the brush. The other end I put in the electric drill. However you manage to attach or bolt the brush to the rod...BE SURE THE DRILL IS TURNING IN THE SAME DIRECTION AS THE METAL TWIST OF THE BRUSH BRISTLES or the twist will untwist releasing all the brush fibres. On the basement floor or outside in the driveway, lay the hose out straight, have a friend (or a heavy vise) hold the hose from turning and run the brush up & down the full hose length a few times. You'll be amazed at what's caked along the hose walls. (You could also soak the hose in a tub to soften up the crud before reaming but it must be absolutely dry before latexing because you don't want rust to get started or worsen on the wire coil. Again, use the blower port on a warm vacuum for an hour or more, like a hairdryer.) Now blow out all the dry debris with your trusty vac and carry on plugging, pouring, draining and drying... A word about working with liquid latex. Latex is the sap milk from the Rubber tree. While I have access to 10 gallon drums of it at work you can find it readily at an Art Supply Store in small jars, particularly one with a cast molding section. Thin liquid latex only with cold tap water; the bottled kind will be thicker! Pour what you need into a pail with a lip (or use a funnel to fill the hose) and thin it out. I find a consistency of Coffee Cream or 10% Half & Half is the ideal viscosity to penetrate the hose walls and give you ample time to perform all the other maneuvers so that the latex doesn't have a chance to coagulate in lumps while it drys. At the same time this is not a procedure for lollygaging or distractions until the drying stage has been reached. Once the latex is dry it will not clean up with water. It will peel like ballon skin off any ustensiles you used and it can be washed out of brushes if you soak them in Joy or Dove dishwashing detergent right away, rinse with water. A lot to digest and I recommend playing with a puddle of latex at different viscosities noting its properties before haveing a whack at your hose. Just checked the 13 hoses I have done so far - thread and saran weave Electrolux/Airway/Plymouth/GE/Premier/Westinghouse/Compact, etc. - and each one is a tight as the day I returned it to usefulness. This method is especially successful on saran hoses as it rubs cleanly off the outside surface and is visually undetectable. Any that dries on the outside of a cloth hose should be dusted with talcum powder so the hose doesn't collect the dirt off the floor, carpet, family, friends or pets. One day when I manage to come to a Convention I will do a Workshop on latexing hoses. Dave, that Canadian Guy Dave 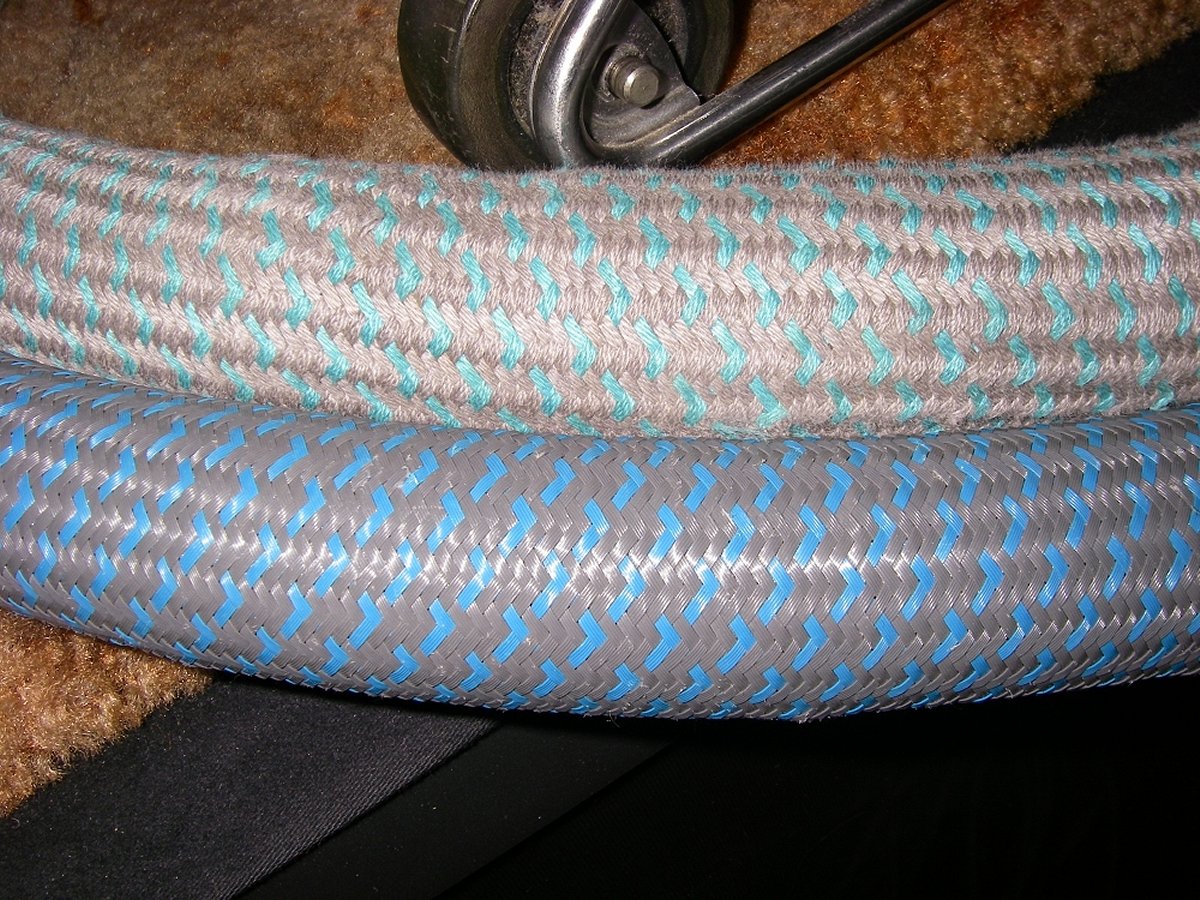
| ||
| Post# 55620 , Reply# 2 12/2/2008 at 22:13 (5,615 days old) by aeoliandave (Stratford Ontario Canada) | ||
|
One more thing...
Liquid latex begins to set quickly on exposure to air. Keep the lid on your jar or drain pail, as it can be used again for a 2nd, 3rd, 4th hose. It is this property that works in our favour when filling and capping the hose before quickly draining then blowing warm vacuum air through it. I say try it, you'll like it. Dave, still Canadjun | ||
| Forum Index: | 
| Other Forums: |

|

|

|

|

|

 Comes to the Rescue!


