Thread Number: 35879  /  Tag: 50s/60s/70s Vacuum Cleaners
Sanitronic D50 Brush Roll Disassembly Procedure
[Down to Last]

Vacuumland's exclusive eBay Watch:
scroll >>> for more items --- [As an eBay Partner, eBay may compensate vacuumland.org if you make a purchase using any link to eBay on this page]
Post# 384928   1/27/2018 at 16:01 (2,280 days old) by jpsbgt (Oregon )        

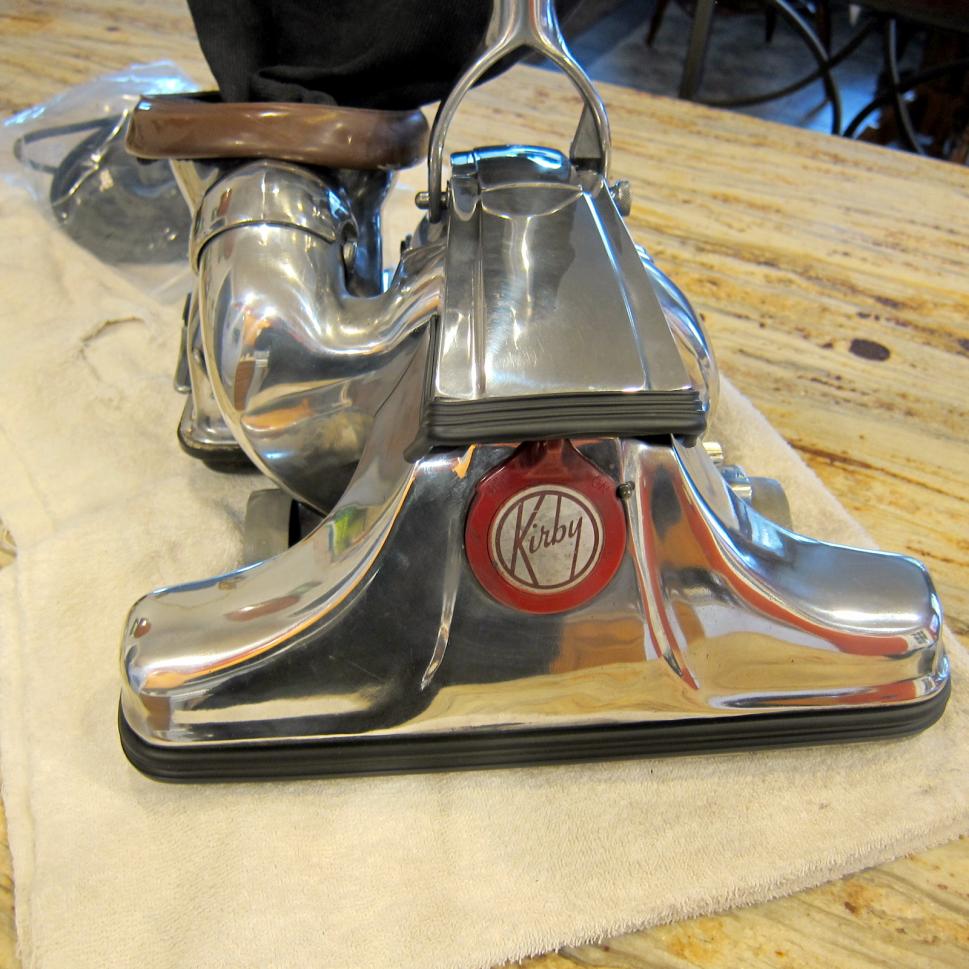
Could someone please describe the procedure to r&r a D50 Brushroll. I have it removed but uncertain how to access the bearings.

  View Full Size
Post# 384929 , Reply# 1   1/27/2018 at 16:14 (2,280 days old) by Lesinutah (Utah)        

lesinutah's profile picture
Pop of sides. They are top of bearing.

Post# 384933 , Reply# 2   1/27/2018 at 17:41 (2,279 days old) by jpsbgt (Oregon )        

They are stuck good, any tips on removing with out damaging them .

Post# 384934 , Reply# 3   1/27/2018 at 17:52 (2,279 days old) by KirbyClassicIII (Milwaukie, Oregon)        
jpsbgt

kirbyclassiciii's profile picture
Jack,

You may be better off just buying a ball bearing-equipped replacement brush roll. Ask for part #1525 (or #500505 if you like double bristles) when visiting whatever Kirby dealer is nearest you, or call Kirby's parts hotline at 1-800-437-7170.

~Ben


Post# 384936 , Reply# 4   1/27/2018 at 19:20 (2,279 days old) by texaskirbyguy (Plano, TX)        

Remove both screws, remove the plastic end caps, and make sure you remember which end each part came from. Note the sizes as well. A permanent marker works good.
Grab each of the metal ends with pliers and twist and pull. Only one side will come off. Mark the end that comes off and mark the roller so it is all put back the same way it was and that the bearings are on the same surface.
Clean everything up and check for excess slop in the bearings or wear in the shaft. If all okay, use a small amount of disc brake grease on the bearings upon reassembly.
I have done three rolls this way and they work like new.


Post# 384958 , Reply# 5   1/28/2018 at 09:55 (2,279 days old) by jpsbgt (Oregon )        

Thanks everyone for your help I really appreciate it !

Post# 384964 , Reply# 6   1/28/2018 at 11:20 (2,279 days old) by sptyks (Skowhegan, Maine)        

sptyks's profile picture

I agree with Ben. That old brushroll has sleeve bearings and is not worth your trouble. You should get a new 4-row ball bearing brushroll. The motor will run smoother and your Kirby's cleaning performance will greatly increase.


Post# 384965 , Reply# 7   1/28/2018 at 11:46 (2,279 days old) by jpsbgt (Oregon )        

Thanks for the information about the ball bearing Brushroll. I am still going to try to disassemble it just for the experience. I can see how the improved version would be better in the long haul...jack

Post# 385038 , Reply# 8   1/29/2018 at 12:42 (2,278 days old) by jpsbgt (Oregon )        

I disassembled it , cleaned out the dirt and thread around the end caps and it now spins perfectly...thanks

Post# 385048 , Reply# 9   1/29/2018 at 19:29 (2,277 days old) by texaskirbyguy (Plano, TX)        

Glad this worked for ya.
Not only does this save money but it also keeps more vintage parts on the machine.
Make sure the screws are adjusted correctly so that the right amount of brush protrudes through the bottom (I go for 1/8" on mine).


Forum Index:       Other Forums:                      


Comes to the Rescue!

Woops, Time to Check the Bag!!!
Either you need to change your vacuum bag or you forgot to LOG-IN?

Discuss-O-MAT Log-In


New Members
Click Here To Sign Up.


automaticwasher.org home
Discuss-o-Mat Forums
Vintage Brochures, Service and Owners Manuals
Fun Vintage Washer Ephemera
See It Wash!
Video Downloads
Audio Downloads
Picture of the Day
Patent of the Day
Photos of our Collections
The Old Aberdeen Farm
Vintage Service Manuals
Vintage washer/dryer/dishwasher to sell?
Technical/service questions?
Looking for Parts?
Website related questions?
Digital Millennium Copyright Act Policy
Our Privacy Policy