|
Thread Number: 33643
/ Tag: 50s/60s/70s Vacuum Cleaners
Restoring My First Custom Convertible |
[Down to Last] |  |
| Post# 365985 2/1/2017 at 18:57 (2,632 days old) by wyaple (Pickerington, OH) | ||

All,
I mostly have newer machines, with my oldest being a 1980 Lux 1401-B. Then I saw this golden custom convertible for $6.96 at the thrift store and figured "what the heck, let's see what happens." Of course, I had to fire it up in the store to check the motor, so I removed the fairly full "C" bag and moved it away from all the surrounding patrons. *POOOOOOOOOF* went the all-encompassing dust cloud as the smelly/moldy beast slowly came to life. Even though I managed to keep any nearby people from getting showered with someone else's dirt, myself and *some* clothes managed to be encapsulated in this Hoover's brown dusty, cloudy wrath. While the dust explosion faded, I hastily looked around for any disapproving eyes while my temporary embarrassment subsided. I surmised many hours of cleaning would be required and my curiosity just had to know how well this classic machine would perform with my airflow box tests. Upon my wife's first gaze, she exclaimed "that's hideous!" and I retorted with "that's classic." Go figure. In this first post, I have 20 "before" pics. Enjoy! Bill | ||
Post# 365986 , Reply# 1 2/1/2017 at 19:07 (2,632 days old) by vacuumlad1650  (Wauponsee, IL) (Wauponsee, IL) |
||
 If you are interested, i have NOS Upper Bearings. If the lower motor bearing and brush-roll bearings need to be greased, use High Temperature Synthetic Bearing Grease (With a MINIMUM dropping point of 500 degrees). Lacking the Hoover Grease Gun you can use a syringe. If you want it done with a Hoover grease Gun, try looking for an older vacuum shop, Or if you cant find one, shoot me an email. I've got one of them. Their dead useful. Give me a holler if you need help! vacuumlad1650@gmail.com | ||
| Post# 365990 , Reply# 2 2/1/2017 at 19:32 (2,632 days old) by wyaple (Pickerington, OH) | ||
|
Andy, You Hit The Nail On The Head...
I want to properly grease both top and bottom bearings.
Here's what I have for lubricants: Extreme Pressure Lithium Grease (NLGI rated, standard auto wheel bearing grease) - very thick Mobil Polyrex EM (NLGI-2 rated) - very thin (and it's blue) WD40 Liquid Wrench Silicone Spray OLD can of 3-in-one (red can) Please tell me the proper procedure to grease/oil these bearings and if I can use any of the above items. In it's current condition when vacuuming with a belt installed, both spin up and spin down are pretty smooth and screech free. However, if I remove the belt, the last 5 seconds of wind down there is a moderate screech. Bill | ||
| Post# 365991 , Reply# 3 2/1/2017 at 19:48 (2,632 days old) by wyaple (Pickerington, OH) | ||
|
And Now For The AFTER Pics
I think it cleaned up fairly well. The big concern was the removal of the musty/moldy smell which thankfully is about 98% gone at this point. For those Convertible experts out there, you will notice a "bojack" spring I installed on the cam follower assembly as the original was MIA when I purchased it.
So it uses "C" bags and a type 48 belt as far as I can tell. My local "ReStore" had gobs of bags and belts, but the packaging looked very old. The first package of "48" belts I installed were dated 2007 (Genuine Hoover) and lasted about 5 minutes each. Dry rot was pretty bad with these but for $1 per 2-pack, I didn't feel too bad. Besides, I was able to put this U4007 on my airflow box and measure a whopping 100 CFM from the nozzle! Geez! I am now using some "HomeCare" belts that smell much fresher, but they only last about an hour before snapping. I hope I'm using the correct belts... Bill | ||
|
Post# 365992 , Reply# 4 2/1/2017 at 19:58 (2,632 days old) by vacuumlad1650 (Wauponsee, IL) |
||
|
| ||
|
Post# 365993 , Reply# 5 2/1/2017 at 20:02 (2,632 days old) by vacuumlad1650 (Wauponsee, IL) |
||
|
Moderate Screech = Dry upper Bearing. WD-40 is a BAD CHOICE Mobil Grease you listed has a bit low of a dropping point. Lithium grease can be hit or miss. My old Hoover grease Gun came halfway full of it. Bearing got warm and it all leaked out... Andy | ||
|
Post# 365994 , Reply# 6 2/1/2017 at 20:14 (2,632 days old) by vacuumlad1650 (Wauponsee, IL) |
||
|
Here are some of my favorite things to use. AFTER blowing the motor clean with compressed air (while it is disassembles...here is what i use) 1) "Main Components" 2) Mystik Number 2 High Tempereture Grese. I prefer Lucas oil brand Red-N-Tacky. That is availible at NAPA 3) Syringe. I use this to put grease in bearings if I dont use the grease Gun 4) Hoover Grease Gun Tip and Lincoln grease gun. I must have left the motor tip in the tool box when I took these pics 5) 3-in-1 motor oil...ONLY if the upper bearing opening is PERFECTLY round, I soak the felt in this Oil and soak Q-Tips in it and clean the bronze bushing sleeve 5 & a half) if the bearing is bad I install a NOS Convertible Bearing 6) Lubricate all Wheels, & Handle Recline moving parts in regular 3-in-1 oil 7) Clean Hood, Frame, Cord, and Handle with Simple Green/Water 50/50 mix 8) Clean Bumper in Rubbing Alcohol 9) Clean all parts listed in 7 and 8 with Water 10) Repeat step 9, using Windex 11 Not Pictured) Install and Seat new Carbon Brushes (I am out of these. ordered more on Monday) 12) Install new paper bag and Bag Retainer Spring (Not Pictured) � Hope this helps! If you cant figure out lubing the brishroll and motor, I'm happy to do it. Just cover shipping the motor and brushroll here and back. Andy This post was last edited 02/01/2017 at 22:53 | ||
|
Post# 365995 , Reply# 7 2/1/2017 at 20:15 (2,632 days old) by vacuumlad1650 (Wauponsee, IL) |
||
|
| ||
| Post# 366141 , Reply# 8 2/4/2017 at 20:17 (2,629 days old) by wyaple (Pickerington, OH) | ||
|
So here's my review after using it for a few hours...
1) Sound quality = A
For once, not a high pitched screamer. I could listen to this machine for hours. 2) Maneuverability = B A little hard to push back and forth only due to the tremendous airflow drawing nozzle down to the carpet. 3) Power usage = A Just like Kirby's of old, only 4 Amps-ish is required. 4) Bag installation = D Done this a dozen times and quickly getting the spring over the C bag collar without tearing something is quite a challenge. Yes, I'll get better at it, but imagine the typical housewife struggling with this... 5) Bag removal = B Lay the vacuum horizontal, squeeze the collar with your fingers before popping the band off and barely any dust escapes. 6) Longevity = A So good that this might be one of the machines that put Hoover out of business (smiley face). 7) Turn-on dust *POOF* factor = B This will be controversial due to all the negative comments I've read here on VL. To date, I have not experienced any dust on the inside or outside of the vinyl bag. Passes my white glove test (even on the inside of the vinyl bag). I suppose as time passes, something will accumulate somewhere, but the only I can see so far is dust accumulating inside the motor housing. 8) Cleaning ability (as an upright only) = B Geez, what a workhorse! As I don't possess the elusive toolset, I can't comment on how hose usage is at this time. The only reason I don't give it an "A" is because of awkward bare floor usability. Not many people would want to take the belt off to use this on non-carpeted surfaces. While you can just "raise it up a notch" to the normal setting, you won't get all the power available doing that (compared to the low setting). At least Kirby has a belt lifter... Conclusion: Until a week ago, I have never driven a model such as this even though I grew up in the 60's and 70's. Absolutely mind blowing! I was not expecting 100 CFM at the nozzle with a fresh bag installed. BTW, I did measure 23 inches of water lift directly connected to the giant metal fan. Low by today's standards but not necessary for deep cleaning in an upright. Bill | ||
|
Post# 366142 , Reply# 9 2/4/2017 at 20:24 (2,629 days old) by vacuumlad1650 (Wauponsee, IL) |
||
|
| ||
| Post# 366165 , Reply# 10 2/4/2017 at 23:21 (2,629 days old) by Marks_here (_._) | ||
|
Reply# 8 | ||
|
Post# 366173 , Reply# 11 2/5/2017 at 09:10 (2,629 days old) by vacuumlad1650 (Wauponsee, IL) |
||
|
| ||
|
Post# 366174 , Reply# 12 2/5/2017 at 09:17 (2,629 days old) by gottahaveahoove (Pittston, Pennsylvania, 18640) |
||
Great machine! Great resto too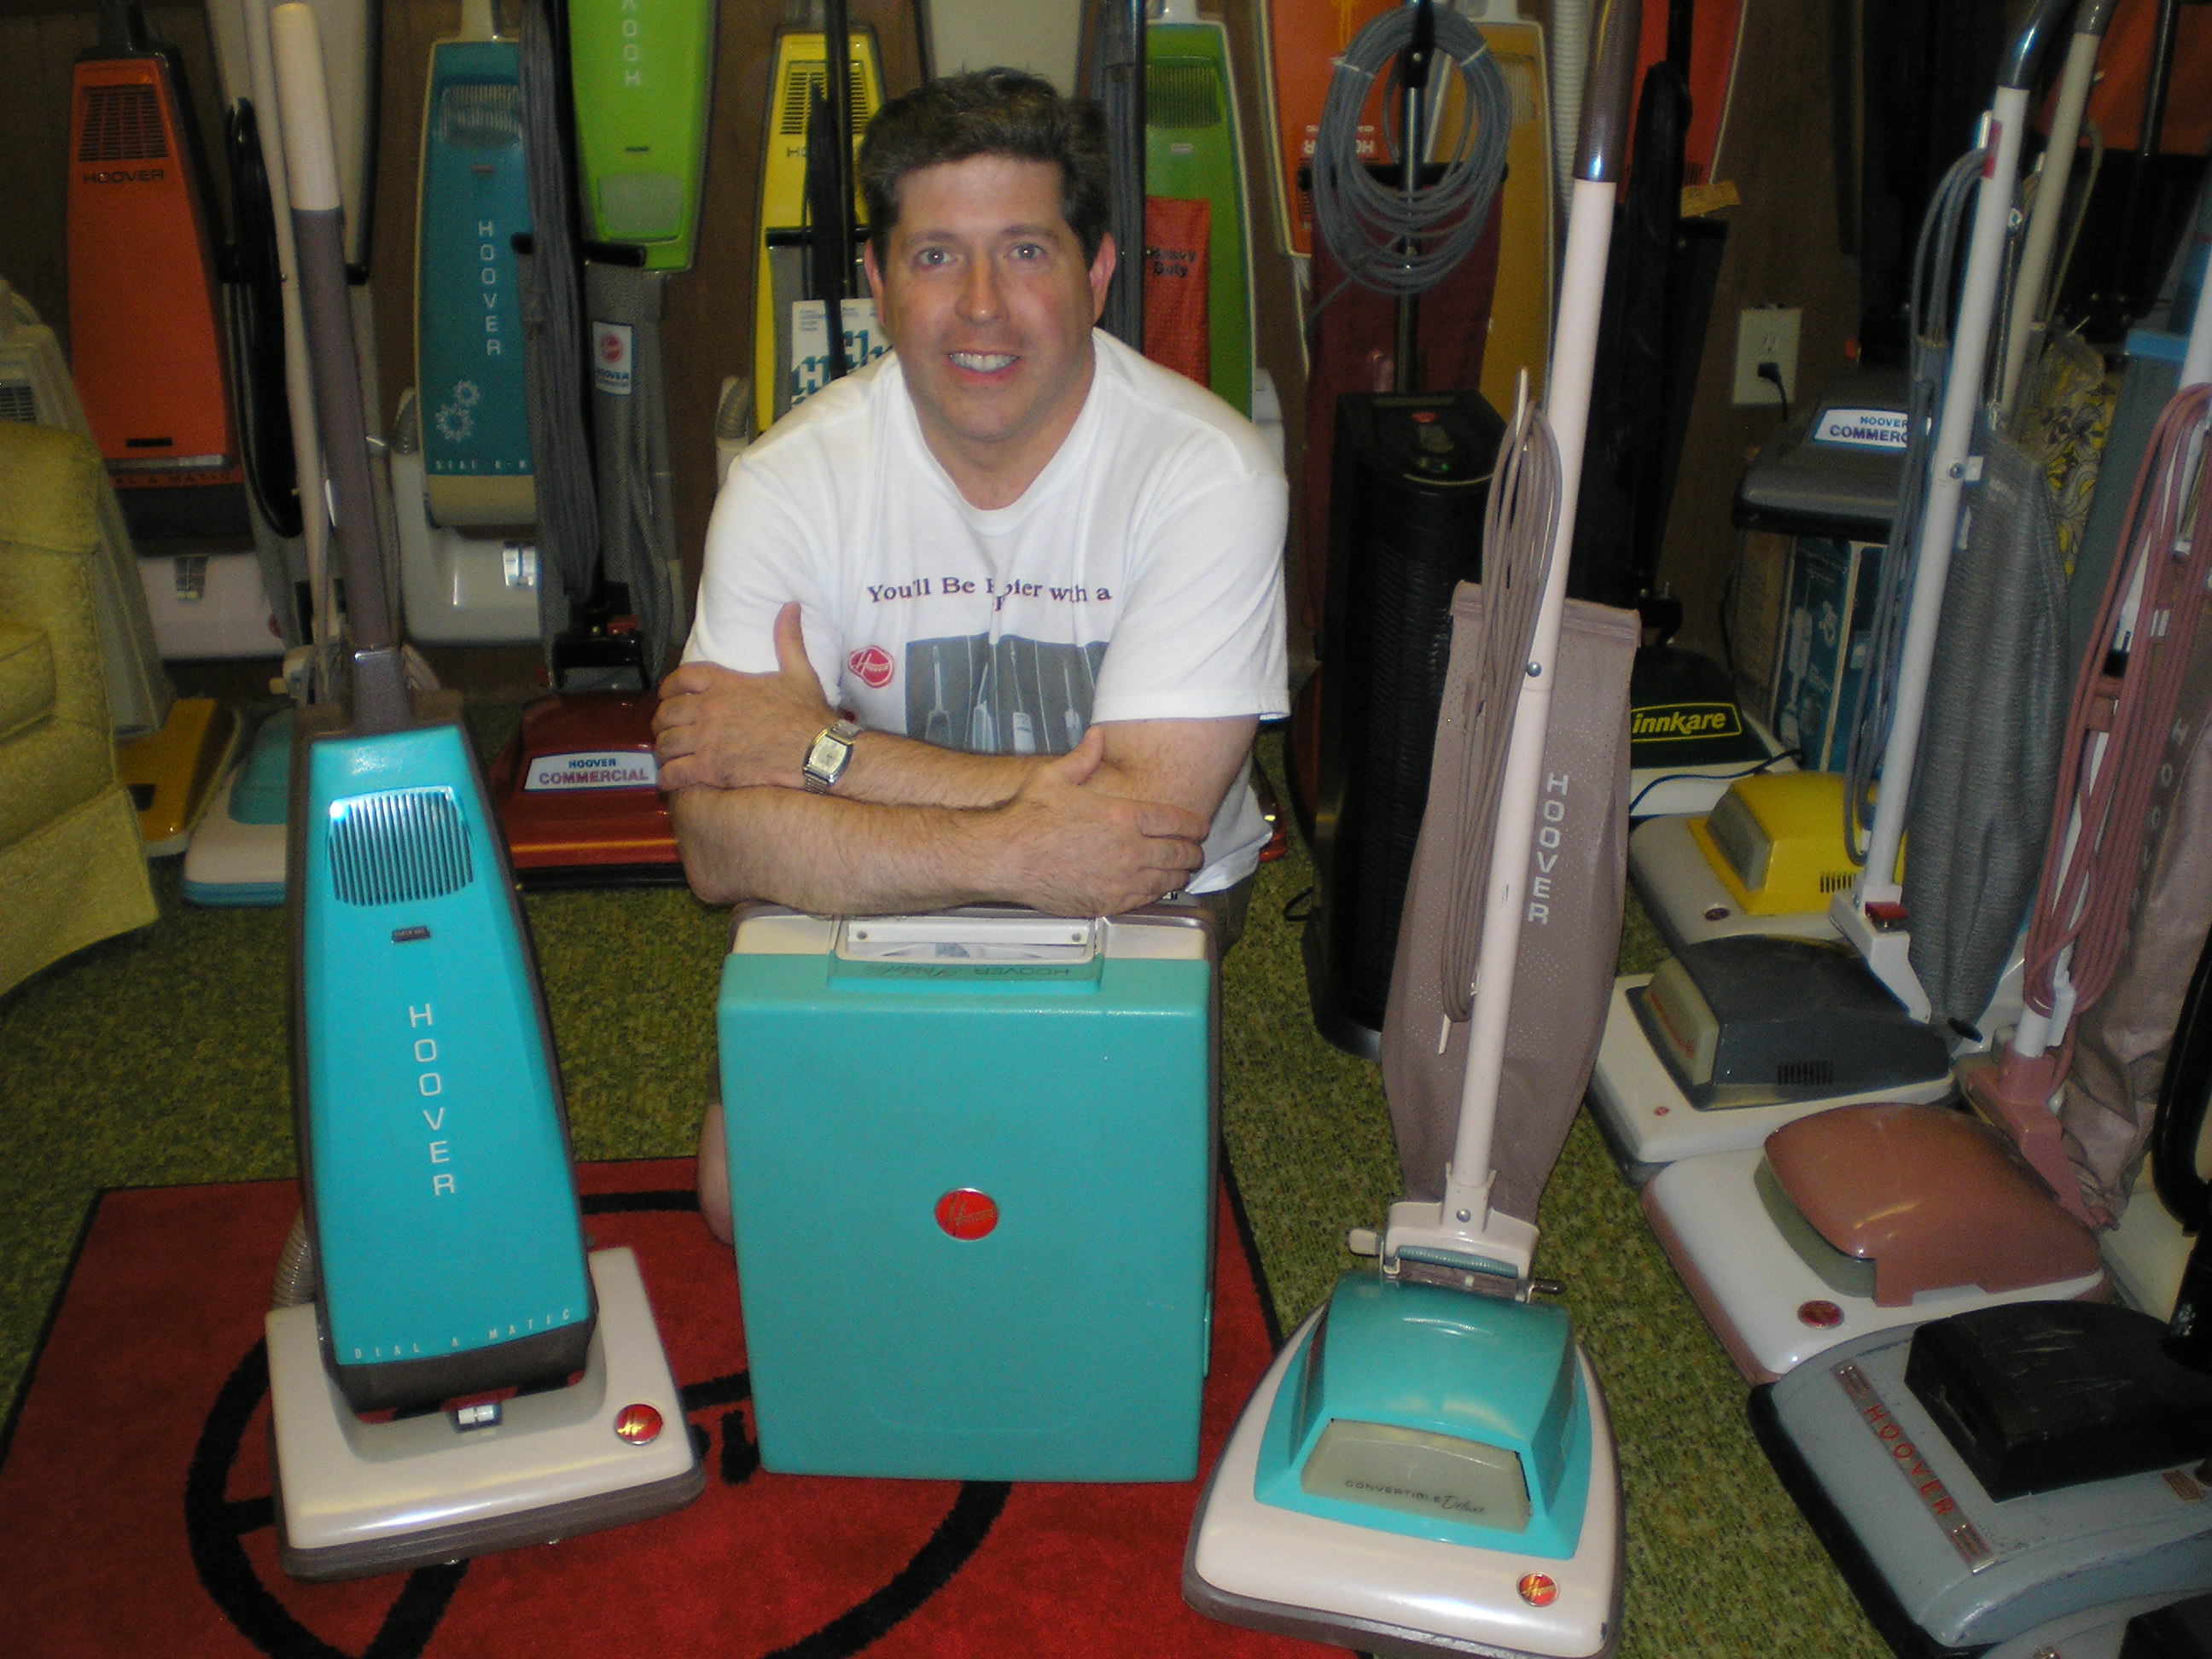 Too bad you can't locate a vintage outer bag. Maybe some "might have one for you". You must get a nice set of tools as well. That cleaner will be working after you've gone. They were MADE to. Some folks "poo poo" Hover products. That's why there's chocolate and vanilla, I suppose. Mayber they are well-versed or familiar w/ those great products. Who knows? I never have a problem with dust. Genuine Hoover disposable bags are essential. My cleaners never belched anything. I'm very fortunate, I guess. Good luck w/ your machine. Years of success to you. And, again, nice restoration job there. John | ||
|
Post# 366178 , Reply# 13 2/5/2017 at 09:52 (2,629 days old) by gottahaveahoove (Pittston, Pennsylvania, 18640) |
||
|
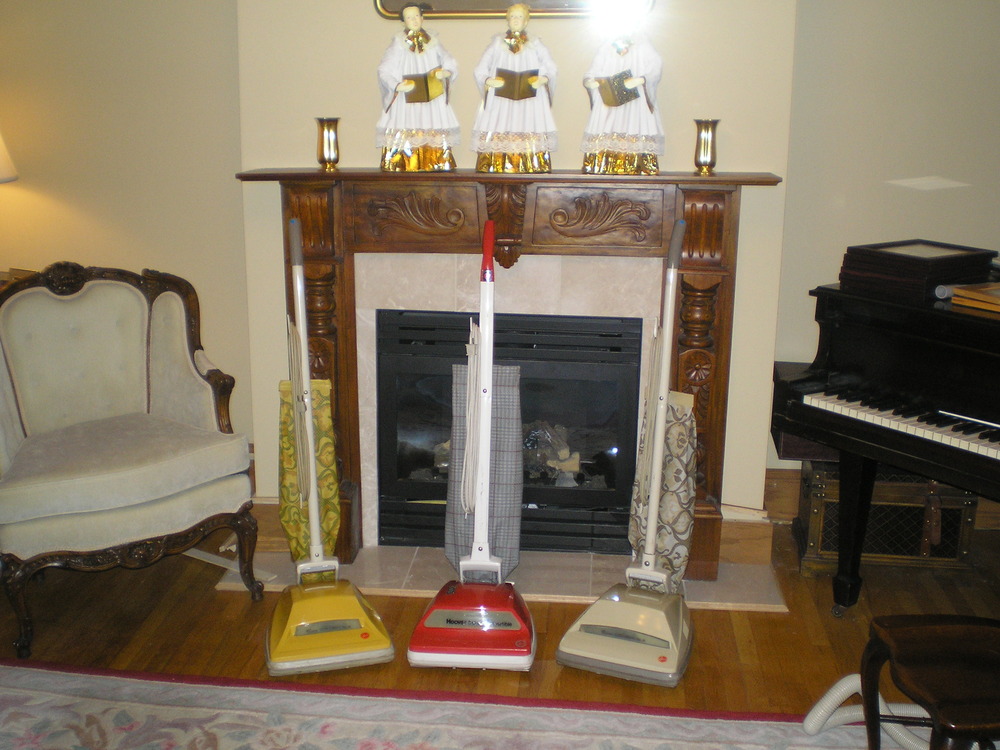
Here's one of mine, completely restored too. | ||
| Post# 366210 , Reply# 14 2/5/2017 at 18:42 (2,629 days old) by wyaple (Pickerington, OH) | ||
|
John,
Love the RED one. While this "goldenrod" or whatever the true Hoover color name is, is OK, your red one is very sharp!
I looked at getting the F&G bags, but I have a question: Since this machine is used to being "bottom filled", how much airflow is lost by running the air up a paper tube and flipping around 180 degrees to create a bottom fill solution? Anyway, I have another idea. Since I've created my own HEPA bags for older Hoover Spirits and Encores (K Bags), why not create one to replace the "C" bags? I was looking at existing bags and so far, I've come up with two possible solutions: 1) Kirby HEPA bags seem to fit pretty well all by themselves and 2) Modify a Hoover "Q" bag by sealing the fill hole, cut an opening in the top and install upside down. Do you guys know of any other narrow HEPA bags made by anyone that would generally fit a Convertible? As long as the size and shape are approximately right, I'd bet I could make them fit as a bottom fill bag. Bill 
| ||
|
Post# 366213 , Reply# 15 2/5/2017 at 20:39 (2,628 days old) by sanc (USA) |
||
|
I've been using type Y HEPA bag based on this earlier post. It seemed to increase the suction. I look forward to your test with a HEPA bag.
Scott CLICK HERE TO GO TO sanc's LINK | ||
|
Post# 366215 , Reply# 16 2/5/2017 at 22:01 (2,628 days old) by gottahaveahoove (Pittston, Pennsylvania, 18640) |
||
|
You could just get a real Hoover apparatus! | ||
|
Post# 366216 , Reply# 17 2/5/2017 at 22:47 (2,628 days old) by vacuumlad1650 (Wauponsee, IL) |
||
|
| ||
| Forum Index: | 
| Other Forums: |

|

|

|

|

|

 Comes to the Rescue!


;)
;)
;)
;)
;)
;)