|
Thread Number: 25964
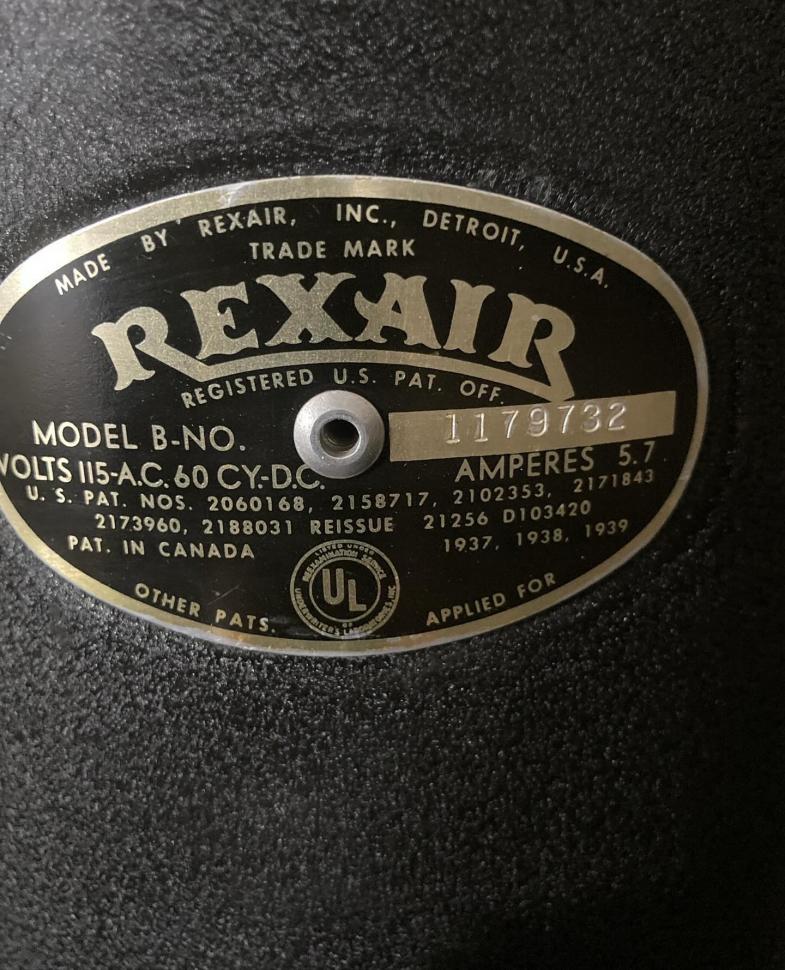
How to tune up a Rexair Model B? |
[Down to Last] |  |
| Post# 291130 7/30/2014 at 19:30 (3,549 days old) by Jaker15 (Meridian, ID) | ||
|
Hey all! I have been thinking for awhile now about disassembling my Rexair Model B and tuning up the motor, and I think I'm going to do it. Now, before I start taking anything apart, I'd like to have the right information on how to correctly remove, disassemble, service, and re-install the motor. I have seen one picture of a B motor, and I think it had 3 fans. So, can anyone offer some helpful tips on how to do this? Thank you so much!
| ||
| Post# 291241 , Reply# 1 7/31/2014 at 10:00 (3,548 days old) by dysonman1 (the county) | ||
Once you have the motor out of the body, the first thing to do is remove the carbon brushes. Then remove the upper bearing cover, wave washer, and slinger rings.
Remove the separator, and the spider nut directly underneath. There's a slot in the armature for a straight screwdriver to hold it while removing the spider nut. Take off the spider. You might need an impact screw driver to remove the flange plate's screws. If you don't have one, you can substitute a hammer. Tap fairly hard on the handle of the screwdriver before you start to try to turn the flange screws. These are the hardest screws to remove since they got wet every time the machine was used. Remove the flange/bearing plate by lifting up, and remove the mounting gasket. If you want to replace the lower bearing (you should always do this), remove the two screws that hold the bearing, and tap it out with a hammer and the handle of a small screwdriver against the bearing. You'll see two circles of aluminum, one above and one below, every revolving fan stage. There are also four non revolving stages, the last one being the eddy plate. Once these are removed, you can now remove the armature. Remove the field coil, and the disassembly is done. The fans, spider, separator, flange plate (without the bearing), as well as the housing can all be washed in a dishwasher or hand washed with an SOS pad. Use an old toothbrush and plain water on the armature and field coil and dry immediately afterwards. Reassemble the machine, starting with the field coil, then the armature (with new upper bearing attached), then the eddy plate, spacer rings, spacer tubes, and fan stages. Clean and lubricate the support gasket. Finally, use a carbon brush seating stone on the commutator for a few seconds to seat the brushes and clean the commutator. Don't fail to do this, as incorrectly seated brushes can ruin the commutator. I've rebuilt hundreds of Rexair model A, B, and C motors (they are all the same motor). I learned the hard way about the carbon brushes. Took three hours, got it clean and spotless, then the motor fried within two minutes because I failed to seat the carbon brushes. Good luck. Rexairs are my favorite machines. | ||
| Post# 291261 , Reply# 2 7/31/2014 at 14:00 (3,548 days old) by Jaker15 (Meridian, ID) | ||
|
Oh boy
From the looks of it, this is going to be a long and interesting project! Thank you for the directions! I will start dis-assembly as soon as I finish up my Electrolux.
The last time I had the top cover off, the commutator looked like it had sort of an hourglass shape to it. I don't completely remember, but if it did, could this be a major problem? Also, is it possible to install a Model D motor in the B? | ||
| Post# 291747 , Reply# 3 8/3/2014 at 09:09 (3,545 days old) by dysonman1 (the county) | ||
|
| ||
| Forum Index: | 
| Other Forums: |

|

|

|

|

|

 Comes to the Rescue!


