|
Thread Number: 19369
Salvaging plastic parts - example w/ WT2 |
[Down to Last] |  |
| Post# 214591 , Reply# 1 1/18/2013 at 00:28 (4,114 days old) by gmerkt (Edmonds WA) | ||
|
Here's close-up of the cracked area as seen from the bottom of the frame. Follow the orange arrow. 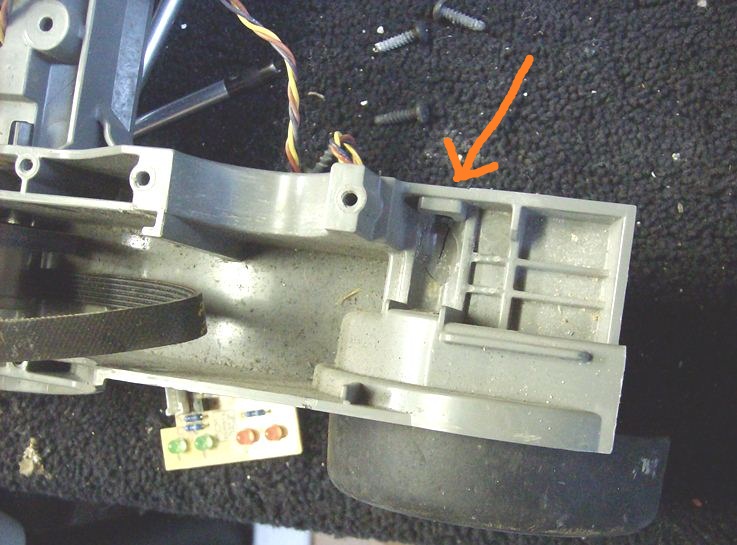
| ||
| Post# 214592 , Reply# 2 1/18/2013 at 00:29 (4,114 days old) by gmerkt (Edmonds WA) | ||
|
This shows the epoxy having been poured into place. Note the craft stick dam at one end. 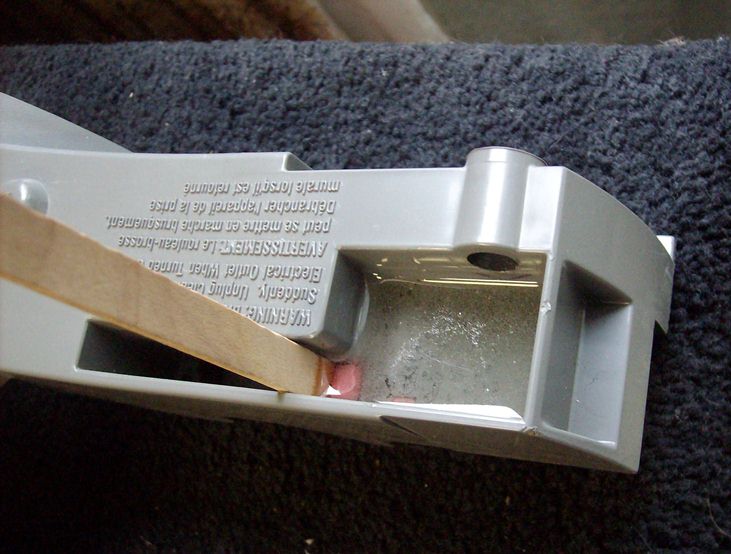
| ||
| Post# 214593 , Reply# 3 1/18/2013 at 00:29 (4,114 days old) by gmerkt (Edmonds WA) | ||
|
Now this is what the repair looks like after paint. 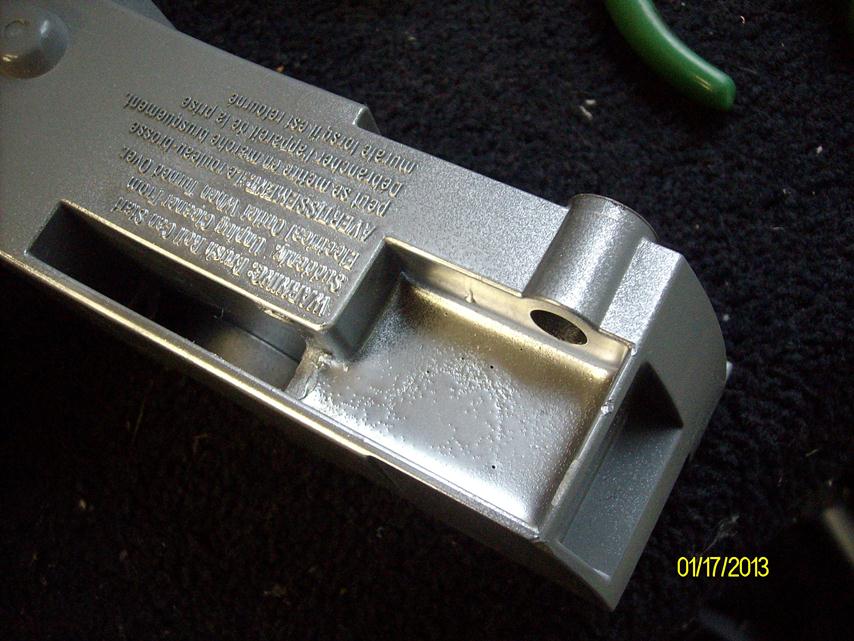
| ||
| Post# 214594 , Reply# 4 1/18/2013 at 00:30 (4,114 days old) by gmerkt (Edmonds WA) | ||
|
Here's the repaired area after completion of the project. 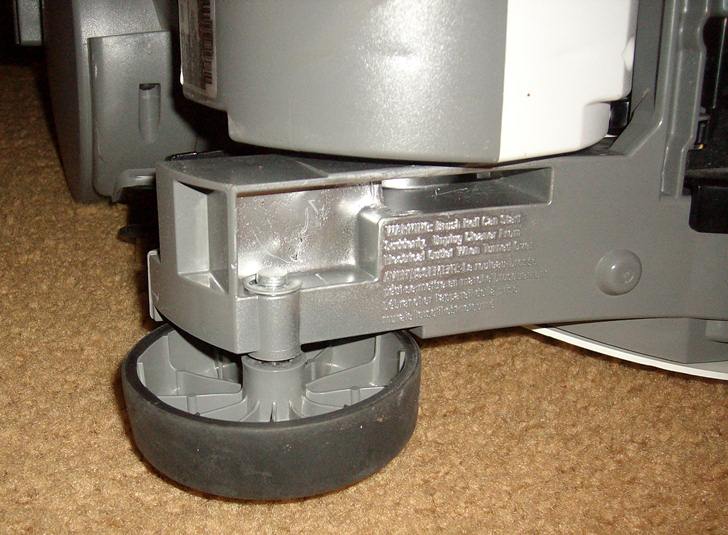
| ||
| Post# 214595 , Reply# 5 1/18/2013 at 00:32 (4,114 days old) by gmerkt (Edmonds WA) | ||
|
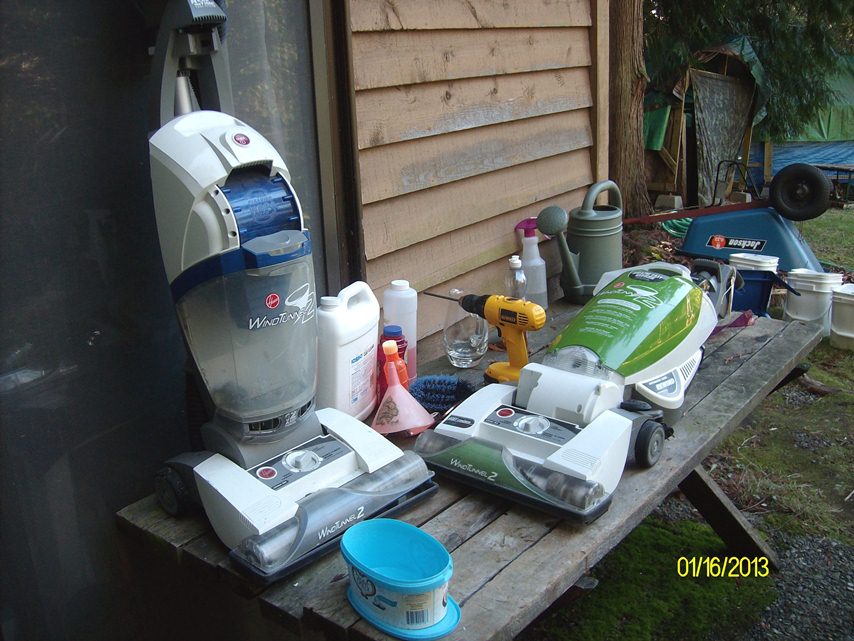
One last picture, the finished machine. Hoover Windtunnel 2, Model U8311-900. It still has the original temporary decal affixed to the dust compartment cover attesting to its virtues. 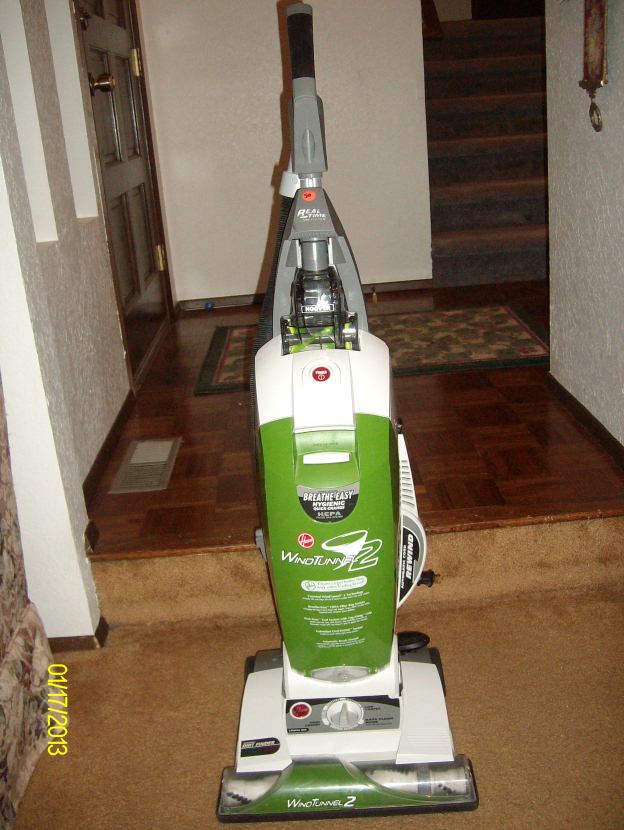
| ||
| Post# 214635 , Reply# 6 1/18/2013 at 12:33 (4,114 days old) by TheHooverMan (United States ) | ||
|
| ||
| Post# 214659 , Reply# 7 1/18/2013 at 16:32 (4,114 days old) by stricklybojack (Southern California) | ||
Nice work... | ||
| Post# 214669 , Reply# 8 1/18/2013 at 19:08 (4,114 days old) by gmerkt (Edmonds WA) | ||
|
I should clarify those pictures. #2 is a view taken from above the frame (or the "top"), not the bottom. #3 and #4 show the well or cavity directly below the area shown in #2, and these are taken from the bottom. | ||
| Post# 214825 , Reply# 9 1/19/2013 at 16:14 (4,113 days old) by guardsman69 () | ||
|
why dont you just call 5703432020 and john gregory would just send you a brand new one....he has tons of those bases....just give him your address and he could mail one out to you....nozzle are 9.95 hardly worth all that jazz | ||
| Post# 214888 , Reply# 10 1/19/2013 at 22:39 (4,113 days old) by TheHooverMan (United States ) | ||
|
Guardsman69 | ||
| Forum Index: | 
| Other Forums: |

|

|

|

|

|

 Comes to the Rescue!