Thread Number: 17552
Seating Motor (Carbon) Brushes
[Down to Last]

Vacuumland's exclusive eBay Watch:
scroll >>> for more items --- [As an eBay Partner, eBay may compensate vacuumland.org if you make a purchase using any link to eBay on this page]
Post# 189698   7/12/2012 at 21:03 (4,299 days old) by eurekastar (Amarillo, Texas)        

eurekastar's profile picture

From time to time, I see people asking about "seating" new carbon brushes on a vacuum motor.  The seating procedure helps to conform the brush to the shape of the commutator.  The ends of many (or most) brushes are square.  They therefore needed to be "rounded" in order make good contact with the commutator.  The procedure is fairly simple. 


First, the motor needs to be running.  Make certain the motor is stable, because it will be spinning at several thousand RPMs! 


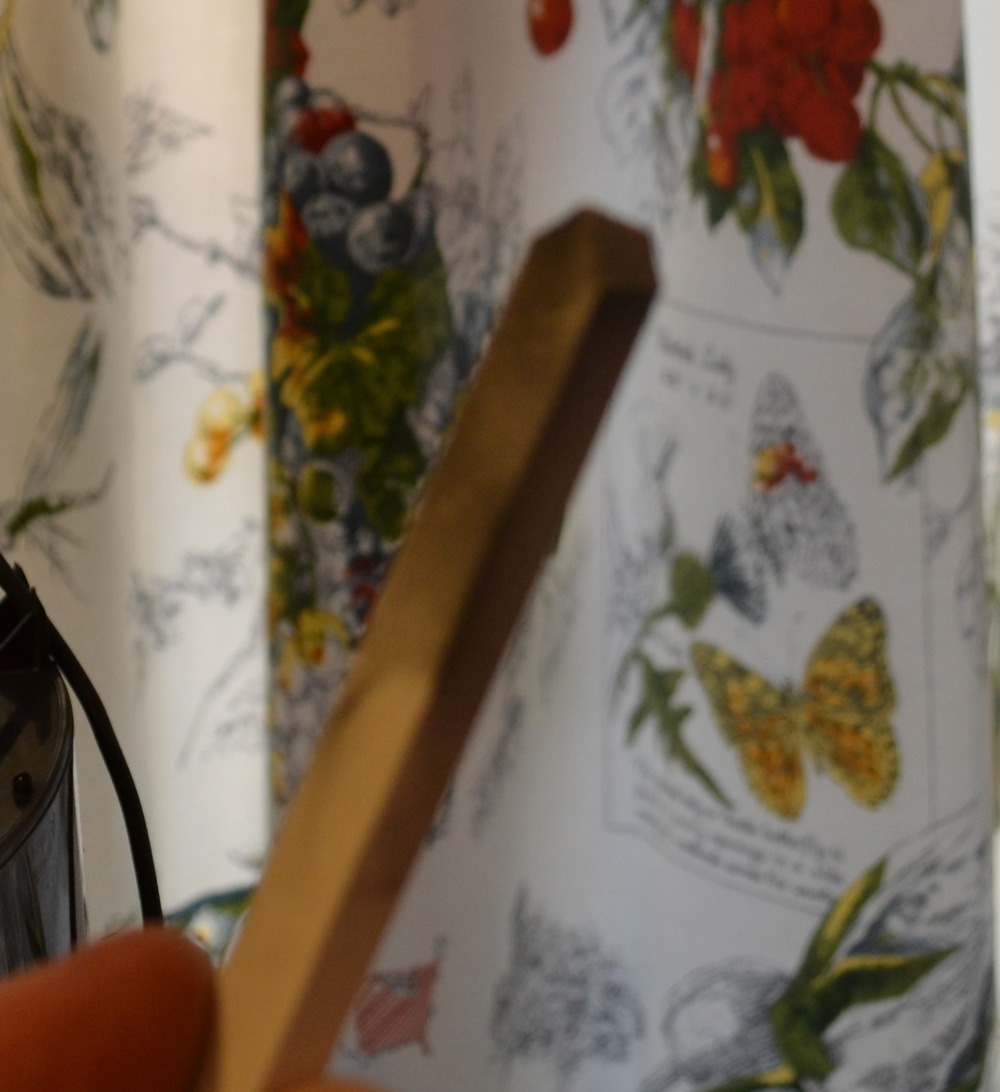
Second, simply place the seating stone on the leading edge of the commutator.  The dust generated from the stone will get up under the brush and begin to round it out.  In the photo, you can see the brush and holder to the left of the stone.  The lead wire in the photo is connected to the brush itself.  Continue holding the stone to the commutator until there is no excess sparking.  (If the commutator is in good shape, there really shouldn't be a lot of sparking anyway.)  Repeat that procedure on the other brush. 


Third, UNPLUG THE MOTOR.  Then remove the brushes to inspect them.  They should be curved by this time.  After inspecting the brushes, blow out any dust left behind by the stone.  Be sure to blow dust out of the brush holders too.  I just us another vacuum for this part of the procedure.


Fourth, reinstall the brushes and reconnect the lead wires. 


And that's it! Smile


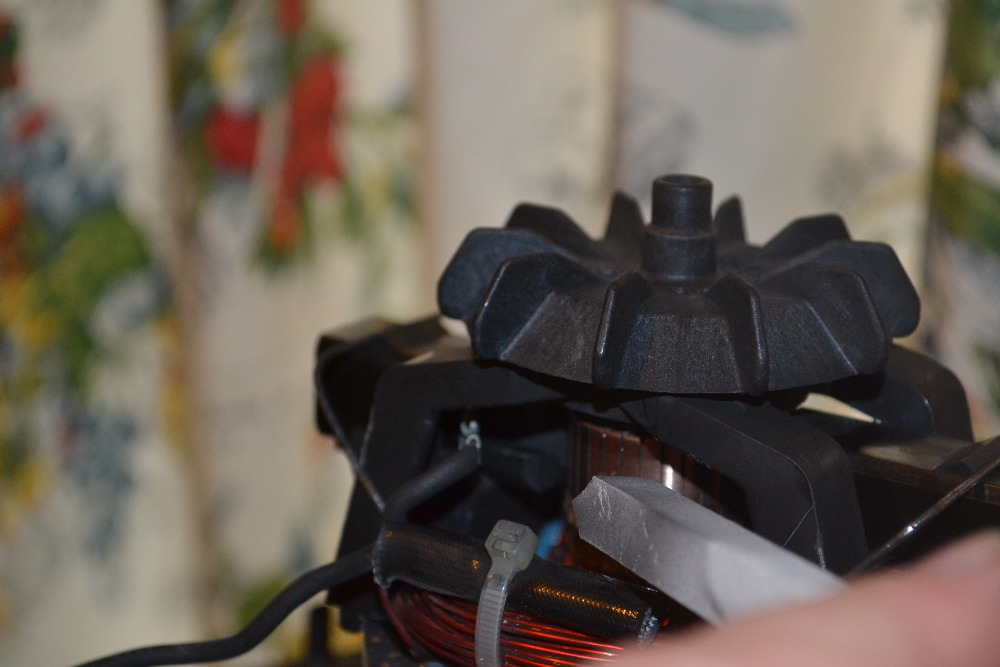
Post# 189699 , Reply# 1   7/12/2012 at 21:07 (4,299 days old) by eurekastar (Amarillo, Texas)        

eurekastar's profile picture

This is what the stone looks like AFTER the seating procedure.  You can see that by holding it to the commutator, it is worn down thus producing the dust needed to seat the brushes. Be care not to touch one of the lead wires too. You might be in for the shock of your life!  Yell


Post# 189700 , Reply# 2   7/12/2012 at 21:09 (4,299 days old) by eurekastar (Amarillo, Texas)        

eurekastar's profile picture

Finally, the other benefit to this procedure is that it cleans off the carbon build up on the commutator. 


Post# 189701 , Reply# 3   7/12/2012 at 21:23 (4,299 days old) by vacu-finder ()        

Yes it does all that and can also extend the life of the motor on older units, if the brushes still have life in them. I have seated in ton's of brushes, on a worn commutator you will notice big sparks after seating in new brushes, a burnt smell and fireworks during a load.
Yep the motor is ready for the bone yard..!


Post# 189704 , Reply# 4   7/12/2012 at 21:52 (4,299 days old) by eurekastar (Amarillo, Texas)        
Older Units

eurekastar's profile picture

On some older models, the motor design doesn't provide access to the commutator.  Older pre-516 Kirby motors, Royals, and older Rainbow motors come to mind.  The brushes on Kirby motors are fairly well rounded already, so I just ran the vacuum with the belt off for about 30 minutes to help seat them more fully.  That's about the only thing I know to do with older Rainbow motors too. 


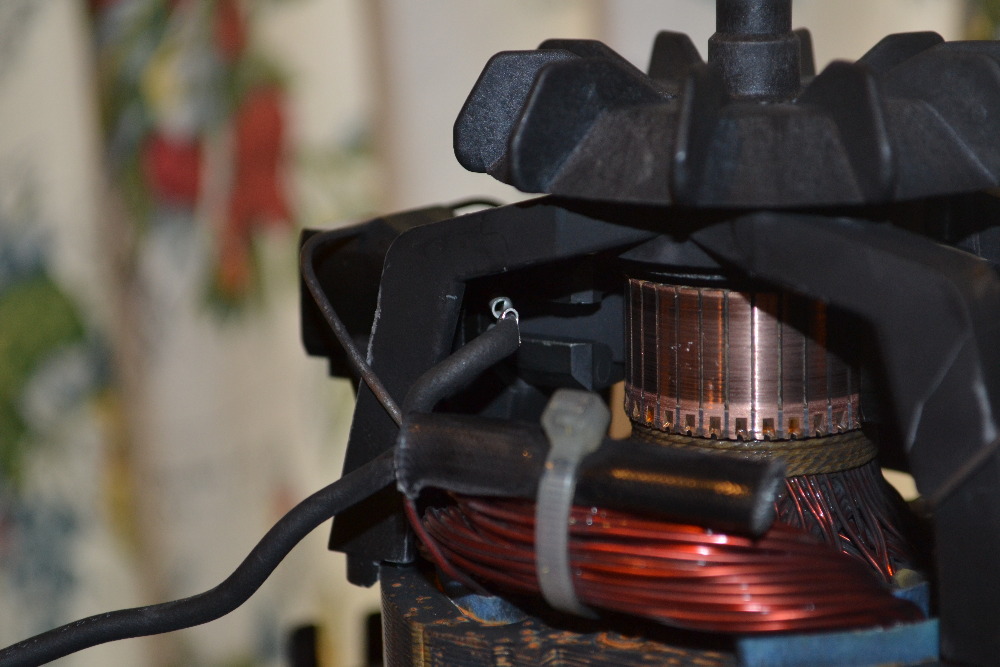
By the way, the motor in the photos is a Rainbow D4. 


Post# 189918 , Reply# 5   7/14/2012 at 21:46 (4,297 days old) by vacu-finder ()        

Apparently guys from what I learned and have been told by so-called pro's the proper way to seat in new brushes is connect 2 motors in series "I Think, don't quote me on this" and run them for about 15 minutes. It's been a while since i did it this way. But it does work..!

What this does is cut the speed down by 50%.


Post# 190272 , Reply# 6   7/16/2012 at 22:34 (4,295 days old) by eurekastar (Amarillo, Texas)        
@ Dean

eurekastar's profile picture

hmmm...So you would connect the cord to the lead wires on one motor field while also running lead wires from that connection to the other motor?  I've head about running a motor at 50% power but I didn't know that's how it is done. 


Post# 190293 , Reply# 7   7/17/2012 at 07:40 (4,294 days old) by sarasvacshack ()        
No

You want to wire the motors in series, one lead to one wire on each motor, then connect the remaining one wire on each motor together.

Post# 190317 , Reply# 8   7/17/2012 at 11:24 (4,294 days old) by eurekastar (Amarillo, Texas)        

eurekastar's profile picture

OK.  That makes sense!  I'm a little slow of learning sometimes!  Laughing


Post# 193304 , Reply# 9   8/4/2012 at 23:15 (4,276 days old) by vacuumman206 ()        

never heard of a seating stone, I always figured if the commutator was good, it would in quick time round the brushes out on their own. Had an issue with a dirt devil not seating, and after running it beltless for about 20 minutes, it smoothed out and the new carbons seated. still having some slight issues with a eureka but I think the commutator is starting a weak point. and I got a D4 I've been trying to fix but I think the whole armature is burnt out from being overheated.


Forum Index:       Other Forums:                      


Comes to the Rescue!

Woops, Time to Check the Bag!!!
Either you need to change your vacuum bag or you forgot to LOG-IN?

Discuss-O-MAT Log-In


New Members
Click Here To Sign Up.


automaticwasher.org home
Discuss-o-Mat Forums
Vintage Brochures, Service and Owners Manuals
Fun Vintage Washer Ephemera
See It Wash!
Video Downloads
Audio Downloads
Picture of the Day
Patent of the Day
Photos of our Collections
The Old Aberdeen Farm
Vintage Service Manuals
Vintage washer/dryer/dishwasher to sell?
Technical/service questions?
Looking for Parts?
Website related questions?
Digital Millennium Copyright Act Policy
Our Privacy Policy